1. Introduction
This manual provides essential instructions for the safe and efficient use of your Vivibright F30 Projector. Please read this manual thoroughly before operating the device and retain it for future reference. The Vivibright F30 is a Full HD 1080p LED projector designed for home theater, education, and business presentations, offering 4200 lumens brightness and multiple connectivity options.
2. Safety Information
- Power Supply: Use only the specified power adapter. Ensure the voltage matches the projector's requirements.
- Ventilation: Do not block ventilation openings. Ensure adequate space around the projector for proper airflow to prevent overheating.
- Heat: The projector lamp generates heat. Avoid touching the lens or vents immediately after use.
- Eye Protection: Do not look directly into the projector lens when the lamp is on. The bright light can cause eye strain or damage.
- Placement: Place the projector on a stable, level surface. Avoid placing it in direct sunlight, near heat sources, or in environments with high humidity or dust.
- Cleaning: Disconnect the power before cleaning. Use a soft, dry cloth. Do not use liquid or aerosol cleaners.
- Servicing: Do not attempt to service the projector yourself. Refer all servicing to qualified personnel.
3. Package Contents
Verify that all items are present in the package:
- Vivibright F30 Projector
- Power Cable
- Remote Control
- User Manual (this document)
- HDMI Cable (may vary by region/package)
4. Product Overview
Familiarize yourself with the projector's components and interfaces.
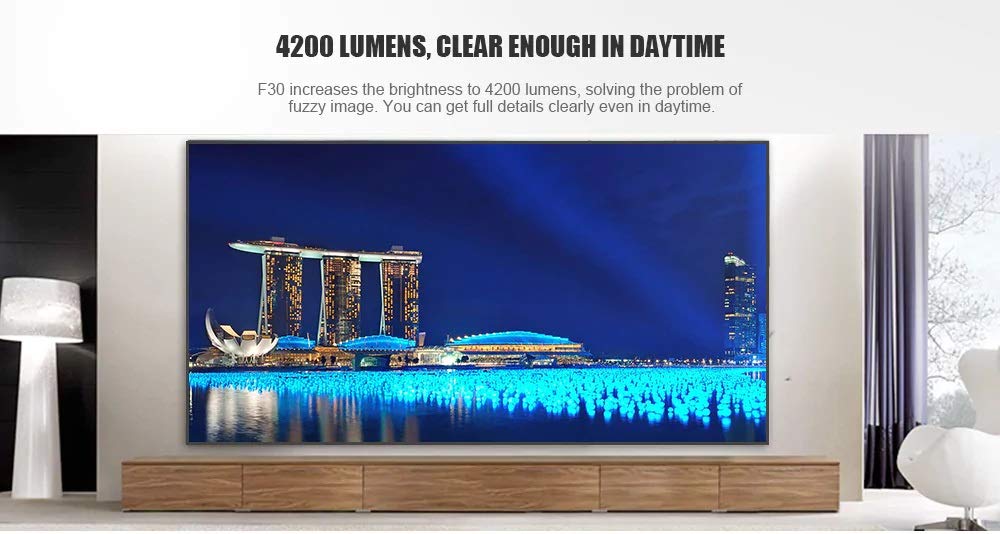
Figure 4.1: Front view of the Vivibright F30 Projector, showing the lens and ventilation.

Figure 4.2: Side view of the Vivibright F30 Projector, highlighting the various input ports.
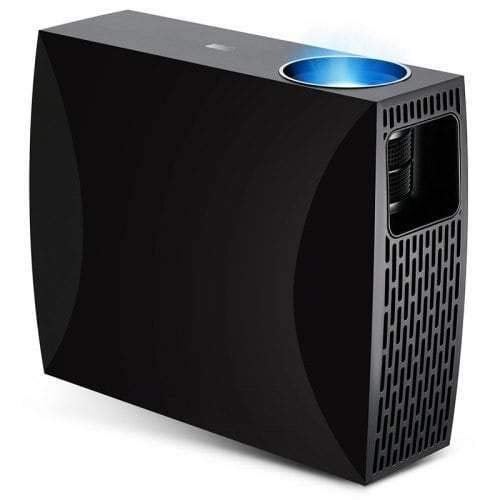
Figure 4.3: Top or rear view of the Vivibright F30 Projector, showing control buttons or additional vents.
4.1. Interfaces
- HDMI Ports: For connecting devices like laptops, gaming consoles, Blu-ray players, and media players.
- VGA Port: For connecting older computers or other VGA-compatible devices.
- USB Ports: For connecting USB storage devices to play media directly.
- Audio Out: For connecting external speakers or headphones.
- Power Input: For connecting the power cable.
5. Setup
5.1. Placement
Position the projector on a stable surface or mount it appropriately. Ensure the projector is perpendicular to the projection screen for optimal image geometry. The projection distance can range from 1.2 to 6.8 meters, depending on the desired screen size.
5.2. Power Connection
- Connect the power cable to the projector's power input port.
- Plug the other end of the power cable into a grounded electrical outlet.
5.3. Connecting Input Devices
Connect your desired source device (e.g., laptop, media player) to the projector using an appropriate cable (HDMI, VGA, USB). Ensure the cable is securely connected to both the projector and the source device.
5.4. Focus and Keystone Adjustment
- Focus: Rotate the focus ring on the projector lens until the image appears sharp and clear on the screen.
- Keystone: If the projected image is trapezoidal (wider at the top or bottom), use the keystone correction feature (manual or digital, depending on model) to adjust the image to a rectangular shape.
6. Operating Instructions
6.1. Powering On/Off
- Power On: Press the power button on the projector or the remote control. The indicator light will change, and the lamp will illuminate.
- Power Off: Press the power button again. Confirm shutdown if prompted. Allow the projector to cool down before unplugging it.
6.2. Input Source Selection
Press the "Source" button on the remote control or the projector's control panel to cycle through available input sources (HDMI1, HDMI2, VGA, USB). Select the input corresponding to your connected device.
6.3. Menu Navigation
Use the arrow buttons on the remote control or projector to navigate through the on-screen display (OSD) menu. Press "OK" or "Enter" to select an option and "Exit" or "Menu" to go back or close the menu.
6.4. Picture and Audio Settings
Adjust picture settings such as brightness, contrast, color, and aspect ratio via the OSD menu to optimize image quality. Adjust volume levels for the built-in speaker or connected external audio devices.
7. Maintenance
7.1. Cleaning the Lens
Gently wipe the projector lens with a soft, lint-free cloth specifically designed for optical surfaces. Do not use abrasive materials or harsh chemicals.
7.2. Cleaning the Projector Body
Use a soft, dry cloth to clean the exterior of the projector. For stubborn marks, a slightly damp cloth can be used, followed by a dry cloth. Ensure no liquid enters the ventilation openings.
7.3. Lamp Life
The Vivibright F30 Projector utilizes an LED lamp with an estimated lifespan of up to 50,000 hours, requiring no regular replacement under normal usage conditions.
8. Troubleshooting
| Problem | Possible Cause | Solution |
|---|---|---|
| No image displayed |
|
|
| Image is blurry |
|
|
| Image is trapezoidal (keystone effect) |
|
|
| No sound |
|
|
| Projector overheats or shuts down |
|
|
9. Specifications
| Feature | Detail |
|---|---|
| Brand | Vivibright |
| Model | F30 |
| Native Resolution | 1920 x 1080 (Full HD) |
| Supported Resolution | Up to 4K |
| Brightness | 4200 Lumens (LED Luminous) |
| Contrast Ratio | 2200:1 |
| Display Technology | LCD |
| Lamp Type | LED |
| Lamp Life | Up to 50,000 hours |
| Projection Distance | 1.2 to 6.8 meters |
| Noise Level | 29 Decibels |
| Connectivity | HDMI, VGA, USB |
| Special Features | Portable, Built-in Speaker |
| Item Weight | 3 kg |
| Mounting Type | Tabletop Mount |
10. Warranty and Support
10.1. Warranty Information
The Vivibright F30 Projector comes with a 1 Year Warranty from the date of purchase. This warranty covers manufacturing defects and malfunctions under normal use. Please retain your proof of purchase for warranty claims.
The warranty does not cover damage caused by misuse, accidents, unauthorized repairs, or normal wear and tear.
10.2. Customer Support
For technical assistance, warranty claims, or further inquiries, please contact Vivibright customer support through their official website or the contact information provided with your purchase documentation. When contacting support, please have your product model (F30) and purchase details ready.


