
DAYTECH CC02 2-1
DAYTECH Wireless Call Button Emergency Alarm System User Manual
Model: CC02 2-1
1. Introduction
The DAYTECH Wireless Call Button Emergency Alarm System is designed to provide a reliable and convenient way for individuals to signal for assistance. This system is particularly beneficial for the elderly, patients, or anyone who may need immediate help, offering peace of mind for both the user and their caregivers. Its simple operation and versatile placement options make it an essential tool for various care environments, from homes to nursing facilities.

The DAYTECH Wireless Call Button System is suitable for a wide range of care scenarios, ensuring assistance is always available.
2. Product Overview
2.1 Components
The DAYTECH Wireless Call Button Emergency Alarm System typically includes the following components:
- Receiver Unit: The main unit that emits an alarm sound and light when a call button is pressed.
- Call Button Transmitters: Portable buttons that send a signal to the receiver when activated.
- Lanyard: For wearing the call button around the neck.
- Double-sided Tape: For fixed installation of the call button.
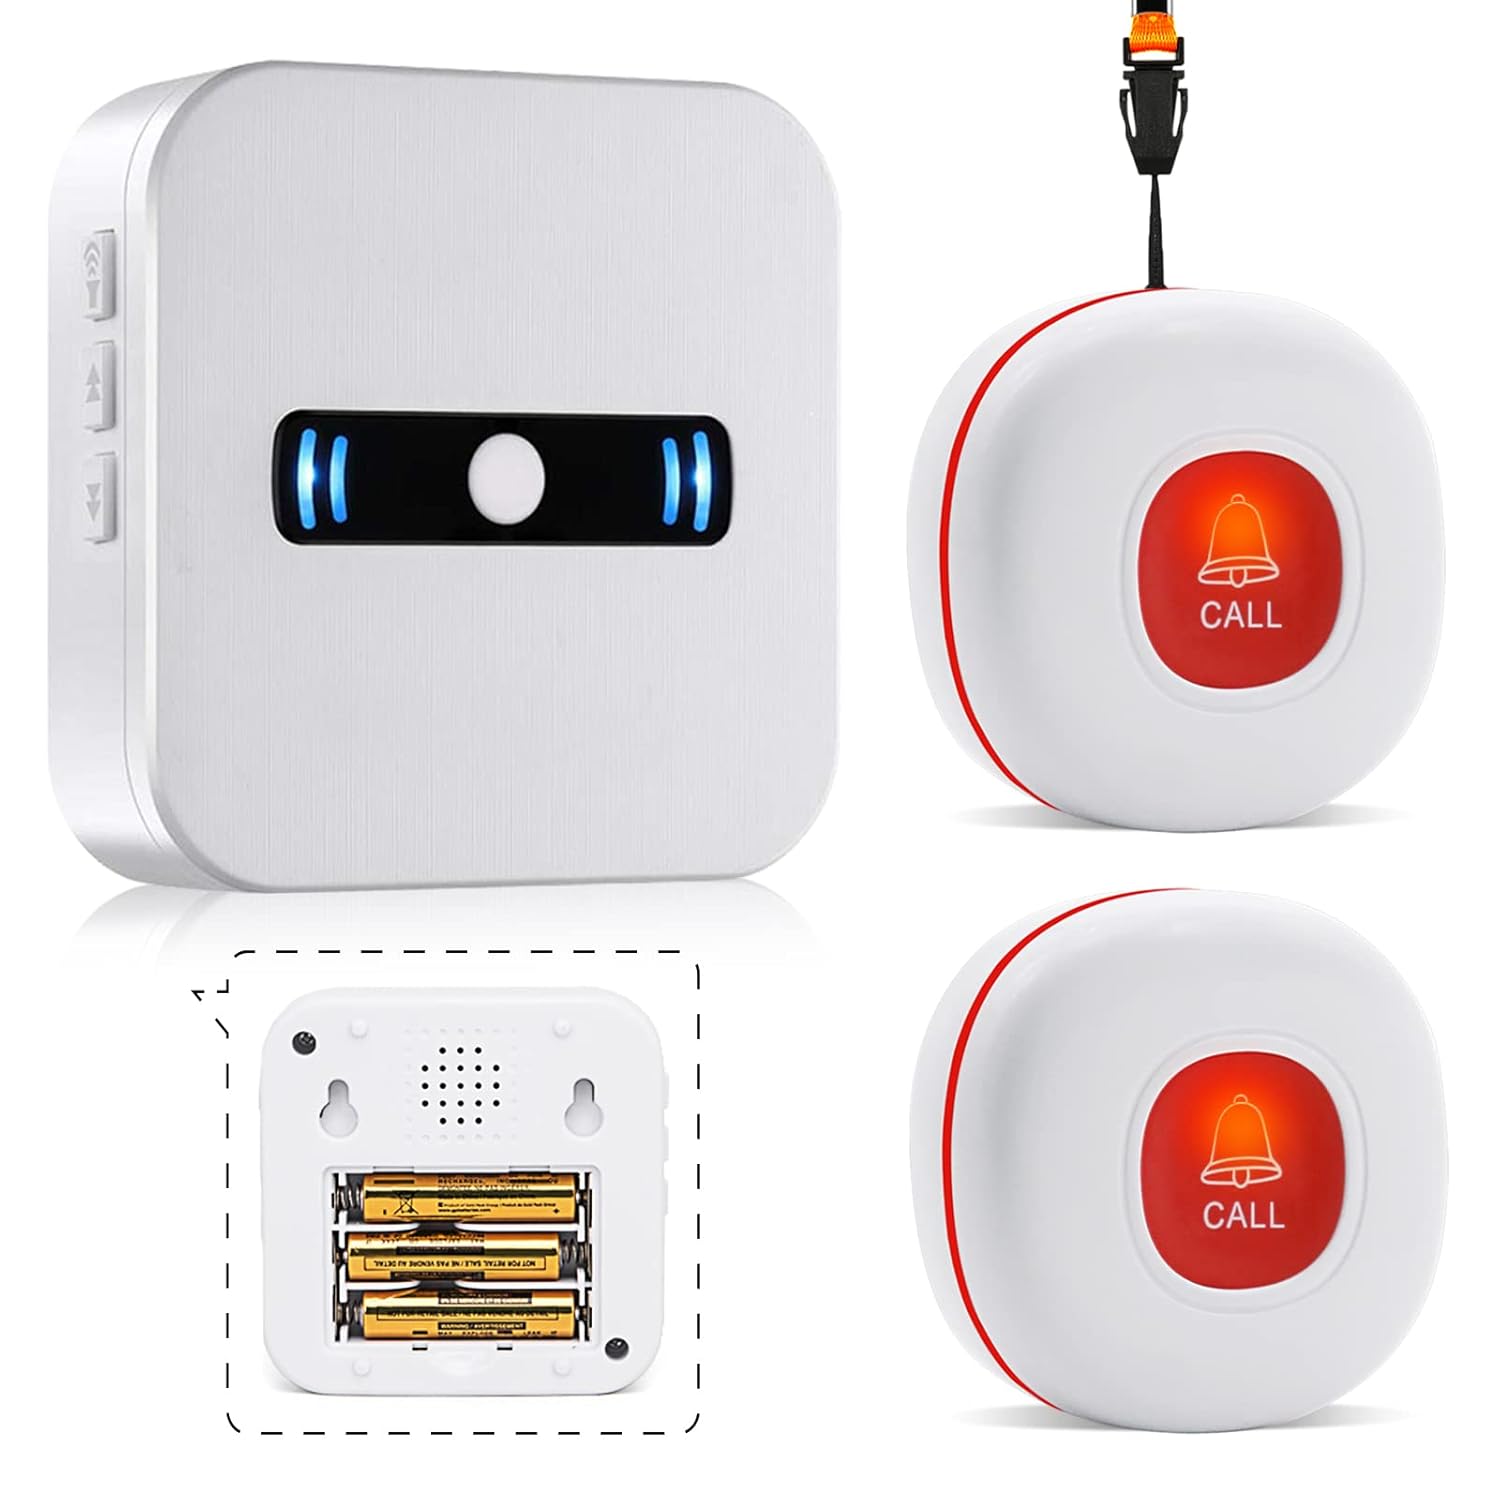
The system includes a receiver and two call button transmitters for comprehensive coverage.
2.2 Key Features
- Portability: The compact design of both the receiver and call buttons allows for easy carrying in pockets or bags, or wearing around the neck.
- Adjustable Volume: The receiver offers 5 levels of volume adjustment, from 0dB (mute) to 110dB, suitable for various environments.
- Multiple Melodies: Choose from 55 different melodies for the alarm sound.
- IP55 Waterproof Call Button: The call button is designed to withstand water splashes, making it suitable for use in bathrooms or kitchens (do not immerse fully).
- Expandability: The system can be expanded with up to 30 additional transmitters and receivers to cover larger areas or more users.
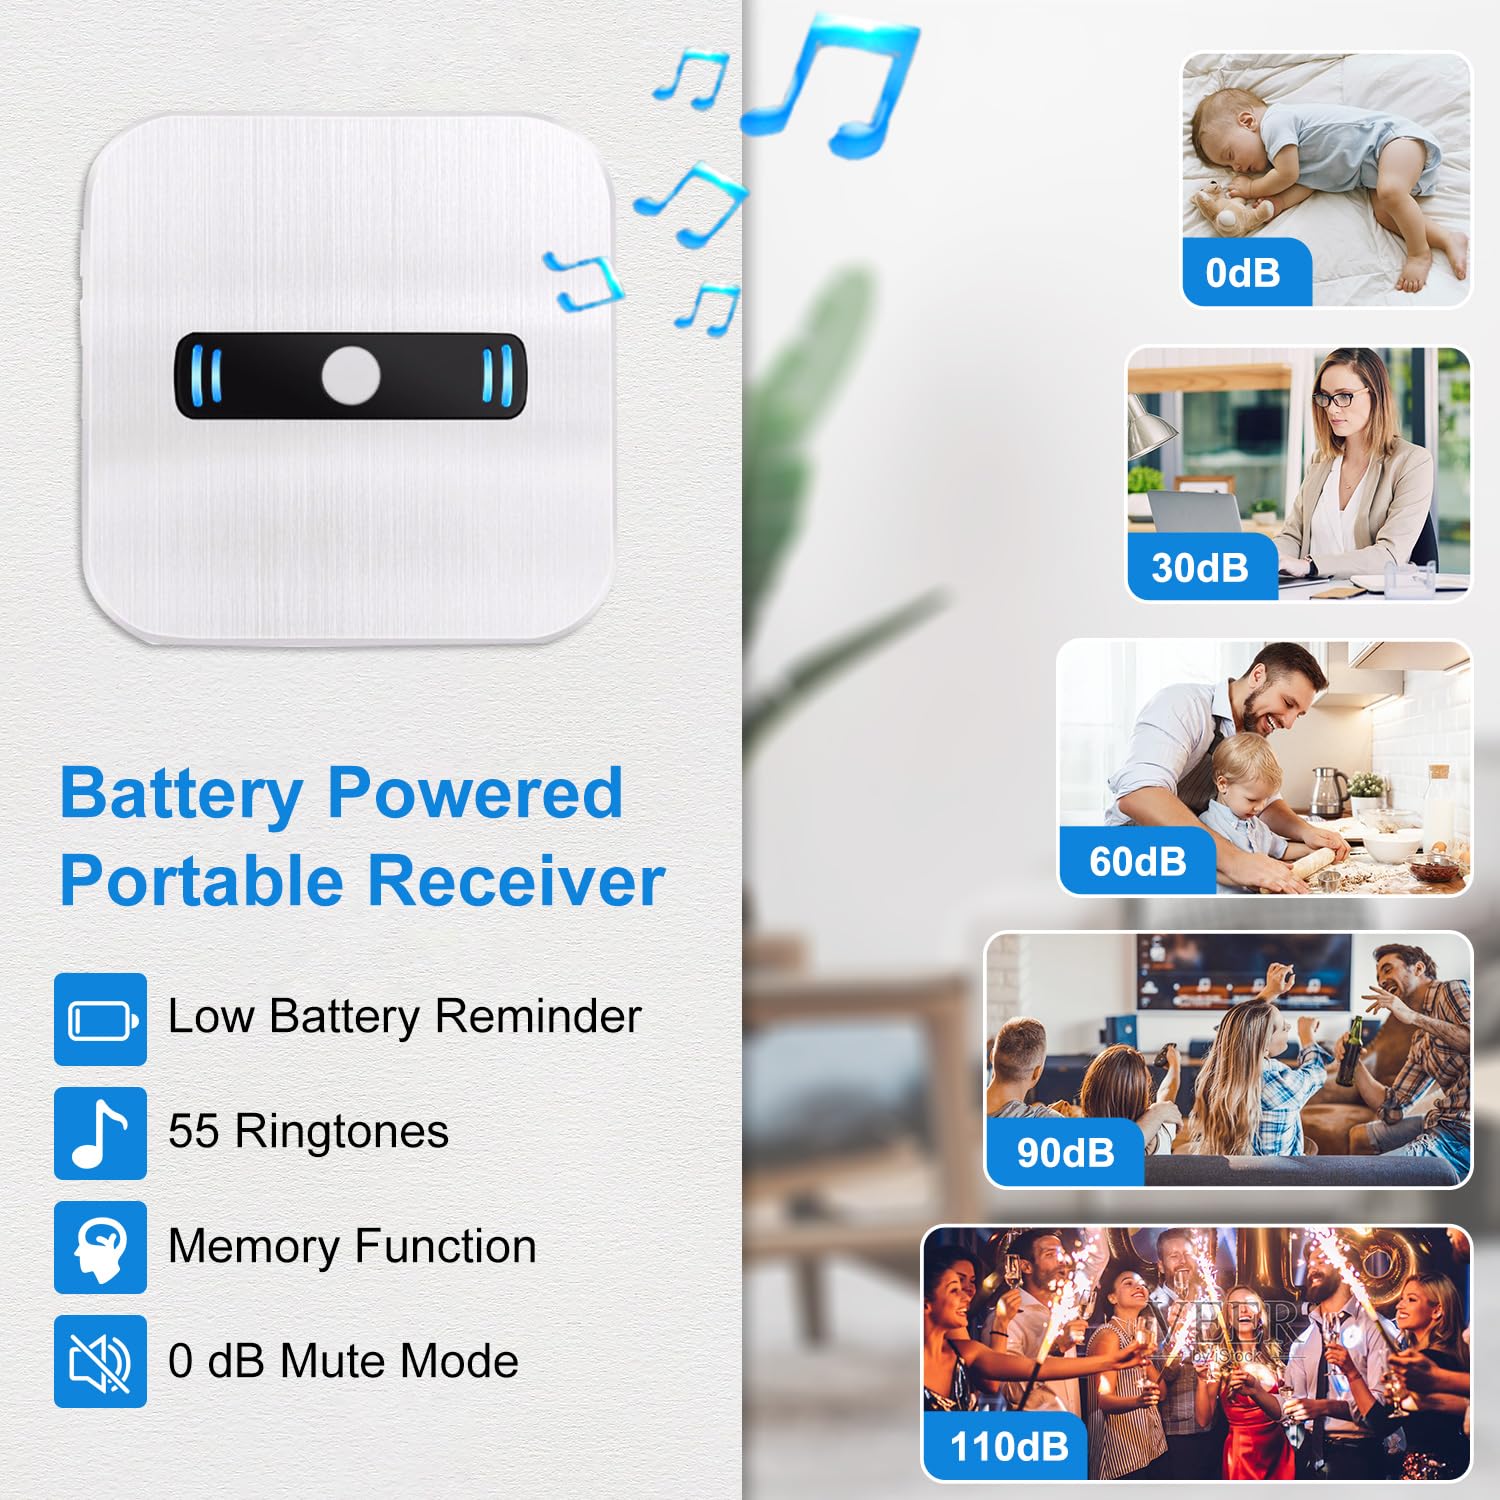
The portable receiver offers various features for user convenience, including volume control and melody selection.
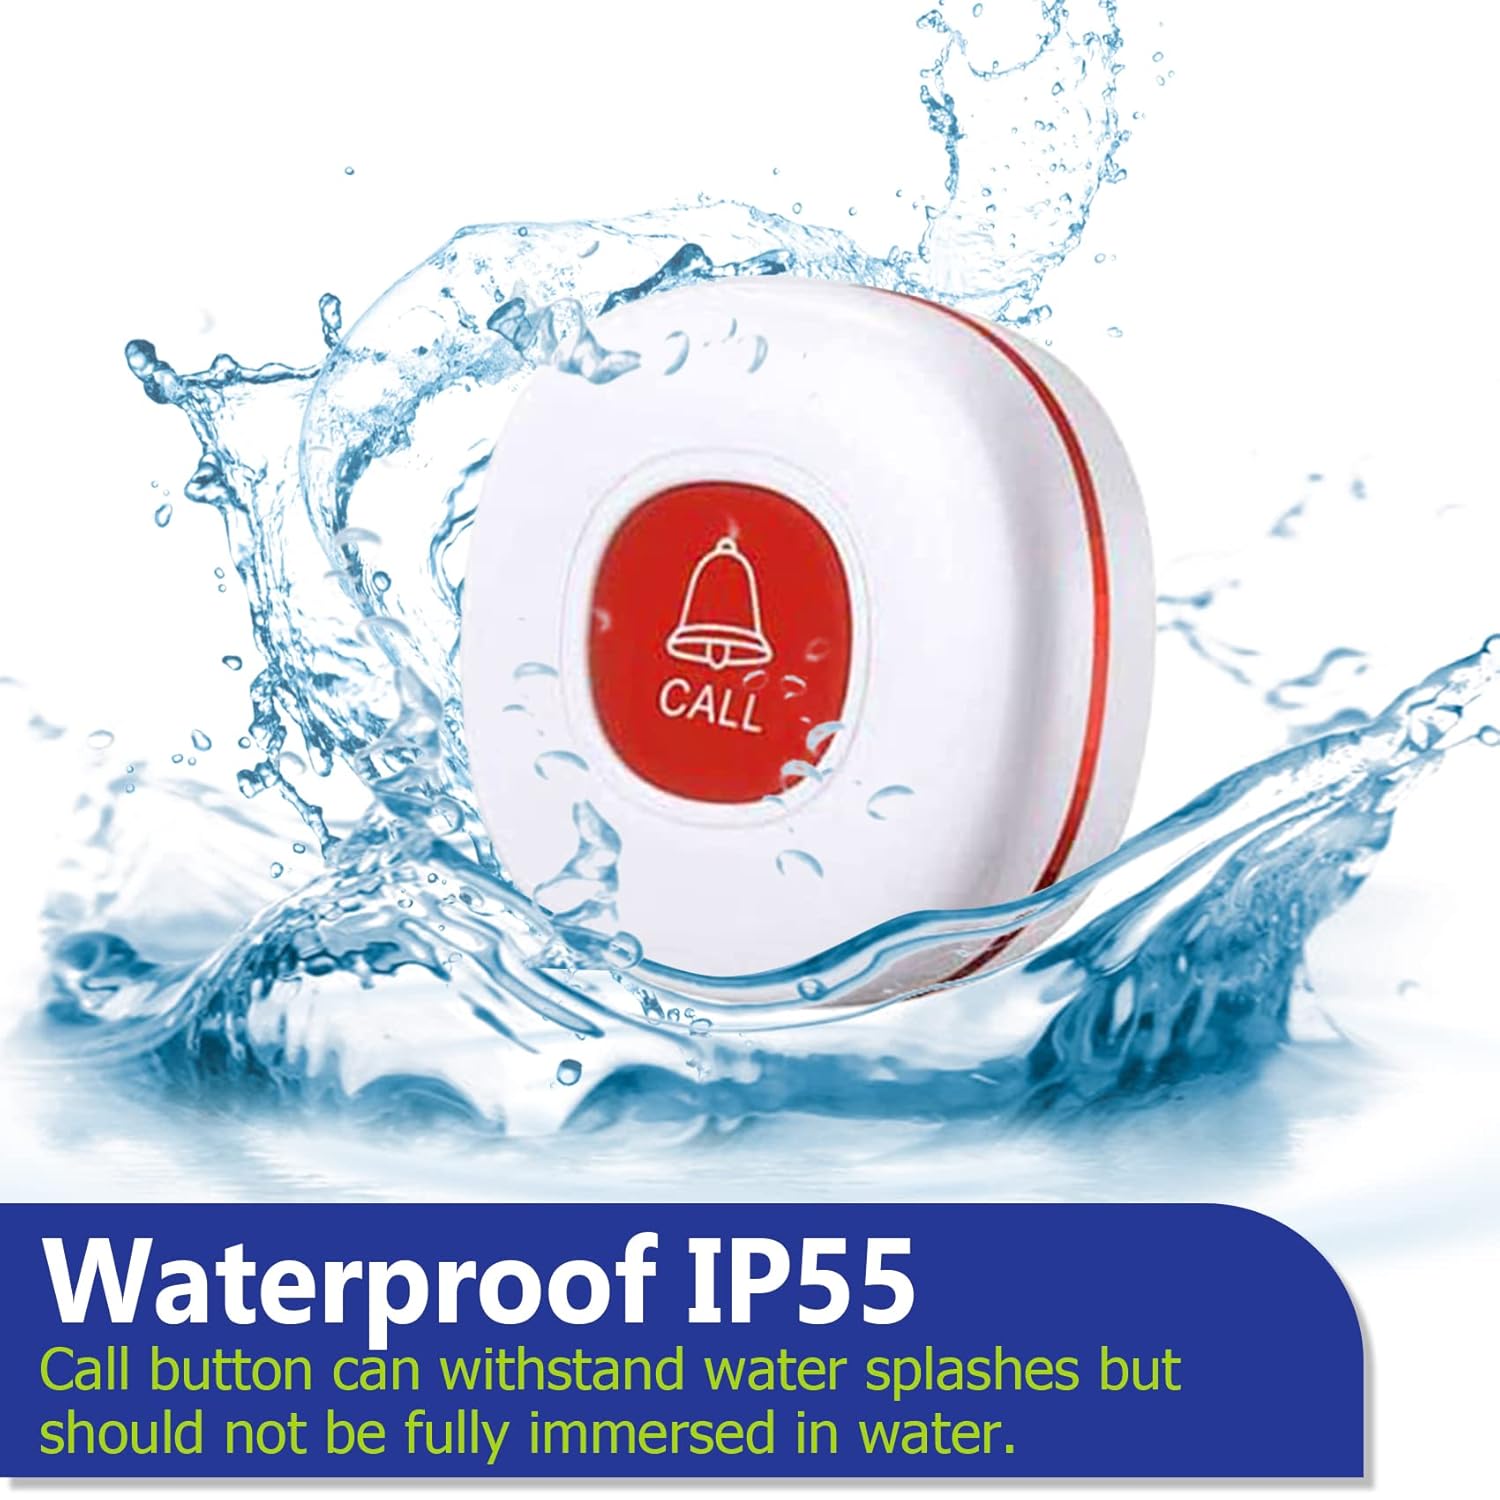
The call button features an IP55 waterproof design, making it suitable for use in environments where it might encounter water splashes.

The system is highly expandable, supporting up to 30 additional transmitters and receivers.
3. Setup
3.1 Installing Batteries
Receiver Unit:
- Open the battery compartment on the back of the receiver.
- Insert 3 AAA batteries, ensuring correct polarity (+/-).
- Close the battery compartment securely.
Call Button Transmitter:
- Use a small screwdriver to open the back cover of the call button.
- Insert the included 12V 23A Alkaline battery, observing polarity.
- Securely close the back cover.

The receiver uses 3 AAA batteries, and the call button uses a 12V 23A alkaline battery.
3.2 Pairing Transmitters with Receiver
To pair a call button with the receiver and set a melody:
- Step 1: Select Melody. On the receiver, press the 'Up' or 'Down' buttons to cycle through the available melodies until you find your preferred sound.
- Step 2: Enter Pairing Mode. Press and hold the volume button on the receiver for approximately 5 seconds until you hear a 'ding-dong' sound, indicating it has entered pairing mode. The LED indicator will flash.
- Step 3: Pair. Within 5 seconds, press the call button transmitter. The receiver will emit the selected melody, confirming successful pairing.

Follow these steps to easily pair your call button and customize the alert melody.
3.3 Placement
Place the receiver in a central location where the sound can be easily heard by the caregiver. The call buttons can be placed in various strategic locations:
- Next to the bed
- In the bathroom/toilet
- Near a chair or sofa
- Worn around the neck with the lanyard
Use the included double-sided tape for fixed installations.

Strategically place call buttons in multiple locations for easy access.
4. Operating Instructions
4.1 Making a Call
To signal for assistance, simply press the large red 'CALL' button on the transmitter. The receiver will immediately sound the selected melody and flash its LED indicator.

The call button is designed for easy operation, even for individuals with limited hand mobility.
4.2 Adjusting Volume and Melody
On the receiver unit, use the dedicated volume buttons (up/down arrows) to adjust the sound level. There are 5 levels, including a mute mode (0dB). To change the melody, press the melody selection button (often combined with volume or a separate button) to cycle through the 55 available tunes.

The receiver offers 5 levels of volume adjustment, from silent to 110dB.

Choose from 55 different melodies to customize your alert sound.
4.3 Operating Range
The system boasts an impressive operating range of up to 320 feet (100 meters) in an open area. The signal can effectively travel through walls and closed doors, ensuring reliable communication within most homes or facilities.

The system provides a wide operating range, with signals capable of passing through common household obstacles.
5. Maintenance
5.1 Battery Replacement
Regularly check the battery levels of both the receiver and transmitters. The receiver may have a low battery reminder feature. Replace batteries as soon as they are depleted to ensure continuous operation.
Call Button Transmitter Battery Replacement:
- Step 1: Open. Use a small screwdriver to gently pry open the back cover of the call button by unscrewing the three screws.
- Step 2: Replace. Remove the old 12V 23A battery and insert a new one, ensuring correct polarity.
- Step 3: Close. Securely close the back cover and tighten the screws.

Follow these steps to replace the battery in the call button transmitter.
5.2 Cleaning and Care
- Wipe the units with a soft, dry cloth. Do not use abrasive cleaners or solvents.
- Keep the units away from extreme temperatures and direct sunlight.
- Ensure the call button is not fully immersed in water, despite its splash-proof design.
6. Troubleshooting
If you encounter issues with your DAYTECH Wireless Call Button Emergency Alarm System, refer to the following common problems and their solutions:
| Problem | Possible Cause | Solution |
|---|---|---|
| Receiver does not sound/flash when button is pressed. | Low or dead batteries in receiver or transmitter. Units are out of range. Units are not paired. Receiver is in mute mode. | Replace batteries in both units. Move units closer together, reduce obstacles. Re-pair the transmitter with the receiver (see Section 3.2). Adjust receiver volume (see Section 4.2). |
| Short operating range. | Interference from other electronic devices. Thick walls or metal structures. Low batteries. | Move receiver away from other electronics. Relocate receiver to a more central position. Replace batteries. |
| Call button feels stiff or unresponsive. | Debris under the button. Internal mechanism issue. | Gently clean around the button. If issue persists, contact customer support. |
7. Specifications
| Feature | Detail |
|---|---|
| Model Number | CC02 2-1 |
| Brand | DAYTECH |
| Mounting Type | Tabletop Mount |
| Maximum Range | 100 meters (320 feet) |
| Product Weight | 240 g |
| Product Dimensions (LxWxH) | 18.7 x 3 x 8 cm |
| Receiver Battery Type | 3 x AAA Alkaline batteries (included) |
| Transmitter Battery Type | 1 x 12V 23A Alkaline battery (included) |
| Waterproof Rating (Call Button) | IP55 (splash-proof) |
| Volume Levels | 5 (0dB to 110dB) |
| Melodies | 55 selectable tunes |
| Expandability | Up to 30 units (transmitters/receivers) |
| Included Accessories | Double-sided tape, Lanyard |
| UPC | 791261632788 |
8. Warranty and Support
8.1 Warranty Information
This product comes with a lifetime quality guarantee from the date of purchase. This warranty covers defects in materials and workmanship under normal use.
8.2 Customer Support
If you encounter any problems during use, or have questions regarding the product's operation, maintenance, or warranty, please do not hesitate to contact DAYTECH customer support for prompt assistance. We are committed to ensuring your satisfaction with our products.
Please refer to your purchase documentation or the DAYTECH official website for specific contact information.
Related documentsCC02 2-1


Ask a question about this manual
Ask about setup, troubleshooting, compatibility, parts, safety, or missing instructions. Manuals+ will review the question and use this page’s manual context to help answer it.