
1. Product Overview
This manual provides instructions for the safe and efficient use of your Rainy King NB-11L NB-11LH Battery Charger. This charger is designed to power NB-11L and NB-11LH type batteries for various Canon PowerShot and IXUS digital cameras.
2. Package Contents
- 1 x Rainy King NB-11L NB-11LH Battery Charger
3. Compatibility
This charger is compatible with Canon NB-11L and NB-11LH batteries, and the following Canon digital camera models:
- Canon PowerShot Series: A2300, A2400 IS, A2500, A2600, A3400 IS, A3500 IS, A4000 IS, ELPH 110 HS, ELPH 115 IS, ELPH 130 IS, ELPH 150 IS, ELPH 180, ELPH 320 HS, ELPH 340 HS, ELPH 350 HS, SX400 IS, SX410 IS, SX420 IS
- Canon IXUS Series: 125 HS, 132, 135, 140, 145, 150, 155, 160, 165, 170, 240 HS, 245 HS, 265, 275 HS, 285 HS
- Canon IXY Series: 110F, 220F, 420F, 430F, 90F
4. Setup
4.1. Verifying Battery Compatibility
Before use, ensure your battery is compatible with this charger. Check the label on your battery to confirm the part number is NB-11L or NB-11LH. This charger is designed specifically for these battery types.
Figure 1: Example of an NB-11L battery pack, highlighting the model number for compatibility verification.
4.2. Inserting the Battery
Align the battery terminals (+ to + and - to -) with the corresponding contacts in the charger slot. Gently slide the battery into the charger until it is securely seated.

Figure 2: Proper alignment and insertion of the battery into the charger.
4.3. Connecting to Power
Extend the foldable plug from the charger and insert it into a standard AC 100V-240V wall outlet.
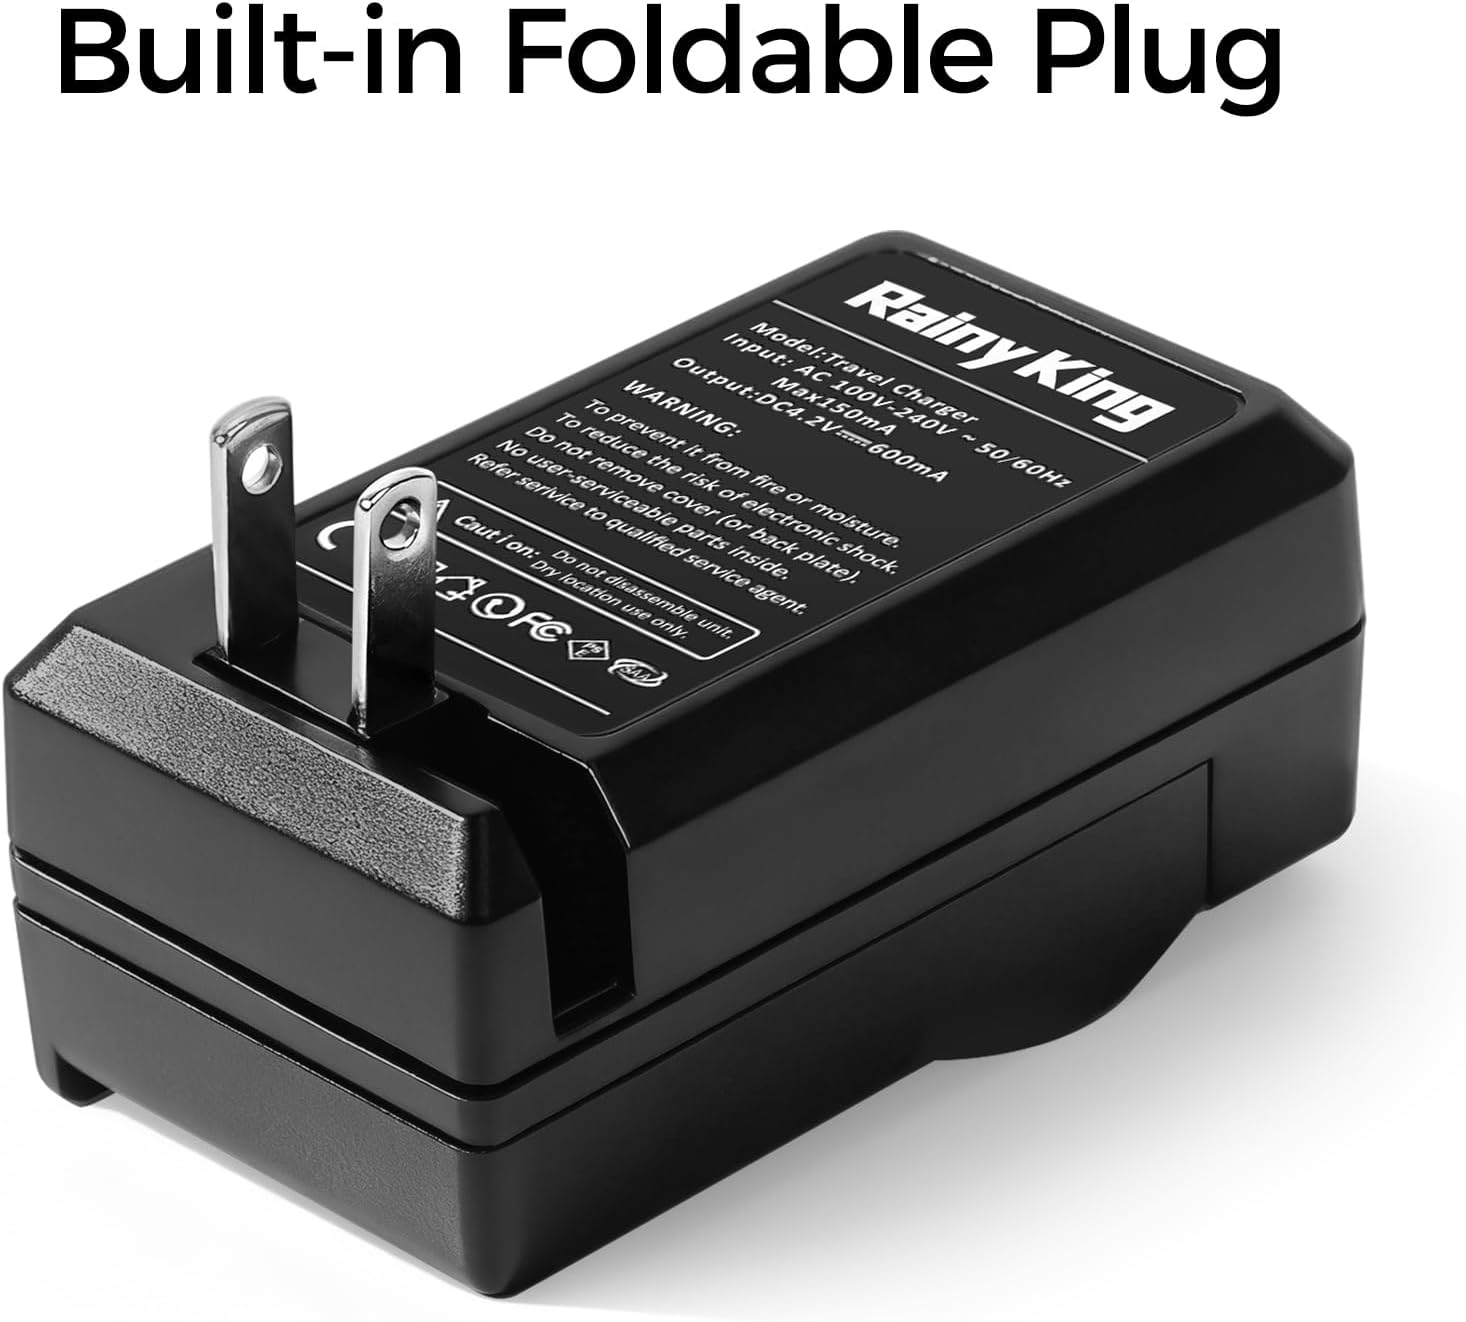
Figure 3: The charger features a built-in foldable plug for convenience.
5. Operating Instructions
5.1. Charging Process
Once the battery is correctly inserted and the charger is plugged into a power outlet, the charging process will begin automatically. The charger features an LCD indicator to show the charging status.

Figure 4: LED indicator status during charging.
5.2. Charging Indicator
- Red Light: Indicates that the battery is currently charging.
- Green Light: Indicates that charging is complete and the battery is fully charged.
Once the green light appears, you may remove the battery from the charger and unplug the charger from the power outlet.
6. Maintenance
- Keep the charger clean and dry. Avoid exposure to moisture or extreme temperatures.
- Do not store the charger in temperatures exceeding 60°C (140°F).
- Unplug the charger when not in use.
- Handle the charger with care to prevent physical damage.
7. Troubleshooting
- Charger not working / No indicator light: Ensure the charger is firmly plugged into a working power outlet. Verify the battery is correctly inserted with terminals aligned.
- Indicator light shows 'charging' but battery is not charging: Double-check that the battery is properly seated and its terminals are making good contact with the charger's pins. Sometimes, if not properly plugged in, the light may illuminate without actual charging occurring.
- Slow charging: Ensure the charger is connected to a stable power source. Charging time may vary based on battery capacity and charge level.
8. Specifications
| Model | Travel Charger |
| Input | AC 100V-240V ~ 50/60Hz Max 150mA |
| Output | DC 4.2V --- 600mA |
| Dimensions (L x W x H) | 3.35" x 1.81" x 1.38" (85mm x 46mm x 35mm) |
| Weight | 0.11 Pounds (approx. 50g) |
| Safety Certification | CE |

Figure 5: Physical dimensions of the charger.
9. Safety Information and Warnings
- To prevent fire or moisture, keep the charger in a dry location.
- To reduce the risk of electric shock, do not remove the cover (or back plate).
- No user-serviceable parts inside. Refer servicing to qualified service agent.
- Do not disassemble the unit.
- This charger is designed for charging only with specified charger-compatible batteries.
- Avoid overvoltage, overcurrent, and short circuit conditions. The charger includes built-in protection features.
10. Warranty and Support
For warranty information or technical support, please contact the manufacturer, Rainy King, or your retailer. Please retain your purchase receipt as proof of purchase.