1. Setup and First Use
This section guides you through the initial setup of your NEC VersaPro VK26TX-G laptop.
1.1 Unboxing and Inspection
Carefully remove the laptop and all accessories from the packaging. Verify that all components are present and undamaged. The standard package includes the laptop, AC adapter, and power cord.
1.2 Connecting Power
- Connect the AC adapter to the power input port on the side of the laptop.
- Plug the power cord into the AC adapter, then into a wall outlet.
- Allow the battery to charge for at least 30 minutes before initial use, or until the battery indicator shows a sufficient charge.

Image 1.1: The NEC VersaPro VK26TX-G laptop in an open position, displaying the Windows 10 desktop environment. This view shows the screen, keyboard, and touchpad, ready for initial setup.
1.3 Initial Boot and Windows Setup
Press the power button located above the keyboard to turn on the laptop. Follow the on-screen instructions to complete the Windows 10 Pro setup process. This typically involves selecting your region, language, creating a user account, and connecting to a Wi-Fi network.
1.4 Connecting Peripherals
Your laptop features various ports for connecting external devices:
- USB Ports: For mice, keyboards, external storage, and other USB devices.
- VGA Port: For connecting to external monitors or projectors.
- LAN Port: For wired network connections.
- Audio Jacks: For headphones or external speakers.

Image 1.2: A view of the left side of the laptop, highlighting various connectivity ports such as USB, VGA, and the LAN port, essential for connecting external devices and networks.

Image 1.3: A view of the right side of the laptop, showing additional USB ports and the integrated DVD-ROM drive, useful for optical media.
2. Operating Your Laptop
This section covers the basic operation of your NEC VersaPro VK26TX-G.
2.1 Power On/Off and Sleep Mode
- Power On: Press the power button.
- Shut Down: Click the Start button, then Power > Shut down.
- Restart: Click the Start button, then Power > Restart.
- Sleep: Click the Start button, then Power > Sleep, or close the laptop lid.
2.2 Keyboard and Touchpad
The laptop features a full-sized keyboard and a multi-touch touchpad for navigation.
- Keyboard: Standard QWERTY layout with function keys (F1-F12) for various shortcuts (e.g., volume, brightness).
- Touchpad: Supports gestures like scrolling (two fingers), zooming (pinch), and right-click (two-finger tap or press bottom-right).
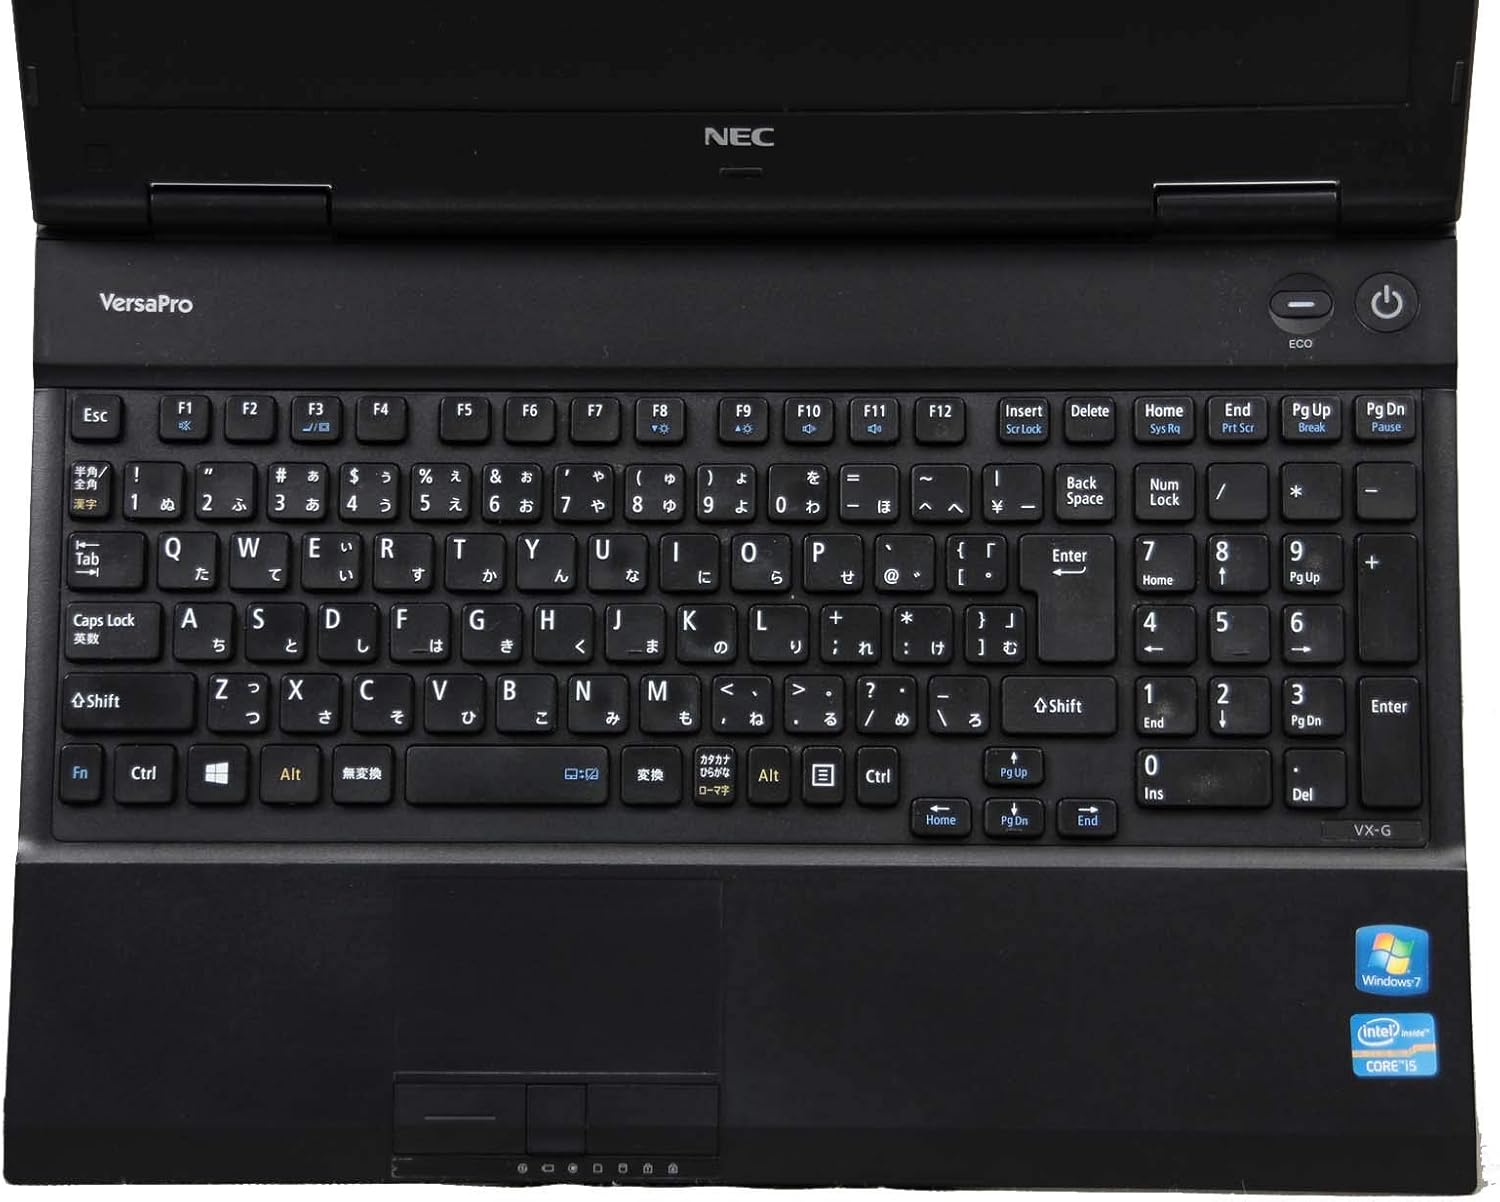
Image 2.1: A top-down view of the laptop's keyboard and touchpad, illustrating the layout and input areas for user interaction.
2.3 Connecting to Wi-Fi
- Click the Wi-Fi icon in the system tray (bottom-right corner of the screen).
- Select your desired network from the list.
- Enter the network security key (password) if prompted, then click 'Connect'.
2.4 Using the DVD-ROM Drive
The integrated DVD-ROM drive allows you to read optical discs. To open the tray, press the eject button located on the drive itself. Insert a disc, then gently push the tray back in. Windows will typically detect the disc automatically.
2.5 Windows 10 Pro and WPS Office
Your laptop comes pre-installed with Windows 10 Pro, offering advanced features for productivity and security. It also includes WPS Office, a suite of applications compatible with Microsoft Office formats, for document creation, spreadsheets, and presentations.
3. Maintenance and Care
Proper maintenance ensures the longevity and optimal performance of your laptop.
3.1 Cleaning Instructions
- Screen: Use a soft, lint-free cloth specifically designed for electronics. Dampen it slightly with water or a screen cleaner. Do not spray liquid directly onto the screen.
- Keyboard and Chassis: Use a soft cloth, slightly dampened with water or a mild cleaning solution. For dust in crevices, use compressed air.
- Always power off and unplug the laptop before cleaning.
3.2 Battery Care
- Avoid extreme temperatures.
- For optimal battery life, avoid constantly keeping the laptop plugged in at 100% charge. Occasionally allow the battery to discharge to around 20-30% before recharging.
- If storing the laptop for an extended period, ensure the battery is charged to about 50-60%.
3.3 Software Updates
Regularly update your Windows operating system and device drivers to ensure security, stability, and performance. Windows Update can be accessed via Settings > Update & Security > Windows Update.
3.4 Data Backup
It is highly recommended to regularly back up your important data to an external drive or cloud storage to prevent data loss.
4. Troubleshooting Common Issues
This section provides solutions for common problems you might encounter.
4.1 Laptop Does Not Power On
- Ensure the AC adapter is securely connected to both the laptop and a working power outlet.
- Verify the power outlet is functional by plugging in another device.
- If the battery is completely drained, allow it to charge for a few minutes before attempting to power on.
4.2 No Display on Screen
- Check if the laptop is powered on.
- Adjust the screen brightness using the function keys (e.g., Fn + F2/F3).
- If an external monitor is connected, try disconnecting it or switching display modes (e.g., Fn + F7).
4.3 Wi-Fi Connection Problems
- Ensure Wi-Fi is enabled (check the Wi-Fi icon in the system tray).
- Restart your router and modem.
- Forget the network and reconnect, re-entering the password.
- Run the Windows Network Troubleshooter (Settings > Network & Internet > Status > Network troubleshooter).
4.4 Slow Performance
- Close unnecessary applications running in the background.
- Check for and install any pending Windows updates.
- Run a disk cleanup and defragmentation (for HDD models).
- Scan for malware or viruses.
5. Specifications
Detailed technical specifications for the NEC VersaPro VK26TX-G laptop.
| Feature | Specification |
|---|---|
| Brand | NEC |
| Model Name | VersaPro VK26TX G |
| Form Factor | Laptop |
| Screen Size | 15.6 inches |
| Resolution | 1366 x 768 pixels (Full WXGA) |
| CPU Brand | Intel |
| CPU Type | Core i5 |
| CPU Speed | 2.6 GHz |
| RAM Capacity | 4 GB |
| HDD Capacity | 250 GB |
| Hard Disk Type | HDD |
| Communication | Wi-Fi |
| Operating System | Windows 10 Pro |
| Optical Drive | DVD-ROM |
6. Warranty and Support
Information regarding your product's warranty and available support services.
6.1 Product Warranty
This product typically includes a 90-day warranty from the date of purchase. This warranty covers manufacturing defects and hardware malfunctions under normal use. Please refer to your purchase documentation for specific terms and conditions. Note that battery remaining capacity is generally not covered under warranty.

Image 6.1: An informational graphic highlighting the 90-day warranty period and the inclusion of a legitimate Windows OS license.
6.2 Customer Support
A dedicated support system is in place to assist you with any issues or inquiries. If you encounter a problem with the product, professional staff are available to help diagnose the situation, investigate the cause, and propose appropriate solutions, including exchanges or repairs if necessary.
For inquiries regarding the usage of software or applications, or for specific malfunctions, please contact the manufacturer's official support channels directly.
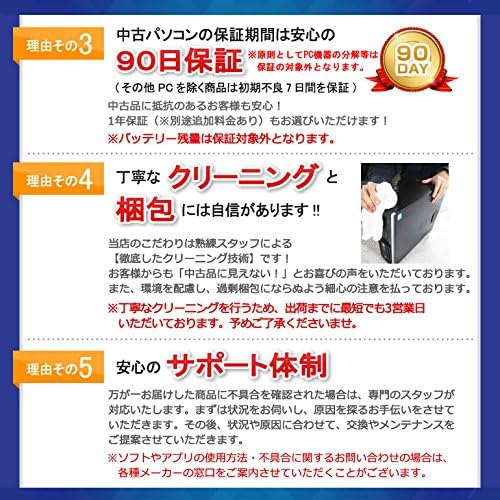
Image 6.2: An informational graphic outlining the comprehensive customer support system, including professional staff assistance for product issues.


