1. Introduction
Thank you for choosing the Karlsson Gummy Digital Alarm Clock. This manual provides essential information for the safe and efficient operation of your new alarm clock. Please read it thoroughly before use and retain it for future reference.
This digital alarm clock features a soft silicone exterior, a clear digital display, and essential functions like alarm and snooze, designed for ease of use and integration into any bedroom environment.
2. Safety Information
- Keep the device away from water and high humidity.
- Do not expose the device to direct sunlight or extreme temperatures.
- Use only the specified battery type (3 x AAA batteries).
- Ensure batteries are inserted with correct polarity (+/-).
- Remove batteries if the device will not be used for an extended period to prevent leakage.
- Dispose of used batteries responsibly according to local regulations.
- Do not attempt to disassemble or repair the device yourself. Contact qualified service personnel.
3. Package Contents
Please check the package for the following items:
- 1 x Karlsson Gummy Digital Alarm Clock (Model KA5753GY)
Note: 3 x AAA batteries are required for operation and are not included in the package.
4. Product Features
- Material: Soft Silicone exterior for a comfortable touch.
- Display: Clear Digital display showing hours and minutes.
- Functions: Classic Alarm function and Snooze button.
- Readability: Large numbers for easy reading, even in low light conditions with the light function.
- Power Source: Battery operated (3 x AAA batteries, not included).
- Dimensions: Approximately 7 cm (Height) x 14 cm (Width) x 5 cm (Depth).
5. Setup
5.1 Battery Installation
- Locate the battery compartment on the back of the alarm clock.
- Open the battery compartment cover by sliding it off.
- Insert 3 x AAA batteries, ensuring correct polarity (+ and -) as indicated inside the compartment.
- Close the battery compartment cover securely.

Image: Back view with battery compartment.
5.2 Initial Power On
Once batteries are installed, the digital display should light up, and the clock will be ready for time setting.
6. Operating Instructions
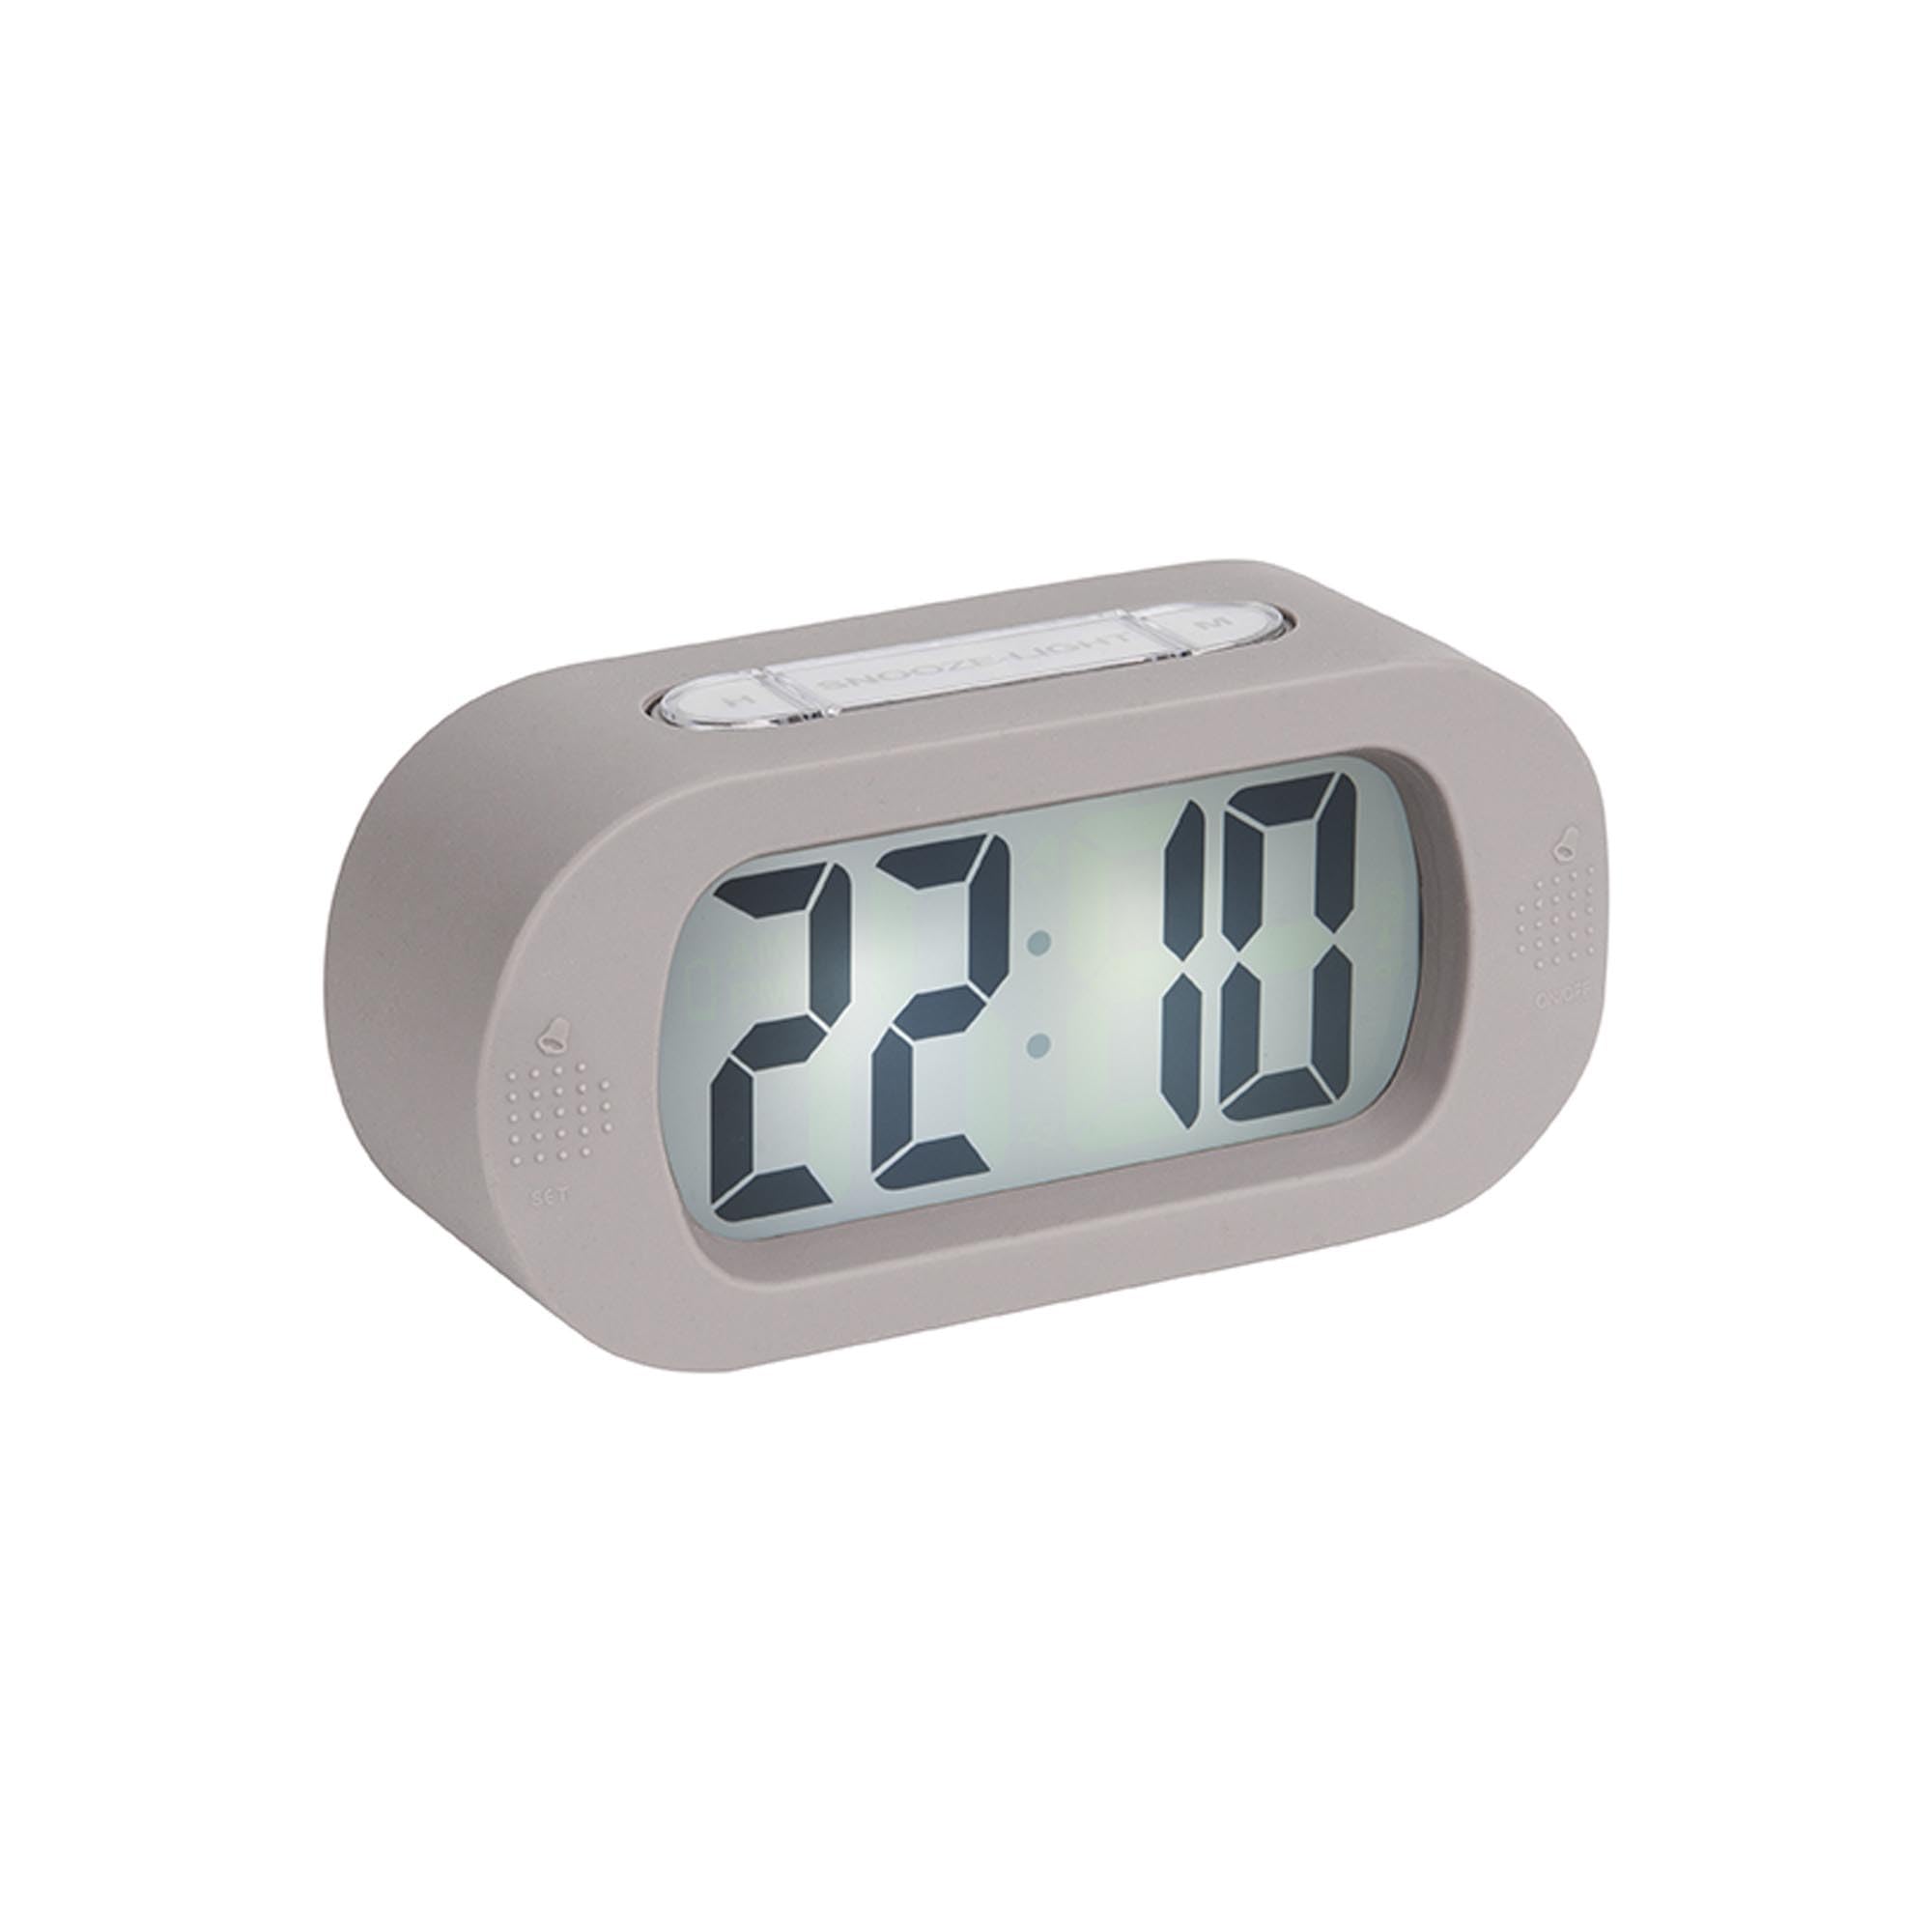
Image: Front view of the alarm clock.
6.1 Setting the Time
- Press and hold the "TIME SET" button (located on the back) until the hour digits start flashing.
- Use the "H" button (on top) to adjust the hour.
- Press the "TIME SET" button again to switch to minute setting.
- Use the "M" button (on top) to adjust the minutes.
- Press "TIME SET" one last time to confirm and exit time setting mode.
6.2 Setting the Alarm
- Press and hold the "SET" button (on the front bottom left) until the alarm hour digits start flashing.
- Use the "H" button to adjust the alarm hour.
- Press "SET" again to switch to alarm minute setting.
- Use the "M" button to adjust the alarm minutes.
- Press "SET" one last time to confirm and exit alarm setting mode.
6.3 Activating/Deactivating the Alarm
To turn the alarm on or off, locate the alarm switch or button (often on the side or back, indicated by an alarm icon). Slide or press it to toggle the alarm status. A small alarm icon on the display usually indicates the alarm is active.
6.4 Snooze Function
When the alarm sounds, press the large "SNOOZE/LIGHT" button on top of the clock. The alarm will pause for a few minutes (typically 5-9 minutes) and then sound again. You can repeat this process.
6.5 Light Function
Press the "SNOOZE/LIGHT" button briefly to illuminate the display for a few seconds, allowing you to read the time in the dark.
7. Maintenance
7.1 Cleaning
Wipe the clock with a soft, dry cloth. Do not use abrasive cleaners or solvents, as these may damage the silicone surface or display.
7.2 Battery Replacement
When the display dims or the alarm weakens, it's time to replace the batteries. Follow the battery installation steps in Section 5.1.
8. Troubleshooting
| Problem | Possible Cause | Solution |
|---|---|---|
| Display is blank or dim. | Batteries are low or incorrectly inserted. | Replace batteries with new 3 x AAA batteries, ensuring correct polarity. |
| Alarm does not sound. | Alarm is not activated or batteries are low. | Ensure the alarm is switched ON. Replace batteries if needed. |
| Time/Alarm cannot be set. | Buttons are not being pressed correctly or device is unresponsive. | Ensure you are pressing and holding the correct buttons as per instructions. Remove and reinsert batteries to reset the device. |
9. Specifications
- Model Number: KA5753GY
- Material: Silicone
- Color: Warm Grey
- Display Type: Digital
- Dimensions (H x W x D): Approximately 7 cm x 14 cm x 5 cm (2.76 x 5.51 x 1.97 inches)
- Weight: Approximately 220 grams (0.49 lbs)
- Power Source: 3 x AAA Batteries (not included)
- Special Features: Alarm, Snooze, Light
- Room Type: Bedroom
- Usage: Indoor
10. Warranty and Support
For warranty information and customer support, please refer to the retailer where you purchased the Karlsson Gummy Digital Alarm Clock or visit the official Karlsson website. Keep your proof of purchase for any warranty claims.
Online Support: www.karlssonclocks.com


