1. Introduction
Thank you for purchasing the BEBONCOOL Switch Pro Controller. This wireless controller is designed to enhance your gaming experience on Nintendo Switch and Switch Lite consoles. It features advanced functionalities such as HD vibration, a precise gyro sensor, and an ergonomic design for comfortable extended play. Please read this manual carefully before use to ensure proper operation and maintenance.

Figure 1: BEBONCOOL Switch Pro Controller Overview
2. Product Features
- Wireless Bluetooth Connectivity: Seamless connection to Nintendo Switch and Switch Lite.
- HD Vibration: Dual motor vibration for immersive gaming feedback.
- Gyro Sensor: Built-in 6-axis gyro sensor for precise motion control.
- Ergonomic Design: Comfortable grip for long gaming sessions, featuring anti-slip patterns.
- Long Battery Life: Equipped with a 400mAh lithium battery, providing 12-15 hours of playtime on a 2-3 hour charge.
- Responsive Buttons and Sticks: Light and sensitive buttons and precise analog sticks.
- Wide Compatibility: Compatible with all versions of Nintendo Switch and Switch Lite games.

Figure 2: Dual Vibration Motors for Enhanced Gaming Experience

Figure 3: Wireless Connectivity and Smart Chip for Broad Compatibility

Figure 4: Precise Analog Sticks for Accurate Control

Figure 5: Ergonomic Design with Anti-slip Grip for Comfort

Figure 6: Long-lasting 400mAh Battery for Extended Play
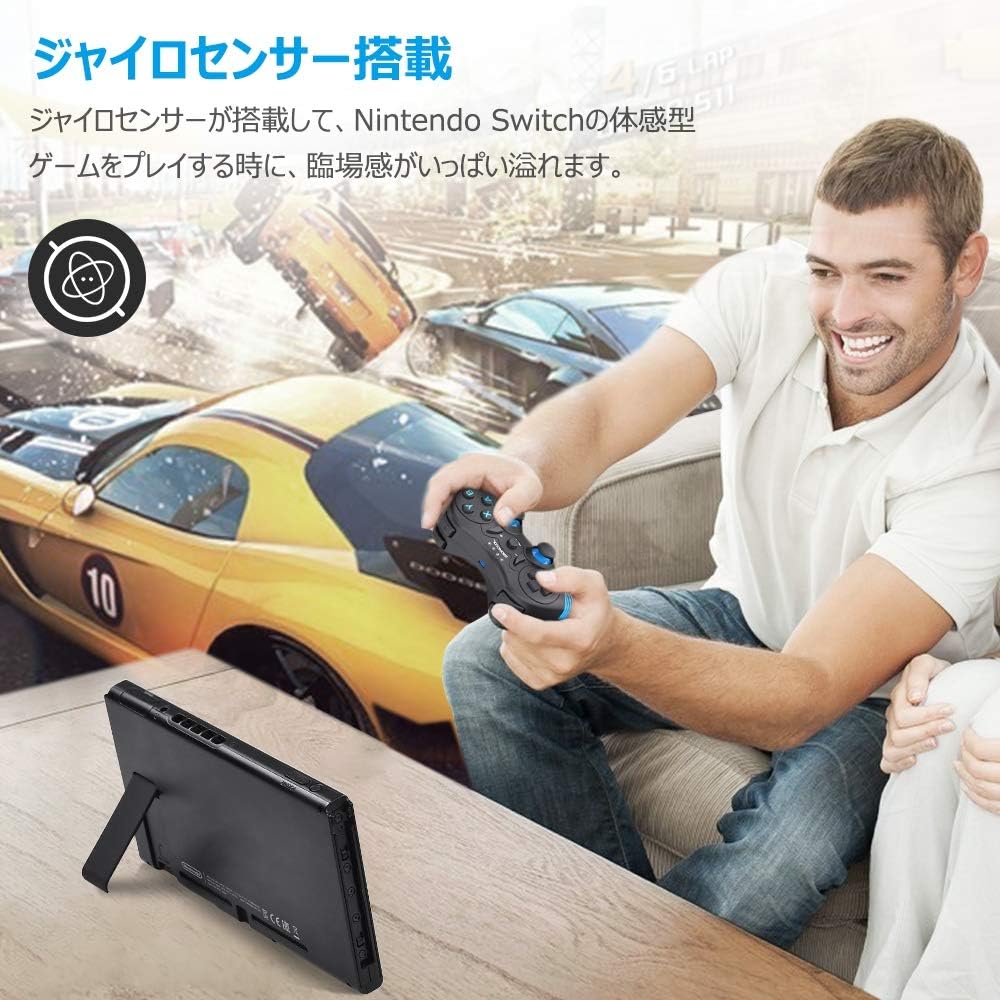
Figure 7: Gyro Sensor for Immersive Motion Control
3. Package Contents
- BEBONCOOL Switch Pro Controller x 1
- USB Charging Cable x 1
- User Manual x 1
4. Setup & Pairing
Follow these steps to connect your BEBONCOOL Switch Pro Controller to your Nintendo Switch console:
- From the Nintendo Switch HOME Menu, select "Controllers".
- Select "Change Grip/Order".
- On the BEBONCOOL controller, press and hold the Y button and the HOME button simultaneously until the 4 LED indicators on the controller begin to flash rapidly.
- Once the controller is successfully paired, the corresponding player LED(s) on the controller will light up solid.
If the controller does not pair, ensure it is charged and try the pairing process again. You can also try restarting your Nintendo Switch console.
5. Operating Instructions
5.1 Button Layout

Figure 8: Controller Button Layout and Basic Functions
| Button | Description |
|---|---|
| HOME Button | Powers on the controller, returns to HOME Menu. |
| +/- Buttons | Used for in-game menu navigation and specific functions. |
| Directional Pad (D-Pad) | Directional input. |
| ABXY Buttons | Standard action buttons. |
| L/R Stick Buttons | Analog stick input, also clickable for L3/R3 functions. |
| L1/R1 Buttons | Shoulder buttons. |
| L2/R2 Buttons | Trigger buttons. |
5.2 Adjusting Vibration Intensity
The controller supports 2-stage vibration adjustment. To adjust the vibration intensity, press and hold the L1, L2, R1, and R2 buttons simultaneously.
5.3 Taking Screenshots
To take a screenshot during gameplay, press the + button and the - button simultaneously.
6. Charging the Controller
The controller has a built-in 400mAh lithium battery. When the battery is low, the LED indicators will flash to alert you. To charge the controller:
- Connect the supplied USB charging cable to the controller's charging port.
- Connect the other end of the USB cable to a USB power source (e.g., Nintendo Switch dock, USB wall adapter, computer USB port).
- The charging time is approximately 2-3 hours for a full charge.
- The controller features a sleep function and will automatically shut down if there is no operation for five minutes to conserve battery.
7. Maintenance & Care
- Keep the controller dry. Avoid exposure to humidity, rain, or liquids.
- Do not expose the controller to extreme temperatures.
- Clean the controller with a soft, dry cloth. Do not use harsh chemicals or abrasive materials.
- Store the controller in a safe place when not in use to prevent damage.
8. Troubleshooting
8.1 Controller Not Connecting/Pairing
- Ensure the controller is fully charged.
- Verify that the Nintendo Switch console is updated to the latest system software.
- Repeat the pairing process as described in Section 4.
- Try restarting your Nintendo Switch console.
8.2 Firmware Update for Version 12.0.0 Compatibility
If you experience issues with the controller after updating your Nintendo Switch to version 12.0.0 or later, a firmware update for the controller may be required. Please visit the official DinoFire website to download the latest controller upgrade file and follow the provided instructions.

Figure 9: Firmware Update Information
9. Specifications
| Feature | Detail |
|---|---|
| Model | BEBONCOOL Switch Pro Controller |
| Connectivity | Bluetooth Wireless |
| Battery Capacity | 400 mAh Lithium Battery |
| Playtime | Approx. 12-15 hours (fully charged) |
| Charging Time | Approx. 2-3 hours |
| Dimensions | 20.7 x 15.7 x 7 cm |
| Weight | 310 g |
| Compatibility | Nintendo Switch, Switch Lite |
| Certifications | PSE, CE, Radio Wave Certification |
10. Warranty & Support
The BEBONCOOL Switch Pro Controller comes with a 3-year warranty, ensuring peace of mind. For any product inquiries, technical support, or warranty claims, please contact DinoFire customer service through the retailer where you purchased the product or visit the official DinoFire website.
Video 1: Product Overview and Features (B41 Switch Controller)