
1. Introduction
Thank you for purchasing the WamGra BY28 P Bluetooth Speaker Night Light Alarm Clock. This device combines a high-quality Bluetooth speaker, a versatile night light with touch control, a digital alarm clock, and an MP3 player, offering multiple functionalities in one compact unit. Please read this manual carefully to ensure proper use and optimal performance.

Image 1.1: The WamGra BY28 P Bluetooth Speaker Night Light Alarm Clock, showcasing its main design and available color variations.
2. Package Contents
Please check the package for the following items:
- WamGra BY28 P Bluetooth Speaker Night Light Alarm Clock x 1
- User Manual x 1
3. Product Overview
Familiarize yourself with the various parts and controls of your device.

Image 3.1: Overview of the device's features, including the control panel, Bluetooth connectivity, hands-free call function, and various input ports.
Control Panel (Top)
- Touch Mesh Net: Controls light modes and brightness.
- Power Button: Turns the device on/off, displays time when light is off.
- Mode Button: Switches between Bluetooth, MP3, AUX, and Clock modes.
- Volume Up/Next Track Button: Increases volume, skips to next track.
- Volume Down/Previous Track Button: Decreases volume, skips to previous track.
- Play/Pause/Call Button: Plays/pauses music, answers/ends calls.
Rear Ports
- Micro SD Card Slot: For playing MP3 files from a micro SD card.
- USB Host Port: For playing MP3 files from a USB flash drive.
- AUX-IN Port: For connecting external audio devices via a 3.5mm audio cable.
- USB DC 5V Charging Port: For charging the device.
- ON/OFF Switch: Main power switch.
4. Initial Setup
4.1 Charging the Device
- Before first use, fully charge the device.
- Connect the provided USB charging cable to the USB DC 5V charging port on the back of the speaker.
- Connect the other end of the cable to a USB power adapter (not included) or a computer USB port.
- The charging indicator light will illuminate. A full charge takes approximately 6 hours.
- Once fully charged, the indicator light will turn off or change color.
The built-in rechargeable battery provides approximately 8 hours of operation, depending on usage (volume, light brightness).
4.2 Power On/Off
- To power on, slide the ON/OFF switch on the back of the device to the 'ON' position. The display will light up.
- To power off, slide the ON/OFF switch to the 'OFF' position.
5. Operating Modes
5.1 Bluetooth Speaker Mode
The device functions as a Bluetooth 4.0 speaker, allowing wireless audio streaming from compatible devices up to 10 meters (32.81 feet).
- Ensure the device is powered on.
- Press the Mode button until you hear a voice prompt indicating Bluetooth mode. The Bluetooth indicator will flash.
- On your smartphone, tablet, or other Bluetooth-enabled device, enable Bluetooth and search for available devices.
- Select "BY28 P" from the list to pair. Once paired, you will hear a confirmation sound, and the Bluetooth indicator will stop flashing.
- You can now play audio from your connected device.
Hands-Free Calling
- When a call comes in during Bluetooth mode, press the Play/Pause/Call button to answer.
- Press the Play/Pause/Call button again to end the call.
- Press and hold the Play/Pause/Call button to reject an incoming call.
5.2 Night Light Mode
The device features a touch-activated lamp with warm white and color-changing light options.
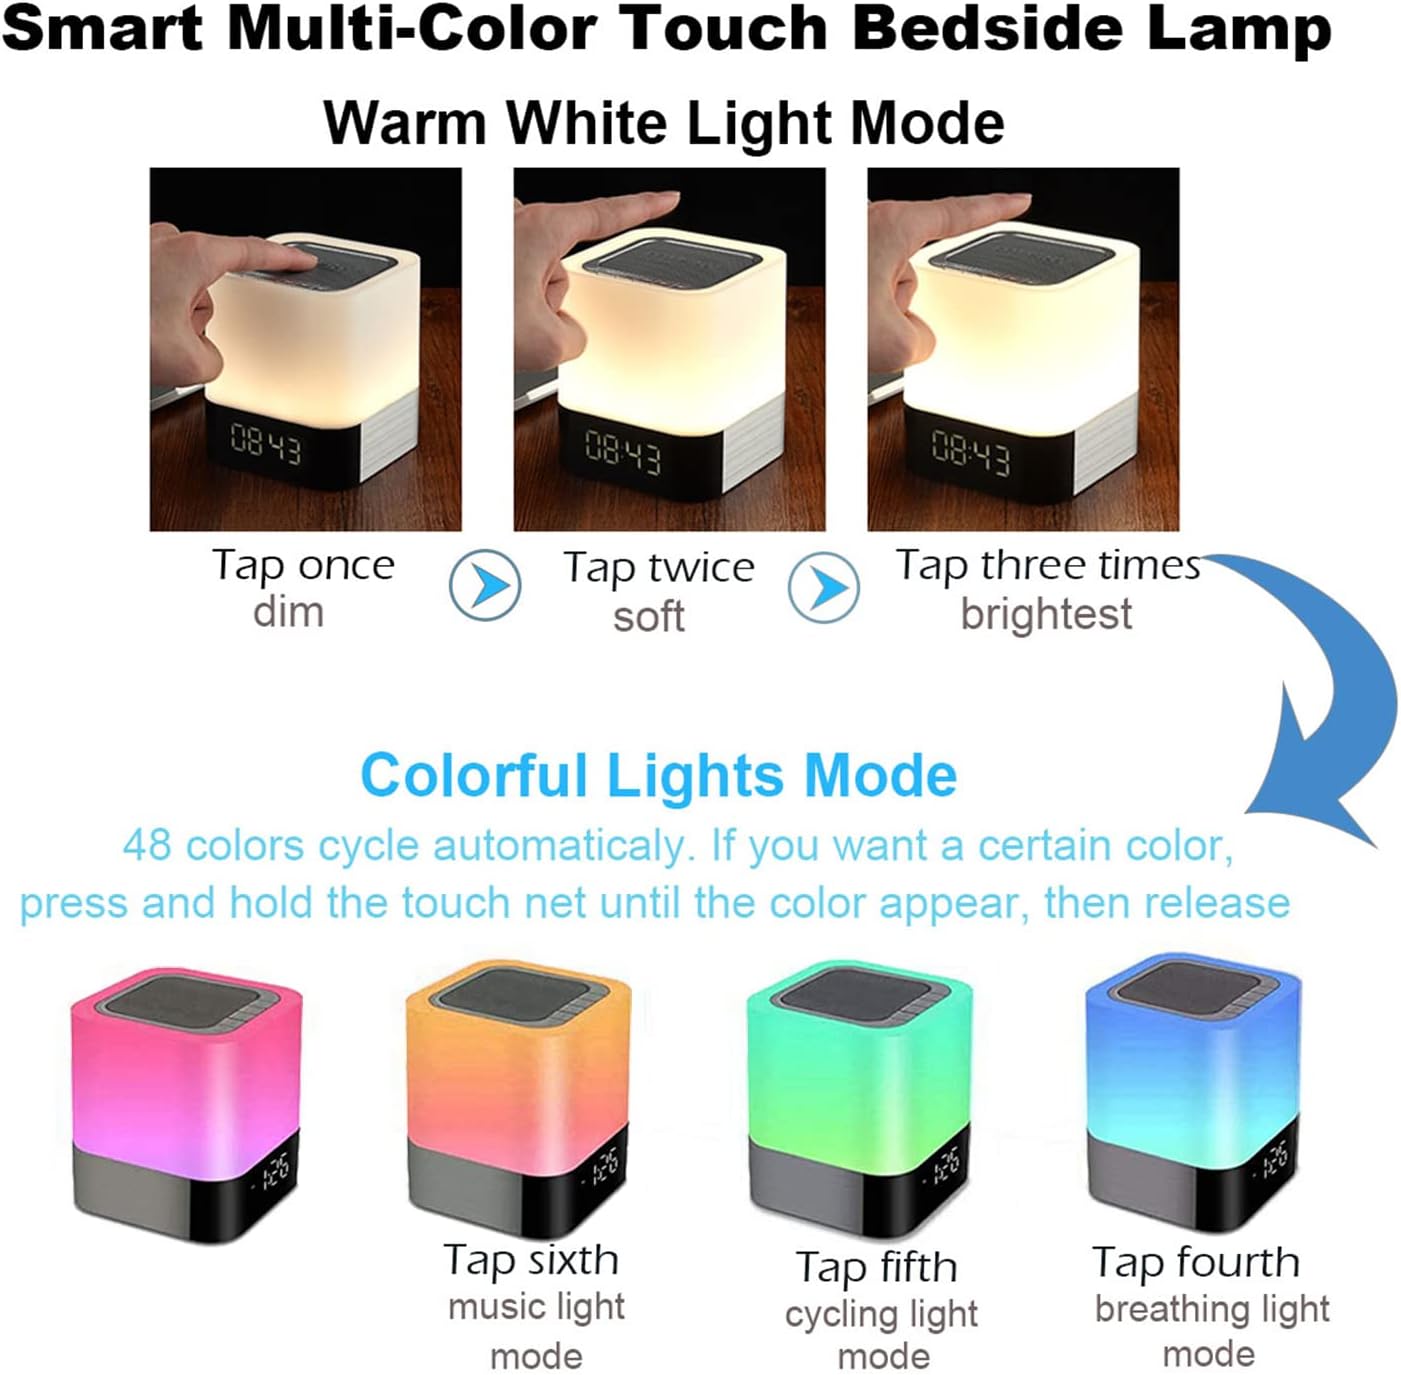
Image 5.1: Visual guide for controlling the warm white and colorful light modes using the touch mesh net.
Warm White Light Mode
- Tap the top mesh net once to turn on the dim warm white light.
- Tap a second time for soft warm white light.
- Tap a third time for the brightest warm white light.
- Tap a fourth time to turn off the warm white light.
Colorful Lights Mode (48 Colors)
- From any warm white light setting, press and hold the top mesh net until the light switches to the colorful mode.
- The colors will cycle automatically.
- To select a specific color, press and hold the touch net again when your desired color appears, then release. The light will stay on that color.
- To switch back to automatic color cycling, tap the mesh net.
- To turn off the colorful light, tap the mesh net until the light turns off.
5.3 Alarm Clock Mode
The device features a digital alarm clock with snooze function and the ability to set custom alarm sounds.
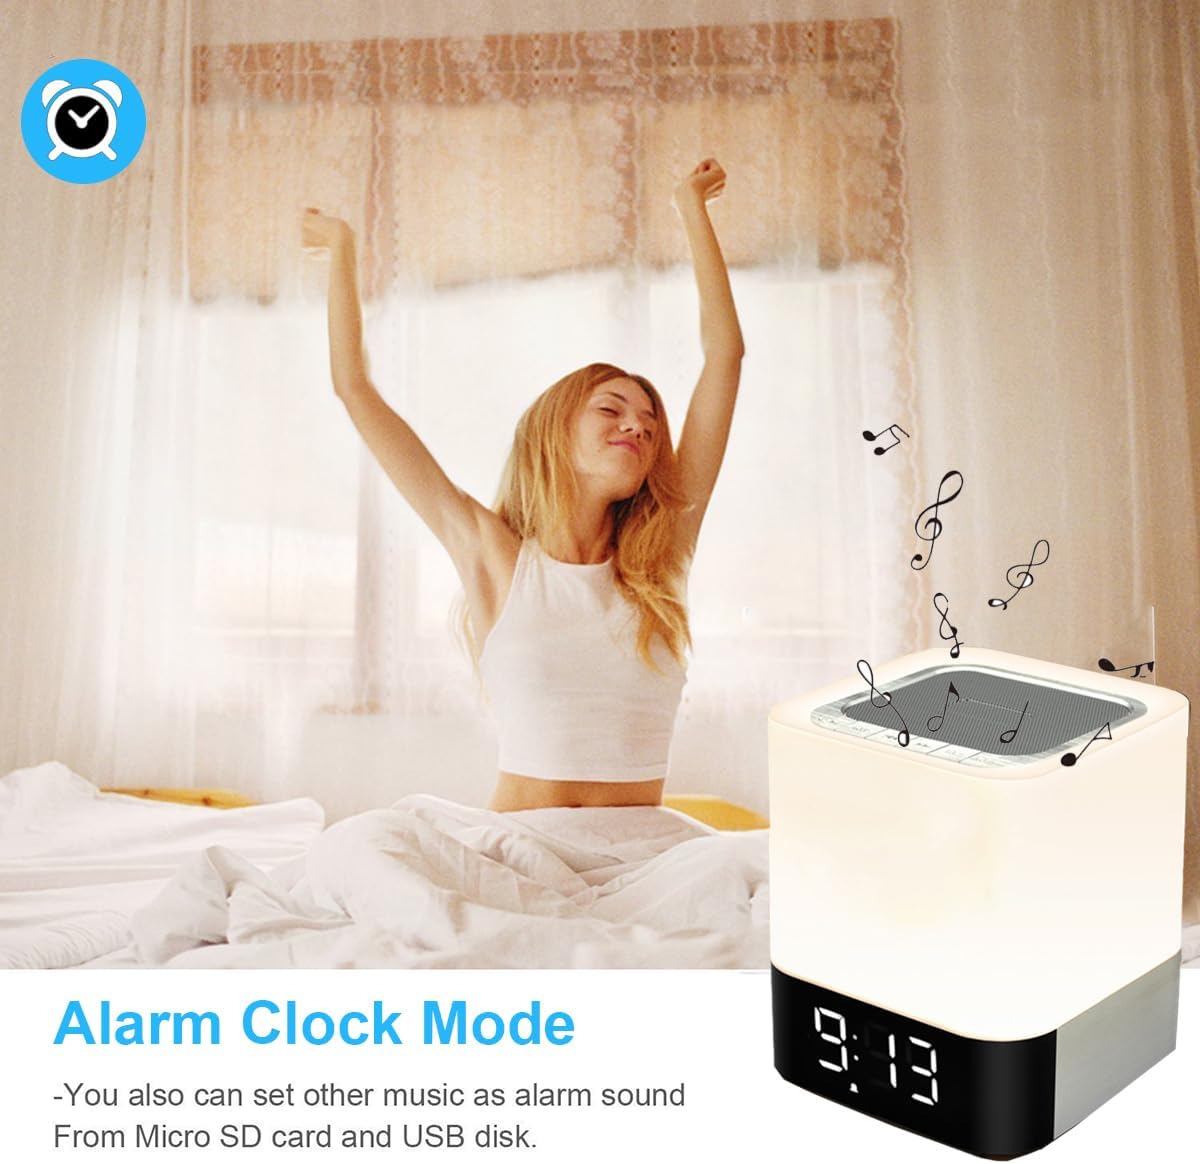
Image 5.2: The alarm clock mode, highlighting the option to use custom MP3 songs as alarm sounds.
Setting the Time
- Press the Mode button until the clock display is active.
- Press and hold the Mode button until the hour digits start flashing.
- Use the Volume Up/Next Track and Volume Down/Previous Track buttons to adjust the hour.
- Press the Mode button again to switch to minute adjustment. Adjust minutes using the volume buttons.
- Press the Mode button a third time to confirm the time setting.
Setting the Alarm
- In clock display mode, press the Alarm Clock button (usually indicated by an alarm icon, or a long press of the Mode button after time setting).
- The alarm hour digits will flash. Use the Volume Up/Next Track and Volume Down/Previous Track buttons to set the alarm hour.
- Press the Alarm Clock button again to switch to minute adjustment. Adjust minutes using the volume buttons.
- Press the Alarm Clock button a third time to confirm the alarm setting. The alarm icon will appear on the display.
Custom Alarm Sound (MP3)
- To use your favorite song as an alarm, save an MP3 file to a micro SD card or USB flash drive.
- Create a folder named "ALARM" on the root directory of your micro SD card or USB flash drive and place your desired MP3 file(s) inside.
- Insert the micro SD card or USB flash drive into the corresponding port on the device.
- The device will automatically use the MP3 file(s) in the "ALARM" folder as the alarm sound.
Snooze Function
- When the alarm rings, tap the top mesh net once to activate the snooze function. The alarm will ring again after 5 minutes.
- To stop the alarm completely, quickly tap the top mesh net twice.
5.4 MP3 Player Mode
Play music directly from a micro SD card or USB flash drive.
- Insert a micro SD card or USB flash drive containing MP3 files into the corresponding port.
- Press the Mode button until you hear a voice prompt indicating MP3 mode (or card/USB mode).
- The device will automatically start playing the MP3 files.
- Use the Volume Up/Next Track and Volume Down/Previous Track buttons to navigate tracks.
- Use the Play/Pause button to pause or resume playback.
5.5 AUX-IN Mode
Connect external audio devices using a 3.5mm audio cable.
- Connect one end of a 3.5mm audio cable (not included) to the AUX-IN port on the back of the speaker.
- Connect the other end to the audio output jack of your external device (e.g., MP3 player, laptop).
- Press the Mode button until you hear a voice prompt indicating AUX mode.
- Play audio from your external device. Volume can be controlled via both the speaker and the external device.
6. Maintenance
- Clean the device with a soft, dry cloth. Do not use abrasive cleaners or solvents.
- Keep the device away from water and excessive moisture. Although it has some water resistance, it is not fully waterproof.
- Avoid exposing the device to extreme temperatures or direct sunlight.
- If not used for a long period, charge the battery at least once every three months to prolong its lifespan.
7. Troubleshooting
| Problem | Possible Solution |
|---|---|
| Device does not power on. | Ensure the ON/OFF switch is in the 'ON' position. Check battery level and charge the device if necessary. |
| No sound from speaker. | Check volume levels on both the speaker and the connected device. Ensure the correct mode (Bluetooth, MP3, AUX) is selected. For Bluetooth, ensure successful pairing. |
| Bluetooth pairing fails. | Ensure the speaker is in Bluetooth mode and discoverable. Turn off and on Bluetooth on your device. Move the speaker closer to your device. |
| Light does not respond to touch. | Ensure the device is powered on. Try tapping the mesh net firmly. |
| Alarm does not sound. | Verify the alarm time is set correctly and the alarm function is activated (alarm icon visible). Ensure MP3 files for custom alarms are correctly placed in an "ALARM" folder on the root directory of the storage device. |
8. Specifications
| Feature | Detail |
|---|---|
| Model Name | BY28 P |
| Brand | WamGra |
| Product Dimensions | 3.9"D x 3.9"W x 4.4"H (10cm D x 10cm W x 11.2cm H) |
| Item Weight | 1.35 Pounds (0.61 kg) |
| Speaker Type | Portable Bluetooth Speaker |
| Speaker Maximum Output Power | 5 Watts |
| Wireless Communication Technology | Bluetooth 4.0 |
| Bluetooth Range | 10 Meters (32.81 Feet) |
| Connectivity Technology | Bluetooth, Auxiliary (3.5mm), USB |
| Control Method | Touch |
| Power Source | Battery Powered (1 Lithium Ion battery included) |
| Battery Capacity | 4400 mAh |
| Charging Time | Approximately 6 Hours |
| Special Features | Color Changing Light, Dimmable Light, Rechargeable, MP3 Player, Hands-Free Call |
9. Warranty and Support
This product comes with a limited warranty. Please refer to the warranty information provided at the time of purchase for details regarding coverage and duration.
For technical support, troubleshooting assistance, or warranty claims, please contact your retailer or the manufacturer directly. Contact information can typically be found on the product packaging or the brand's official website.