1. Introduction
This manual provides detailed instructions for the assembly, operation, and maintenance of your VINGLI 8FT Ornamental Windmill. Designed as an attractive garden feature, this windmill also functions as a weather vane, indicating wind speed and direction. Please read this manual thoroughly before installation and use to ensure proper setup and longevity of your product.
The VINGLI 8FT Ornamental Windmill is constructed from durable steel and iron, featuring a rust-resistant finish for extended outdoor use. Its four-leg design provides stability, and the wind-powered operation requires no external power source.

Image 1.1: The VINGLI 8FT Ornamental Windmill in a garden.
2. Setup and Installation
Assembly of the VINGLI 8FT Ornamental Windmill requires careful attention to detail. It is recommended that two or more individuals assist with the assembly due to the product's size (approximately 26 inches L x 26 inches W x 96 inches H).
2.1 Unpacking and Component Check
- Carefully unpack all components from the packaging.
- Verify that all parts listed in the included parts list are present and undamaged.
- Wear gloves during assembly to protect hands.
2.2 Assembly Steps
- Begin by assembling the base legs. Ensure all connections are secure. Refer to the diagram for proper orientation of the support legs.
- Attach the cross-bracing elements between the legs to enhance structural rigidity.
- Assemble the upper frame sections, gradually building the tower structure.
- Mount the windmill head assembly, including the fan blades and tail fin, to the top of the tower. Ensure the roller bearings are properly seated for smooth rotation.
- Secure all bolts and nuts. It is crucial that all fasteners are tightened appropriately to ensure stability.

Image 2.1: Product dimensions for assembly reference.
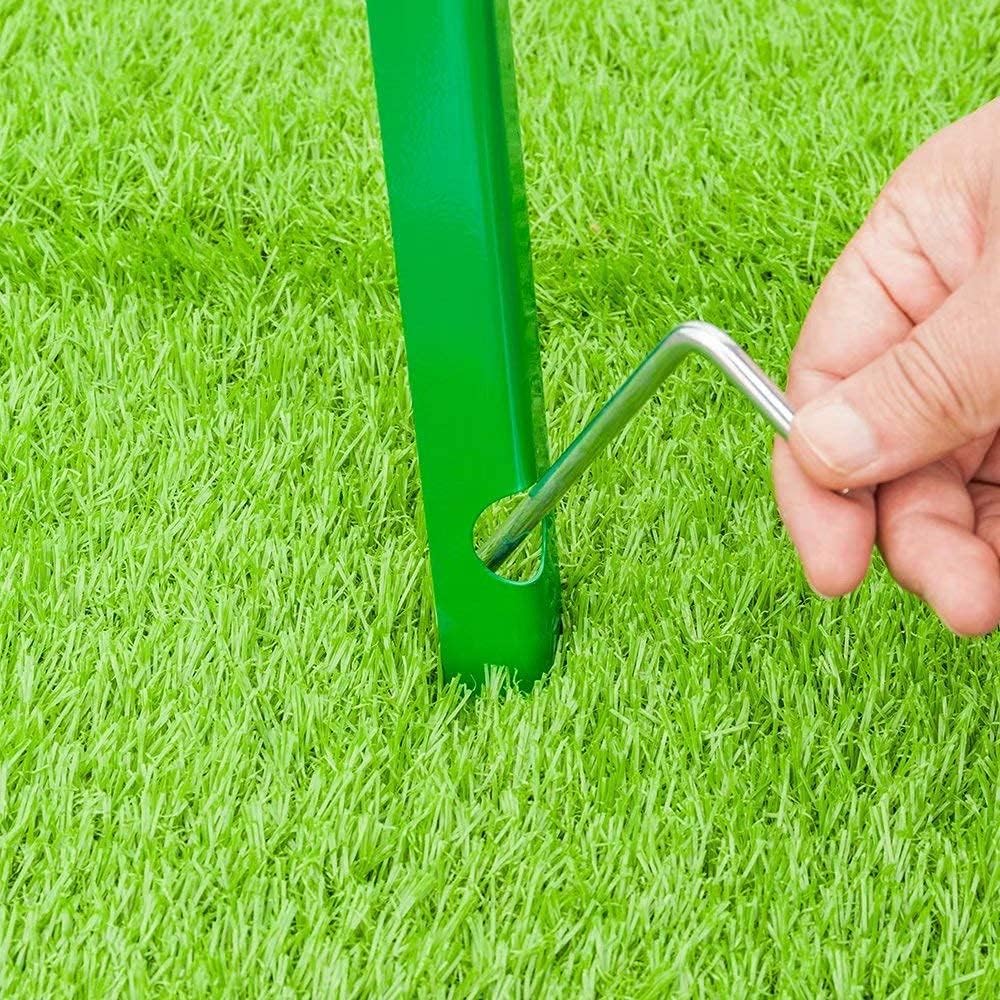
Image 2.2: Detail of a leg connection point.

Image 2.3: Illustration of secure screw connections for enhanced stability.
2.3 Ground Anchorage
The windmill includes a unique ground anchorage system with bolted legs to support it in strong winds. It is highly recommended to utilize these stakes for maximum stability. For areas with very high winds or unstable ground, consider additional anchoring methods such as concrete footings.

Image 2.4: Ground stake installation for stability.
Important Note: This 8-foot windmill is not designed for areas with severe weather conditions, such as mountainous regions prone to extreme winds.
3. Operating Instructions
The VINGLI Ornamental Windmill operates solely on wind power, requiring no batteries or electrical connections. Its design allows the wheel to turn smoothly and quietly with the wind, facilitated by roller bearings.
- Wind Direction: The tail fin of the windmill will orient the fan blades into the wind, allowing it to rotate and indicate the prevailing wind direction.
- Wind Speed: The speed of the rotating blades will correspond to the wind speed.
- Quiet Operation: The integrated roller bearings ensure the windmill operates with minimal noise.
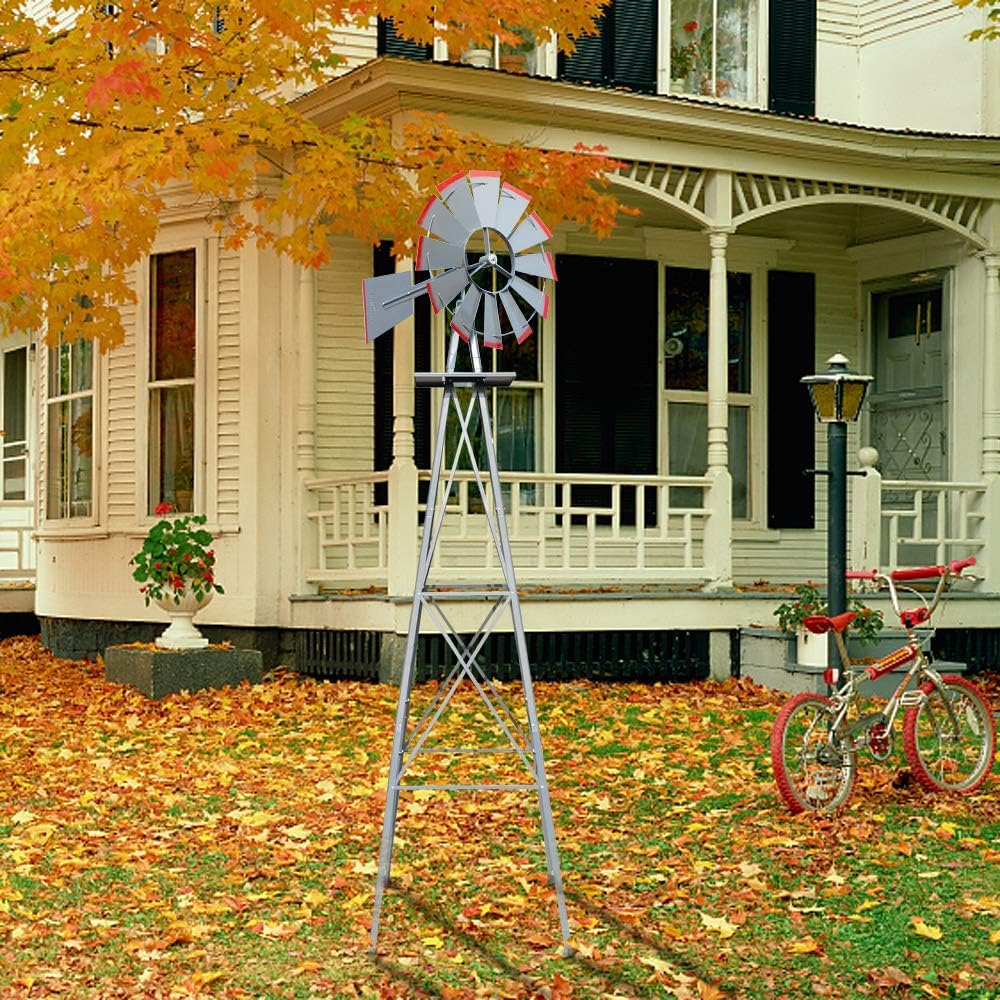
Image 3.1: Windmill in an outdoor setting.
4. Maintenance
Regular maintenance will help ensure the longevity and optimal performance of your VINGLI Ornamental Windmill.
- Lubrication: Periodically apply a suitable lubricant to the windmill rod and any moving parts to ensure smooth and quiet operation.
- Inspection: Regularly inspect all bolts, nuts, and connections for tightness. Tighten any loose fasteners to maintain structural integrity.
- Cleaning: Clean the windmill periodically with a damp cloth to remove dirt and debris. Avoid abrasive cleaners that could damage the finish.
- Rust Prevention: Although the windmill features a rust-proof finish, inspect for any signs of rust, especially in areas where the paint may have chipped. Touch up with appropriate outdoor metal paint if necessary.
- Stability Check: After severe weather conditions, check the ground anchorage and overall stability of the windmill. Re-secure stakes or consider additional anchoring if movement is detected.
5. Troubleshooting
This section addresses common issues you might encounter with your VINGLI Ornamental Windmill.
5.1 Windmill Not Spinning Smoothly or Quietly
- Cause: Lack of lubrication or obstruction in the bearings.
- Solution: Apply lubricant to the windmill rod and check for any debris or foreign objects obstructing the rotation.
5.2 Windmill Appears Unstable or Wobbles
- Cause: Loose fasteners or inadequate ground anchorage.
- Solution: Inspect all bolts and nuts, tightening any that are loose. Ensure the ground anchorage system is fully utilized and secure. For very windy locations, consider reinforcing the base with concrete or additional stakes.
5.3 Difficulty During Assembly
- Cause: Complex instructions or misinterpretation of diagrams.
- Solution: Review the assembly diagrams carefully. It is often helpful to have a second person assist with assembly. If issues persist, contact customer support for further guidance.
6. Specifications
| Feature | Detail |
|---|---|
| Brand | VINGLI |
| Model Number | VLwindmill |
| Color | Gray |
| Material | Steel, Iron |
| Product Dimensions | 26"W x 96"H (8 feet tall) |
| Item Weight | 24.2 pounds |
| Special Feature | Rust Resistant |
| Blade Shape | Round |
| Power Source | Wind Powered (No batteries required) |
| UPC | 611890873669 |
7. Warranty and Support
VINGLI stands behind the quality of its products. If you encounter any issues with your VINGLI 8FT Ornamental Windmill, please contact our customer support team.
7.1 Warranty Information
If there is any problem with the item, please feel free to contact us and provide pictures for us to solve the problem. We will offer solutions to you within 24 hours.
7.2 Customer Support
For assistance, please visit the official VINGLI website or contact VINGLI customer support through your purchase platform. When contacting support, please have your model number (VLwindmill) and purchase details readily available.


