1. Introduction
This manual provides essential information for the proper installation, operation, maintenance, and troubleshooting of your MOLEI-AUTO Ignition Coil, OE No. 19070-B1020. Please read this manual thoroughly before installation and retain it for future reference. Correct installation and maintenance are crucial for optimal performance and longevity of the product.
2. Product Overview
The MOLEI-AUTO Ignition Coil (OE No. 19070-B1020) is a critical component of your vehicle's ignition system. Its primary function is to transform the battery's low voltage into the thousands of volts required to create an electric spark in the spark plugs, igniting the fuel-air mixture in the engine's cylinders. This product is supplied as a set of four (4) ignition coils.

Figure 1: Main view of the MOLEI-AUTO Ignition Coil. This image displays the overall structure of the ignition coil, including the high-voltage output end and the electrical connector.

Figure 2: Side view of the ignition coil, highlighting the electrical connector housing. This view shows the mounting bracket and the multi-pin connector for the vehicle's wiring harness.
3. Compatibility
This ignition coil (OE No. 19070-B1020) is compatible with various Toyota and Daihatsu vehicle models. Please verify the OE number on your existing part to ensure proper fitment before installation. Compatible models include:
- Toyota Vios / Soluna Vios
- Toyota Avanza (F601, F602)
- Toyota Rush (J200E) [GR]
- Toyota BB (QNC2#) [JP]
- Toyota Passo Sette (M502E, M512E) [JP]
- Toyota Lite/Townace (S402#, S412#) [JP]
- Toyota Rush (J200E, J210E) [JP]
- Daihatsu Avanza (F601, F602) [US]
- Daihatsu Rush (J200E) [US]
If you are unsure about compatibility, consult a qualified mechanic or contact MOLEI-AUTO support with your vehicle's make, model, and year.
4. Safety Information
Always prioritize safety when working on your vehicle's engine. Failure to follow safety precautions can result in serious injury or damage to the vehicle.
- Disconnect Battery: Always disconnect the negative terminal of the vehicle's battery before performing any electrical work.
- Engine Cool Down: Ensure the engine is completely cool before beginning work to prevent burns.
- Eye Protection: Wear appropriate eye protection (safety glasses) to shield against debris.
- Gloves: Use work gloves to protect your hands.
- Professional Assistance: If you are not confident in your ability to perform the installation, seek assistance from a certified automotive technician.
- High Voltage: Ignition coils generate high voltage. Exercise extreme caution and avoid contact with the coil or spark plug wires when the engine is running or the ignition is on.
5. Setup and Installation
Installation of ignition coils typically involves a screw-in and bolt-on process. The following steps are general guidelines. Refer to your vehicle's specific service manual for detailed instructions.
- Preparation:
- Park the vehicle on a level surface and engage the parking brake.
- Ensure the engine is off and cool.
- Disconnect the negative terminal of the battery.
- Locate the ignition coils on the engine. They are usually mounted directly on top of the spark plugs or connected via spark plug wires.
- Removal of Old Coils:
- Carefully disconnect the electrical connector from each ignition coil by pressing the release tab and pulling.
- Unscrew any bolts or fasteners securing the ignition coil to the engine or valve cover.
- Gently pull the old ignition coil straight up to remove it from the spark plug well. Avoid twisting or bending.
- Installation of New Coils:
- Inspect the new MOLEI-AUTO ignition coil for any visible damage.
- Apply a small amount of dielectric grease to the inside of the rubber boot at the bottom of the new coil (where it connects to the spark plug) to aid in sealing and future removal.
- Carefully insert the new ignition coil into the spark plug well, ensuring it seats properly onto the spark plug.
- Secure the coil with the appropriate bolts or fasteners. Tighten to the manufacturer's specified torque (refer to your vehicle's service manual).
- Reconnect the electrical connector to the new ignition coil until it clicks into place. Ensure a secure connection.
- Final Steps:
- Repeat the process for all ignition coils being replaced.
- Reconnect the negative terminal of the battery.
- Start the engine and check for proper operation. Listen for any unusual noises or observe any warning lights.
Note: It is recommended to replace all ignition coils simultaneously for consistent engine performance, especially if they are of similar age and mileage.
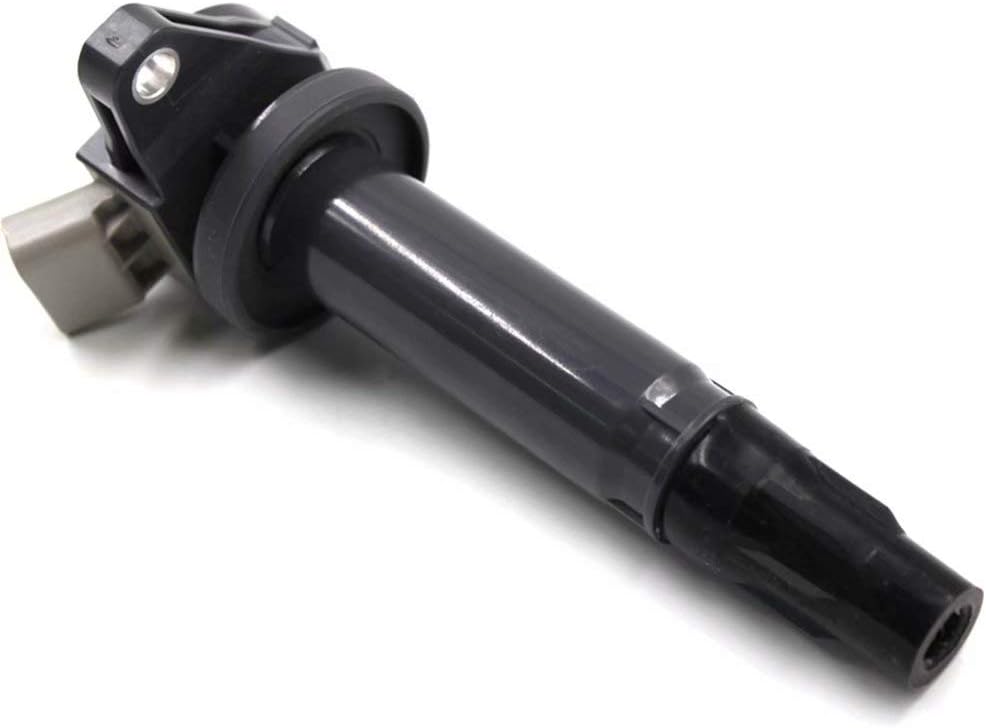
Figure 3: Angled view of the ignition coil, showing the mounting point and the high-voltage boot. This perspective helps in understanding how the coil is secured and connects to the spark plug.
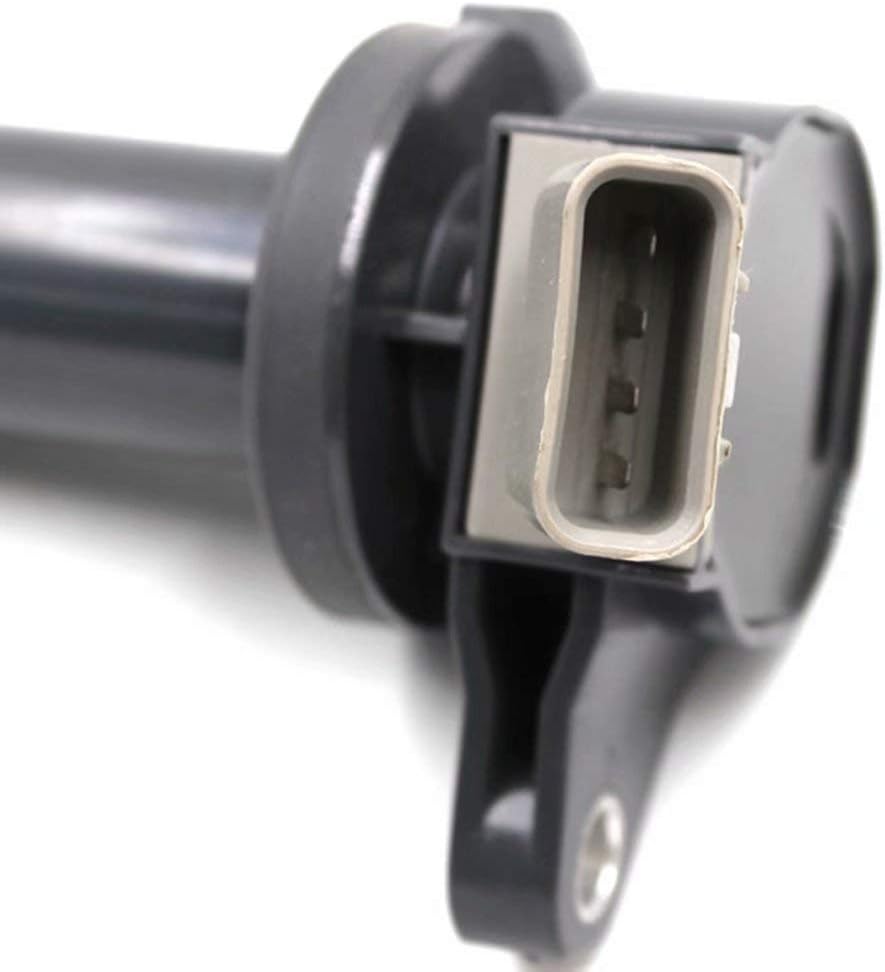
Figure 4: Close-up view of the electrical connector pins on the ignition coil. This detail is important for ensuring proper alignment and connection with the vehicle's wiring harness.
6. Operating Instructions
Once properly installed, the MOLEI-AUTO Ignition Coil operates automatically as part of your vehicle's engine management system. There are no user-adjustable settings or operational controls for the ignition coil itself. Its function is to reliably provide the necessary high voltage to the spark plugs for combustion.
Ensure that all electrical connections are secure and free from corrosion to maintain optimal performance.
7. Maintenance
Ignition coils are generally maintenance-free components. However, regular inspection of related ignition system parts can help ensure their longevity and proper function:
- Spark Plugs: Replace spark plugs according to your vehicle manufacturer's recommended schedule. Worn spark plugs can put additional strain on ignition coils.
- Wiring: Periodically inspect the wiring harnesses and connectors leading to the ignition coils for signs of wear, fraying, or corrosion.
- Cleanliness: Keep the engine bay clean and free of excessive dirt, oil, or moisture, which can degrade electrical components over time.
8. Troubleshooting
If you experience issues after installing new ignition coils or suspect a coil failure, consider the following common symptoms and potential solutions:
| Symptom | Possible Cause | Solution |
|---|---|---|
| Engine Misfire / Rough Idle | Faulty ignition coil, worn spark plug, poor electrical connection. | Check for diagnostic trouble codes (DTCs). Inspect coil connections. Test or replace suspected coil/spark plug. |
| Check Engine Light (CEL) On | Ignition system fault detected by the vehicle's computer. | Retrieve DTCs using an OBD-II scanner. Codes like P030X (misfire in cylinder X) often indicate coil issues. |
| Reduced Fuel Economy | Inefficient combustion due to weak spark. | Address any misfires or ignition system faults. |
| Difficulty Starting | Insufficient spark to ignite fuel. | Check battery, starter, and ignition system components including coils. |
For accurate diagnosis, it is highly recommended to use an OBD-II scanner to read diagnostic trouble codes (DTCs) and consult a professional mechanic.
9. Specifications
- Brand: MOLEI-AUTO
- OE Part Number: 19070-B1020
- Model: Ignition Coil
- Installation Type: Screw-In, Bolt-On
- UPC: 787414809503
- Vehicle Service Type: Car
10. Warranty and Support
Warranty: This MOLEI-AUTO Ignition Coil comes with a 1-year warranty. If the product experiences a quality-related issue within one year of purchase, it may be eligible for return or exchange. Please retain your proof of purchase.
Customer Support: For technical assistance, compatibility inquiries, or warranty claims, please contact MOLEI-AUTO customer support. Refer to your purchase documentation for specific contact details or visit the official MOLEI-AUTO website.


