1. Introduction
This manual provides essential information for the installation, maintenance, and troubleshooting of the YOTON Fuser Drive Gear RU6-0018-000. This component is designed as a replacement part for specific HP LaserJet printer models, ensuring proper operation of the fuser unit. Please read these instructions carefully before attempting any installation or repair.
2. Product Overview
The YOTON Fuser Drive Gear RU6-0018-000 is a critical component within the fuser assembly of compatible HP LaserJet printers. It consists of two gears, typically with 23 teeth and 56 teeth, which work in conjunction to drive the fuser rollers. The fuser unit is responsible for bonding toner to paper using heat and pressure, making the drive gear essential for the printing process.
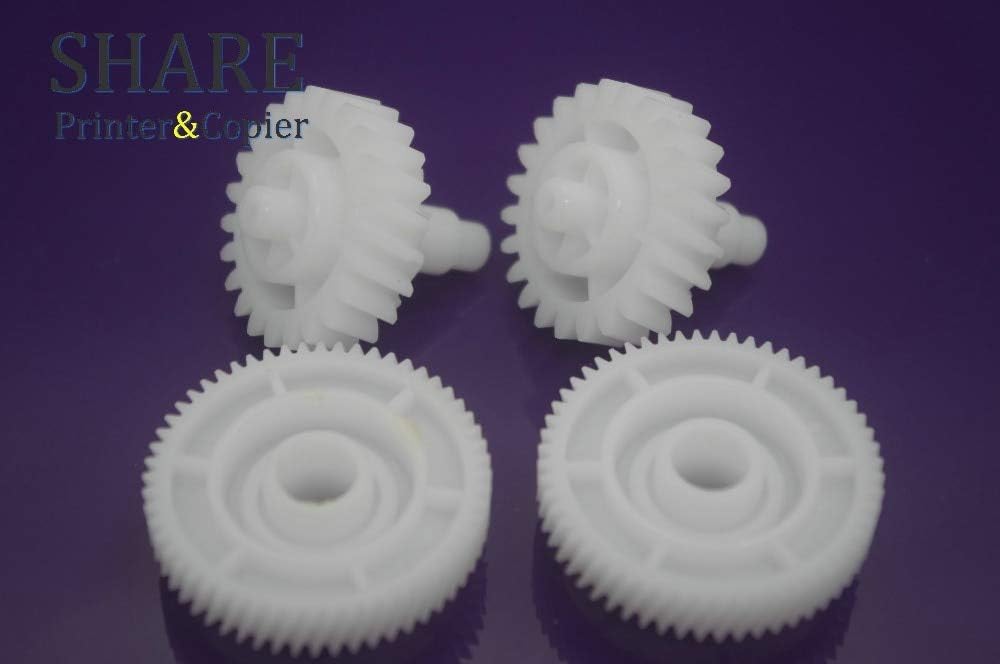
Image 1: A set of four YOTON Fuser Drive Gears, showing the distinct tooth counts on each gear. These gears are typically white plastic and are crucial for the fuser unit's operation.

Image 2: A close-up view of the YOTON Fuser Drive Gears, highlighting the gear teeth and central mounting points. This image provides a detailed look at the component's structure.
3. Compatibility
This YOTON Fuser Drive Gear (RU6-0018-000) is compatible with the following HP LaserJet printer models:
- HP LaserJet P1505
- HP LaserJet P1505n
- HP LaserJet M1522n
- HP LaserJet M1120n
Please verify your printer model number before purchasing or installing this part to ensure proper fit and function.
4. Installation
4.1. Safety Precautions
- Disconnect Power: Always unplug the printer from the power outlet before beginning any service or installation.
- Allow Cooling: The fuser unit operates at high temperatures. Allow the printer to cool down completely (at least 30 minutes) before touching any internal components, especially the fuser.
- Static Electricity: Take precautions against electrostatic discharge (ESD) by grounding yourself before handling sensitive electronic components.
- Consult Service Manual: For detailed, model-specific disassembly and reassembly instructions, refer to your printer's official service manual. This guide provides general steps.
4.2. Tools Required
- Phillips head screwdriver
- Flathead screwdriver (optional, for prying)
- Needle-nose pliers (optional)
- ESD-safe mat or wrist strap (recommended)
4.3. Installation Procedure (General Steps)
The following steps are general guidelines. Specific disassembly and reassembly procedures vary by printer model. Always refer to your printer's service manual for precise instructions.
- Prepare the Printer: Ensure the printer is powered off and unplugged. Allow it to cool down.
- Access the Fuser Unit: Carefully remove the necessary covers and components to gain access to the fuser assembly. This often involves removing rear or side panels.
- Locate the Fuser Drive Gears: Identify the existing fuser drive gears within the fuser unit. They are typically located on the side of the fuser assembly.
- Remove Old Gears: Gently pry or slide off the old, worn, or damaged gears. Note their orientation and position for correct reinstallation.
- Install New Gears: Carefully place the new YOTON Fuser Drive Gears (RU6-0018-000) into their correct positions. Ensure they are seated properly and mesh smoothly with adjacent gears.
- Reassemble Printer: Reinstall all removed covers and components in reverse order of disassembly. Ensure all screws are tightened appropriately and no cables are pinched.
- Test Printer: Plug in the printer and power it on. Print a test page to confirm proper operation of the fuser unit and overall printer functionality.
5. Maintenance
Proper maintenance can extend the life of your fuser drive gears and ensure consistent print quality.
- Regular Inspection: Periodically inspect the fuser drive gears for signs of wear, such as chipped teeth, cracks, or excessive play.
- Cleaning: If accessible, gently clean any dust or debris from the gears using a soft, dry cloth or compressed air. Avoid using liquids or solvents.
- Avoid Overloading: Ensure the printer is not consistently overloaded with print jobs beyond its recommended duty cycle, as this can accelerate wear on mechanical components.
6. Troubleshooting
If you experience issues after replacing the fuser drive gears, consider the following:
- Grinding Noises: If you hear grinding or unusual noises, the gears may not be seated correctly or might be misaligned. Power off the printer, unplug it, and re-check the installation.
- Paper Jams in Fuser Area: Incorrectly installed gears or other fuser unit issues can lead to paper jams. Ensure all components are properly aligned and secured.
- Poor Print Quality (Smudging/Fading): While less directly related to drive gears, a malfunctioning fuser unit (which the gears drive) can cause print quality issues. If the gears are installed correctly, other fuser components might need inspection.
- Printer Error Codes: If the printer displays specific error codes related to the fuser or a mechanical fault, consult your printer's service manual for the meaning of the code and recommended actions.
If problems persist, it is recommended to consult a qualified printer technician.
7. Specifications
| Feature | Detail |
|---|---|
| Part Number | RU6-0018-000 |
| Gear Teeth Count | 23T, 56T |
| Compatible Brand | HP |
| Compatible Models | HP LaserJet P1505, P1505n, M1522n, M1120n |
| Material | Plastic (typically) |
8. Warranty and Support
For information regarding the warranty of your YOTON Fuser Drive Gear RU6-0018-000, please refer to the specific terms and conditions provided by your retailer or the manufacturer at the time of purchase. For technical support or further assistance, please contact the seller or YOTON customer service directly.


