Introduction
This manual provides detailed instructions for the installation, operation, and maintenance of your AntLux 4ft 50W Full Spectrum LED Grow Light. This fixture is designed to support all stages of plant growth, from seedling to flowering, in various indoor environments such as greenhouses and hydroponic setups. Please read this manual thoroughly before use to ensure safe and optimal performance.
Key Features
- Full Spectrum Light: Includes red, blue, white, IR, and UV wavelengths to enhance plant growth across all stages (seeding, vegetative, flowering).
- Efficient Design: Features an integrated reflector to minimize light loss and optimize heat dissipation. Equipped with high-precision, high-efficiency LED drivers.
- Easy Installation: Comes with a US plug and ON/OFF pull chain for simple plug-and-play operation. Supports both hanging and surface mount installations without complex wiring.
- Energy Saving: Utilizes high-efficiency LEDs, reducing energy consumption by up to 70% compared to traditional fluorescent tube lights.
- Long Lifespan: Engineered for durability, providing up to 50,000 hours of maintenance-free operation.
Package Contents
Verify that all components are present and undamaged before proceeding with installation.
- AntLux 4ft 50W LED Grow Light Fixture(s)
- Power Cord with US Plug and ON/OFF Pull Chain
- Hanging Chains with "O" Hooks
- Ceiling Hooks
- Screws and Plastic Anchors for mounting
- Connecting Cables (for linking multiple units, if applicable)

Image: Components included with the AntLux 4ft LED Grow Light.
Setup and Installation
The AntLux LED Grow Light offers versatile installation options. Choose the method that best suits your growing environment.
1. Suspended Mounting
- Locate suitable mounting points on your ceiling or a sturdy overhead structure.
- Drill pilot holes and insert the plastic anchors (if needed) into the ceiling.
- Screw the ceiling hooks into the anchors or directly into a wooden beam.
- Attach the hanging chains to the ceiling hooks.
- Connect the "O" hooks on the chains to the designated attachment points on the grow light fixture.
- Adjust the chain length to achieve the desired height above your plants.

Image: Suspended mounting method for the grow light.
2. Surface Mounting (Flush Mounting)
- Position the grow light fixture against the desired surface (e.g., underside of a shelf).
- Mark the locations for the mounting screws through the pre-drilled holes on the fixture.
- Drill pilot holes and insert plastic anchors if mounting into drywall.
- Secure the fixture to the surface using the provided screws.

Image: Flush mounting method for the grow light.
3. Linking Multiple Fixtures
Multiple AntLux grow lights can be linked together to create a continuous lighting system. This model supports linking up to 4 units.
- Ensure all fixtures are securely mounted.
- Use the provided connecting cables to link the output end of one fixture to the input end of the next.
- Only the first fixture in the chain needs to be plugged into a power outlet.
Image: Multiple grow lights linked in series.
Operating Instructions
The AntLux LED Grow Light is designed for simple operation.
- Plug the power cord into a standard US 120V AC outlet.
- Use the integrated ON/OFF pull chain to switch the light on or off.
- For automated operation, connect the grow light to an external timer (not included) to set specific on/off schedules.
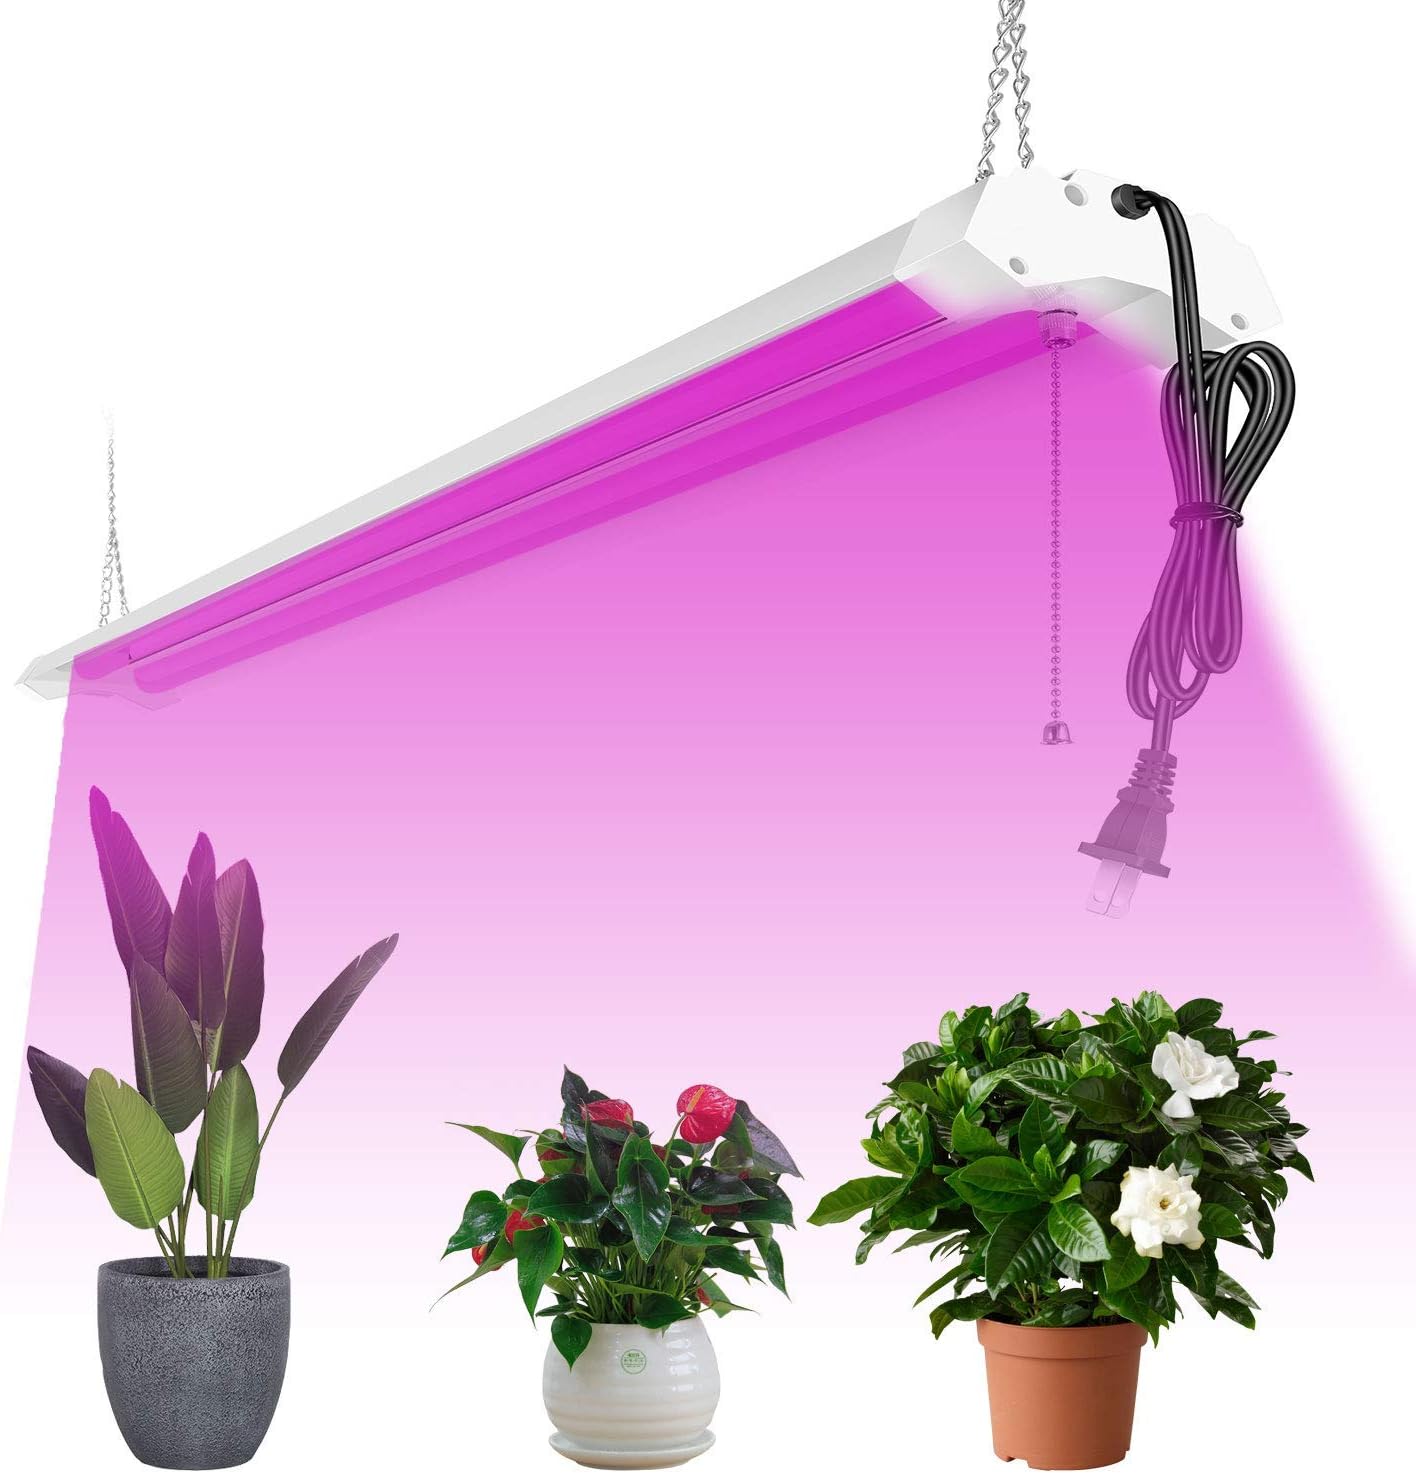
Image: Grow light connected to power with pull chain.
Maintenance
The AntLux LED Grow Light requires minimal maintenance.
- Ensure the fixture is unplugged before any cleaning or maintenance.
- Wipe the fixture gently with a soft, dry cloth to remove dust and debris. Avoid using abrasive cleaners or solvents.
- Regularly inspect the power cord and connections for any signs of damage.
- Ensure adequate air circulation around the fixture to maintain optimal operating temperature and extend lifespan.
Troubleshooting
| Problem | Possible Cause | Solution |
|---|---|---|
| Light does not turn on. | No power, loose connection, faulty pull chain. | Check power outlet, ensure cord is securely plugged in, verify pull chain operation. |
| Light flickers. | Unstable power supply, loose connection. | Check power source stability, ensure all connections are tight. |
| Reduced light output. | Dust accumulation, end of lifespan. | Clean the fixture. If still dim after extended use, consider replacement. |
If you encounter issues not listed here or require further assistance, please contact AntLux customer support.
Specifications
| Attribute | Value |
|---|---|
| Brand | ANTLUX |
| Model Name | 15 |
| Wattage | 50 watts |
| Voltage | 120 Volts |
| Light Source Type | LED |
| Shade Color | Blue, White, Red, IR UV (Full Spectrum) |
| Item Weight | 3.54 pounds (1.61 Kilograms) |
| Product Dimensions | 48 x 5 x 2.5 inches (Length x Width x Height) |
| Mounting Type | Surface, Suspended |
| Indoor/Outdoor Usage | Indoor |
| Water Resistance Level | Not Water Resistant |
| Lifespan | 50,000 hours |

Image: Dimensions of the AntLux 4ft LED Grow Light.
Warranty and Support
The AntLux 4ft LED Grow Light is designed for a long lifespan, estimated at 23 years with 6 hours of daily use. For any support needs or inquiries, please contact AntLux customer service. Our professional after-sales team is committed to providing timely assistance and ensuring your satisfaction.
Additional Resources
Official Product Videos
Overview | 4FT LED Grow Lights 80W (by Sunco Lighting - Seller)
Video: An overview of 4ft LED Grow Lights, highlighting features and installation. Note: This video features an 80W model, but general installation and feature concepts are similar.
How to Use the Timer (by INW LIGHTING - Seller)
Video: Demonstrates how to set up and use a timer with a grow light. This is useful for automating the on/off cycle of your AntLux grow light.


