1. Introduction
This manual provides instructions for the HQRP Bottle Cap Replacement, designed for specific Essick Air, AirCare, and Bemis humidifiers. This replacement part ensures proper water flow within your humidifier's water tank, maintaining optimal performance. Please read this manual thoroughly before installation and use.

A detailed view of the HQRP replacement bottle cap, showing the internal spring and valve assembly.
2. Compatibility
The HQRP Bottle Cap Replacement is specifically designed for the following humidifier models and part numbers:
- Replacement for Part Numbers: 1980, 1B-5060000, 1B5060000
- Compatible with Essick Air AirCare Bemis Humidifiers:
- 400, 600, and H12 series
- 4D6-800, 4D7-300, 4D7-800, 4DTS300, 4DTS400, 4DTS900
- H12 Series: H12 300HB, H12 400HB, H12 600, H10 400, H12 001, H12 300, H12 400, H10400, H12001, H12300, H12400, H12600 Console Humidifiers
- Bemis Essick Air: 426300, 426700, 427300, 436300, 447301, 447400HB, 447401, 496600, 496800, 497300, 497800, 4161, 4261, 4262, 4273, 4362, 4371, 4962, 4963, 4968, 4971, 4973 Humidifiers
- Bemis Essick Air 696 Series Credenza: 696100, 696400, 696400HB, 696800, 697400, 697500, 697500HB, 6964, 6974 Humidifiers
Important: Before purchasing, verify the part number and model of your existing humidifier. Measure your current valve cap to ensure compatibility.

An important notice indicating that this valve cap replaces Essick Air valve caps 1980 / 1B-5060000 ONLY, and is not compatible with Vicks, Sunbeam, Holmes, Crane, Jiffy, or Honeywell brands.
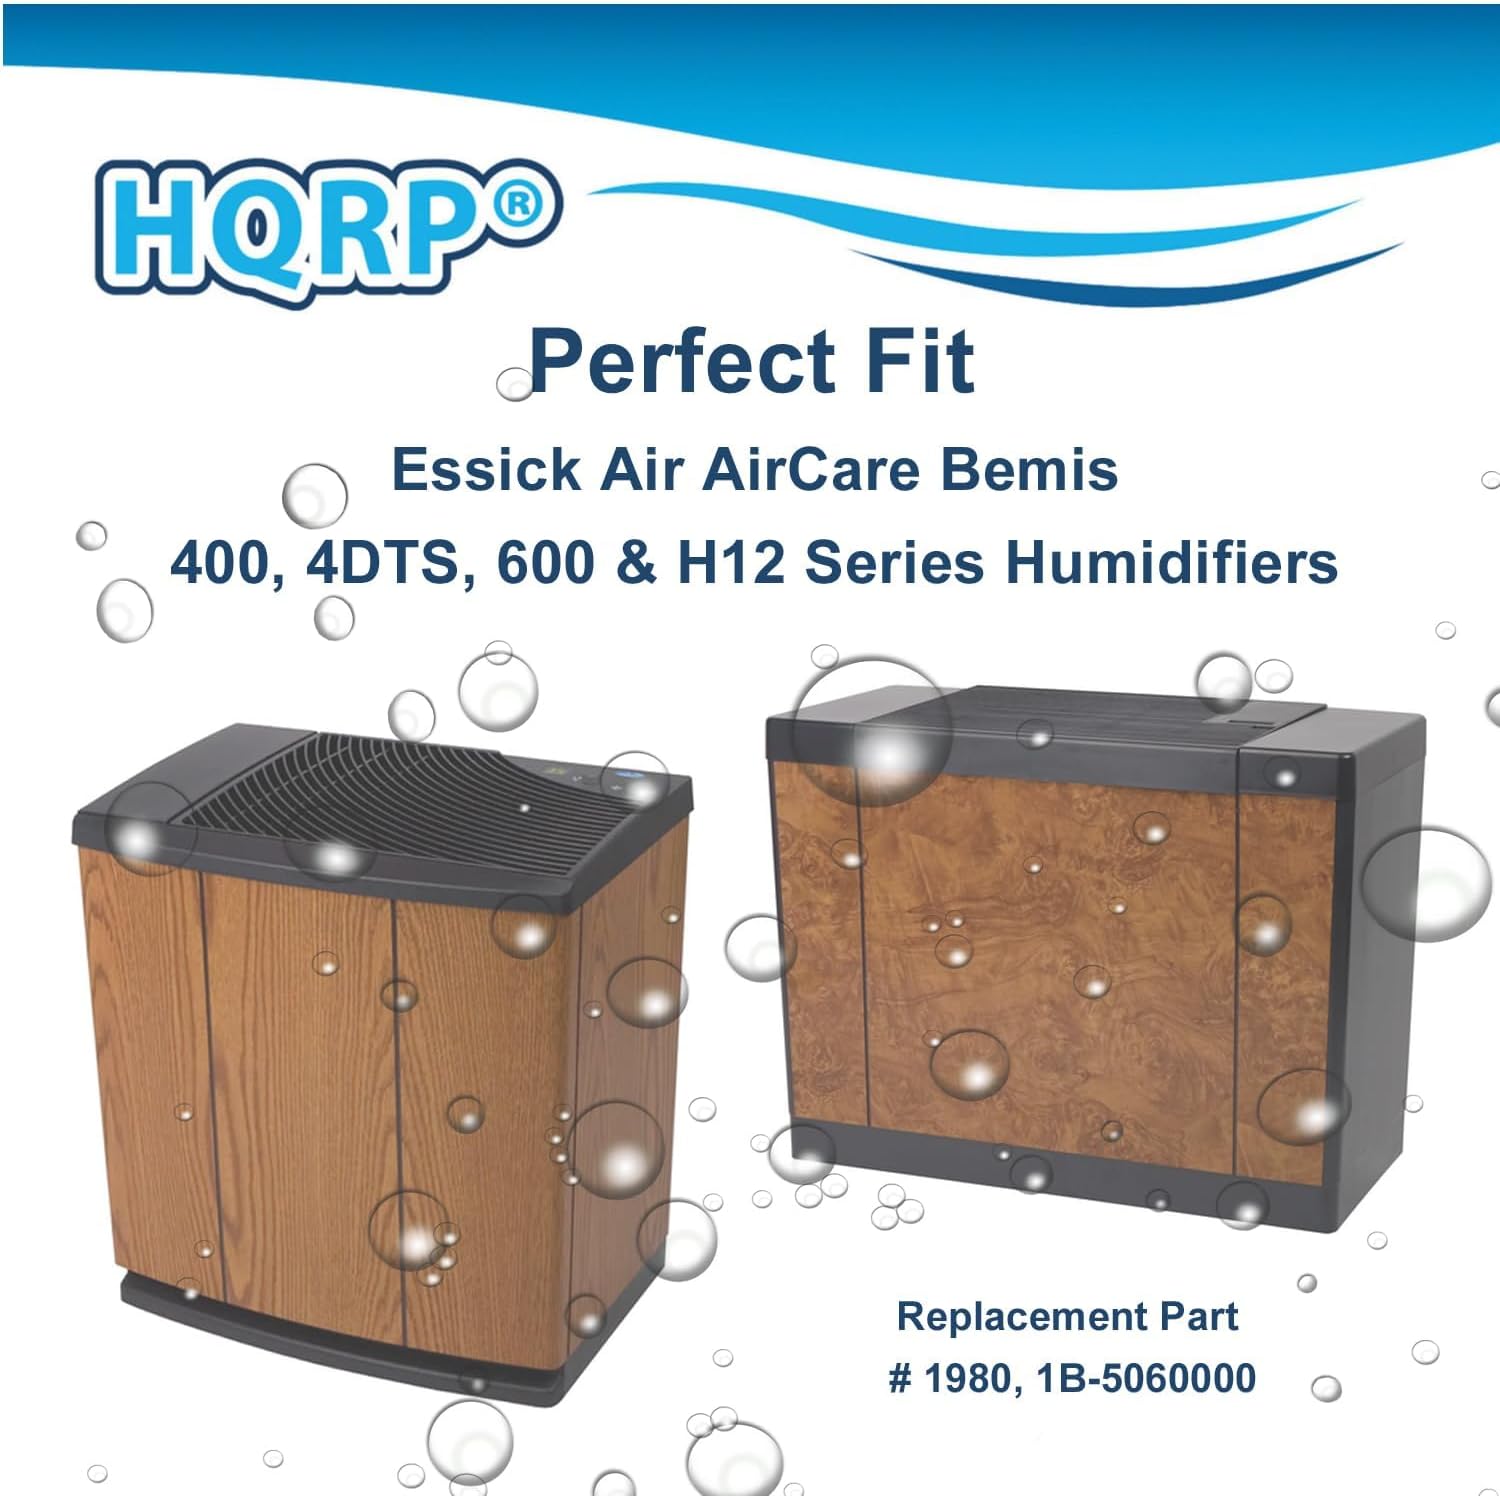
An image highlighting the perfect fit of the replacement cap for Essick Air AirCare Bemis 400, 4DTS, 600, and H12 Series Humidifiers, showing two different humidifier models.
3. Installation and Setup
Replacing your humidifier's bottle cap is a straightforward process. Follow these steps:
- Power Off: Ensure your humidifier is turned off and unplugged from the power outlet.
- Remove Water Tank: Carefully remove the water tank from the humidifier unit.
- Empty Tank: If there is water in the tank, empty it completely.
- Remove Old Cap: Unscrew and remove the existing bottle cap from the water tank.
- Install New Cap: Take the HQRP Bottle Cap Replacement and screw it onto the water tank opening. Ensure it is tightened securely to prevent leaks, but do not overtighten.
- Refill Tank: Fill the water tank with clean water as per your humidifier's instructions.
- Reinstall Tank: Place the water tank back into the humidifier unit.
- Power On: Plug in and turn on your humidifier.

A visual guide demonstrating the process of replacing the bottle cap on a humidifier's water tank, showing the cap being inserted into the tank.
4. Operation
The bottle cap with its integrated valve assembly is crucial for the proper functioning of your humidifier. It regulates the release of water from the tank into the humidifier's base, ensuring a consistent and controlled water supply for humidification. Once installed correctly, the cap operates automatically as part of the humidifier's water delivery system.

An image listing the main features of the bottle cap: bottle cap with valve assembly, durable material, and ensures proper water flow in the humidifier.
5. Maintenance
To ensure the longevity and proper function of your HQRP Bottle Cap Replacement:
- Regular Inspection: Periodically inspect the cap for any signs of wear, cracks, or damage to the plastic or the internal spring mechanism.
- Cleaning: If mineral deposits or residue accumulate on the cap, gently clean it with a soft brush and a mild descaling solution (e.g., white vinegar diluted with water). Rinse thoroughly with clean water before reinstallation.
- Avoid Harsh Chemicals: Do not use abrasive cleaners or harsh chemicals, as these can damage the plastic and rubber components of the cap.
6. Troubleshooting
If you encounter issues after installing the replacement bottle cap, consider the following:
- Water Leakage:
- Ensure the cap is screwed on tightly and correctly aligned with the tank's threads.
- Inspect the rubber gasket on the cap for any damage or misalignment.
- Verify that the cap is the correct replacement part for your specific humidifier model (refer to Section 2: Compatibility).
- No Water Flow:
- Check if the cap is fully tightened. If too loose, the valve may not engage properly.
- Ensure the internal spring mechanism is not obstructed by debris or mineral buildup. Clean if necessary.
- Confirm the humidifier's base is properly seated and the water tank is correctly installed.
7. Specifications
| Feature | Detail |
|---|---|
| Product Type | Bottle Cap with Valve Assembly |
| Brand | HQRP |
| Replacement Part Numbers | 1980, 1B-5060000, 1B5060000 |
| Item Model Number | 884667803011901 |
| Diameter (Base) | 1.53 inches |
| Diameter (Top) | 0.78 inches |
| Height (Cap Base) | 0.85 inches |
| Height (Total) | 1.38 inches |
| Item Weight | 0.634 ounces |
| Material | Durable material (as per product description) |

An image illustrating the key dimensions of the bottle cap: 0.78 inches top diameter, 0.85 inches height of the cap base, and 1.38 inches total height, with a base diameter of 1.53 inches.
8. Warranty and Support
This HQRP branded product is a replacement part. For any questions regarding compatibility, installation, or performance, please contact HQRP customer support. Refer to the packaging or the HQRP official website for contact information.
Disclaimer: All brand names and logos mentioned are registered trademarks of their respective owners. Any use of these brand names or model designations for this product is made solely for purposes of demonstrating compatibility.
