
CuleedTec CLD-NSC-001
Contents
CuleedTec Wireless Pro Controller CLD-NSC-001 User Manual
For Nintendo Switch, Switch Lite, Switch OLED, and Switch 2
1. Introduction
This manual provides detailed instructions for the CuleedTec Wireless Pro Controller (Model: CLD-NSC-001). It covers setup, operation, features, maintenance, and troubleshooting to ensure optimal performance and an enhanced gaming experience on compatible Nintendo Switch consoles and Windows PC.
The controller features Hall Effect joysticks, 6-axis gyro, dual motors for vibration feedback, and an adjustable turbo function. It is designed for comfortable use during extended gameplay sessions.
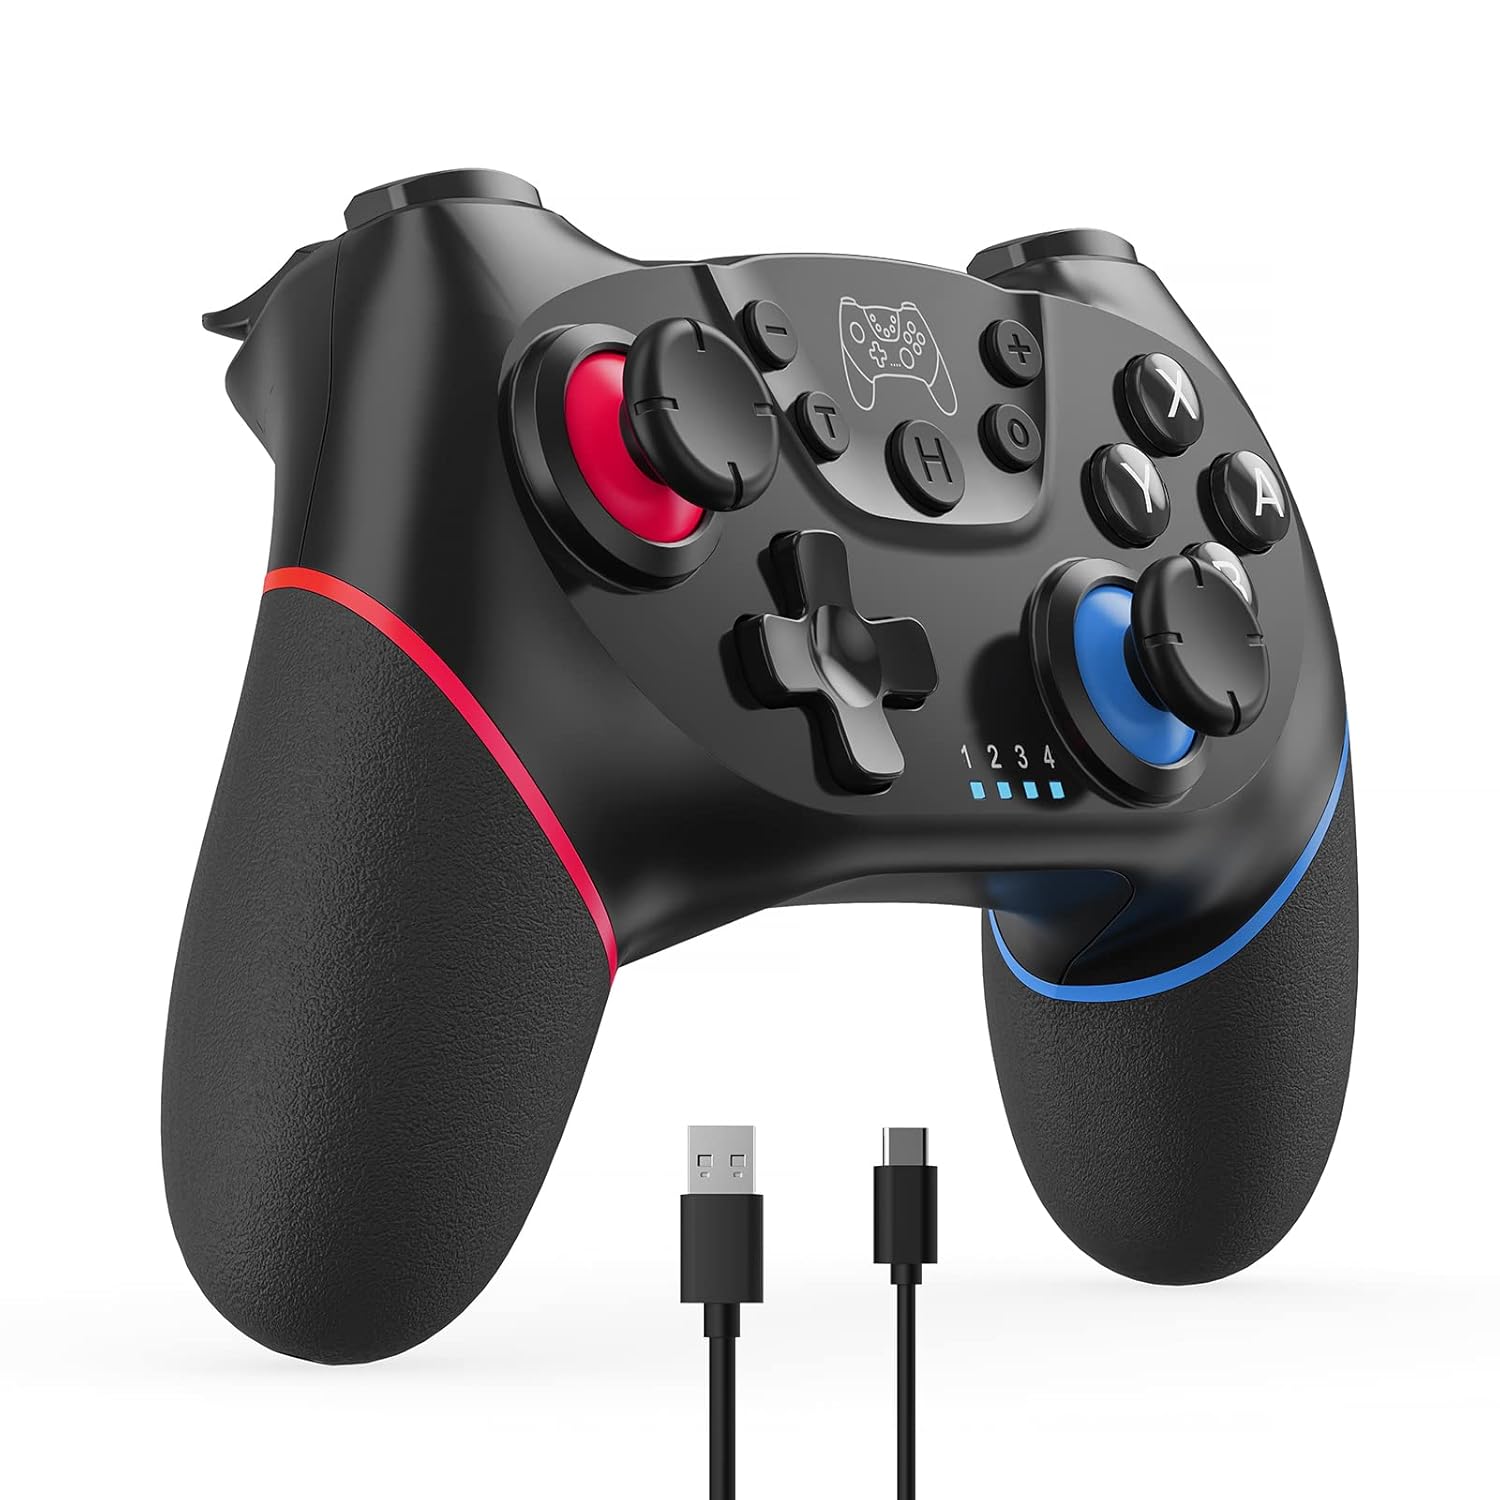
Image 1.1: Front view of the CuleedTec Wireless Pro Controller, showcasing its design and included charging cables.
2. Package Contents
Please verify that all items are present in your package:
- CuleedTec Wireless Pro Controller (Model: CLD-NSC-001)
- USB-C Charging Cable
- User Manual (this document)
3. Controller Layout
Familiarize yourself with the buttons and features of your CuleedTec Wireless Pro Controller:
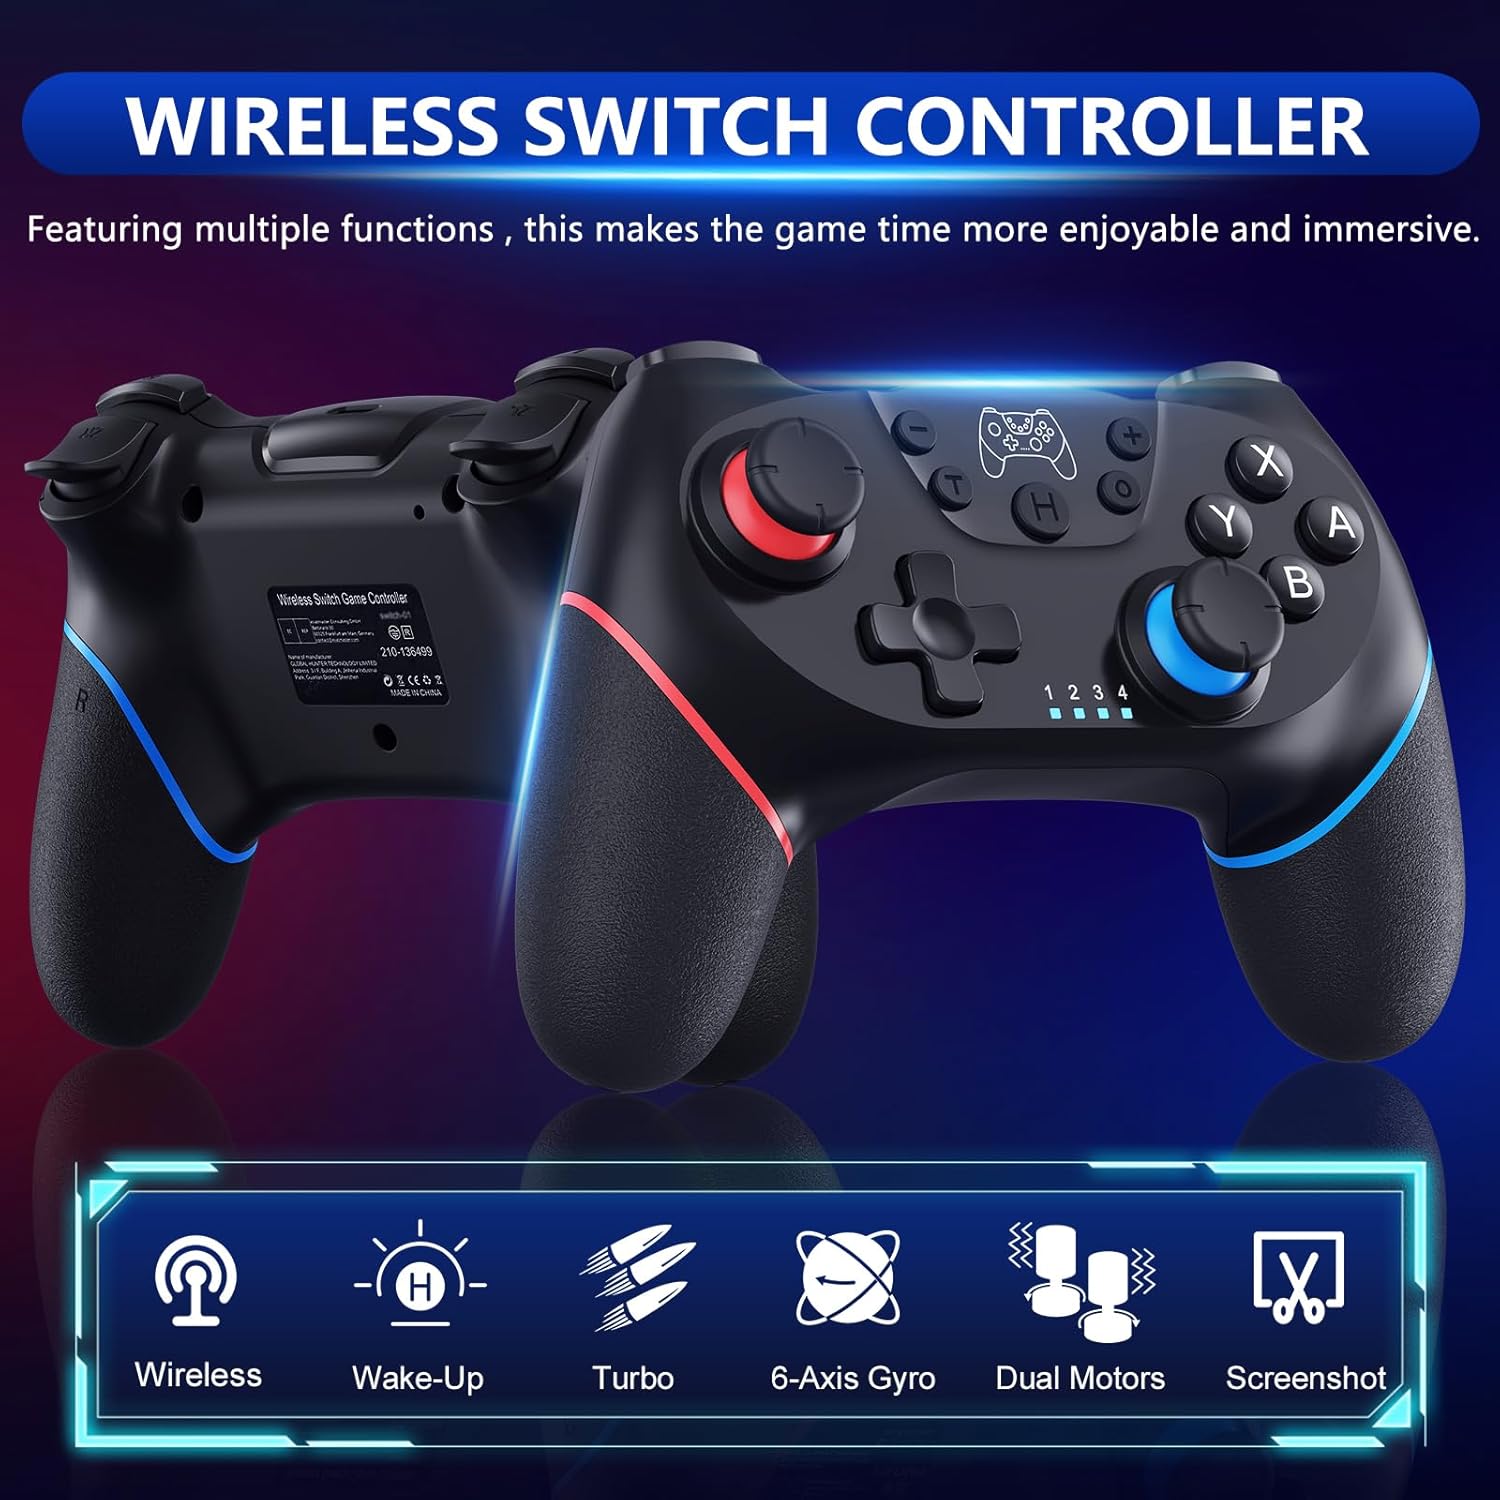
Image 3.1: Front and back views of the controller, highlighting key features such as wireless connectivity, wake-up function, turbo, 6-axis gyro, dual motors, and screenshot button.
- Left Analog Stick: Hall Effect joystick for precise movement.
- Right Analog Stick: Hall Effect joystick for camera control or aiming.
- D-Pad: Directional input.
- A/B/X/Y Buttons: Standard action buttons.
- L/R Buttons: Shoulder buttons.
- ZL/ZR Triggers: Analog triggers.
- HOME Button (H): Powers on the controller, wakes up the console (Switch/Lite/OLED only), and returns to the home menu.
- Screenshot Button (O): Captures screenshots.
- Turbo Button (T): Activates and adjusts turbo function.
- Minus (-) / Plus (+) Buttons: System menu navigation.
- Player Indicator LEDs (1-4): Indicate player number and connection status.
- USB-C Port: For charging and wired connection to PC.
4. Setup
4.1 Charging the Controller
The controller is equipped with a 550mAh lithium battery. Before first use, or when the battery is low, charge the controller using the provided USB-C cable.
- Connect the USB-C end of the cable to the controller's USB-C port.
- Connect the USB-A end of the cable to a USB power source (e.g., Nintendo Switch dock, computer USB port, or a USB wall adapter).
Charging time is approximately 2 hours. The player indicator LEDs will show charging status and turn off when fully charged. A full charge provides 8-10 hours of playtime.
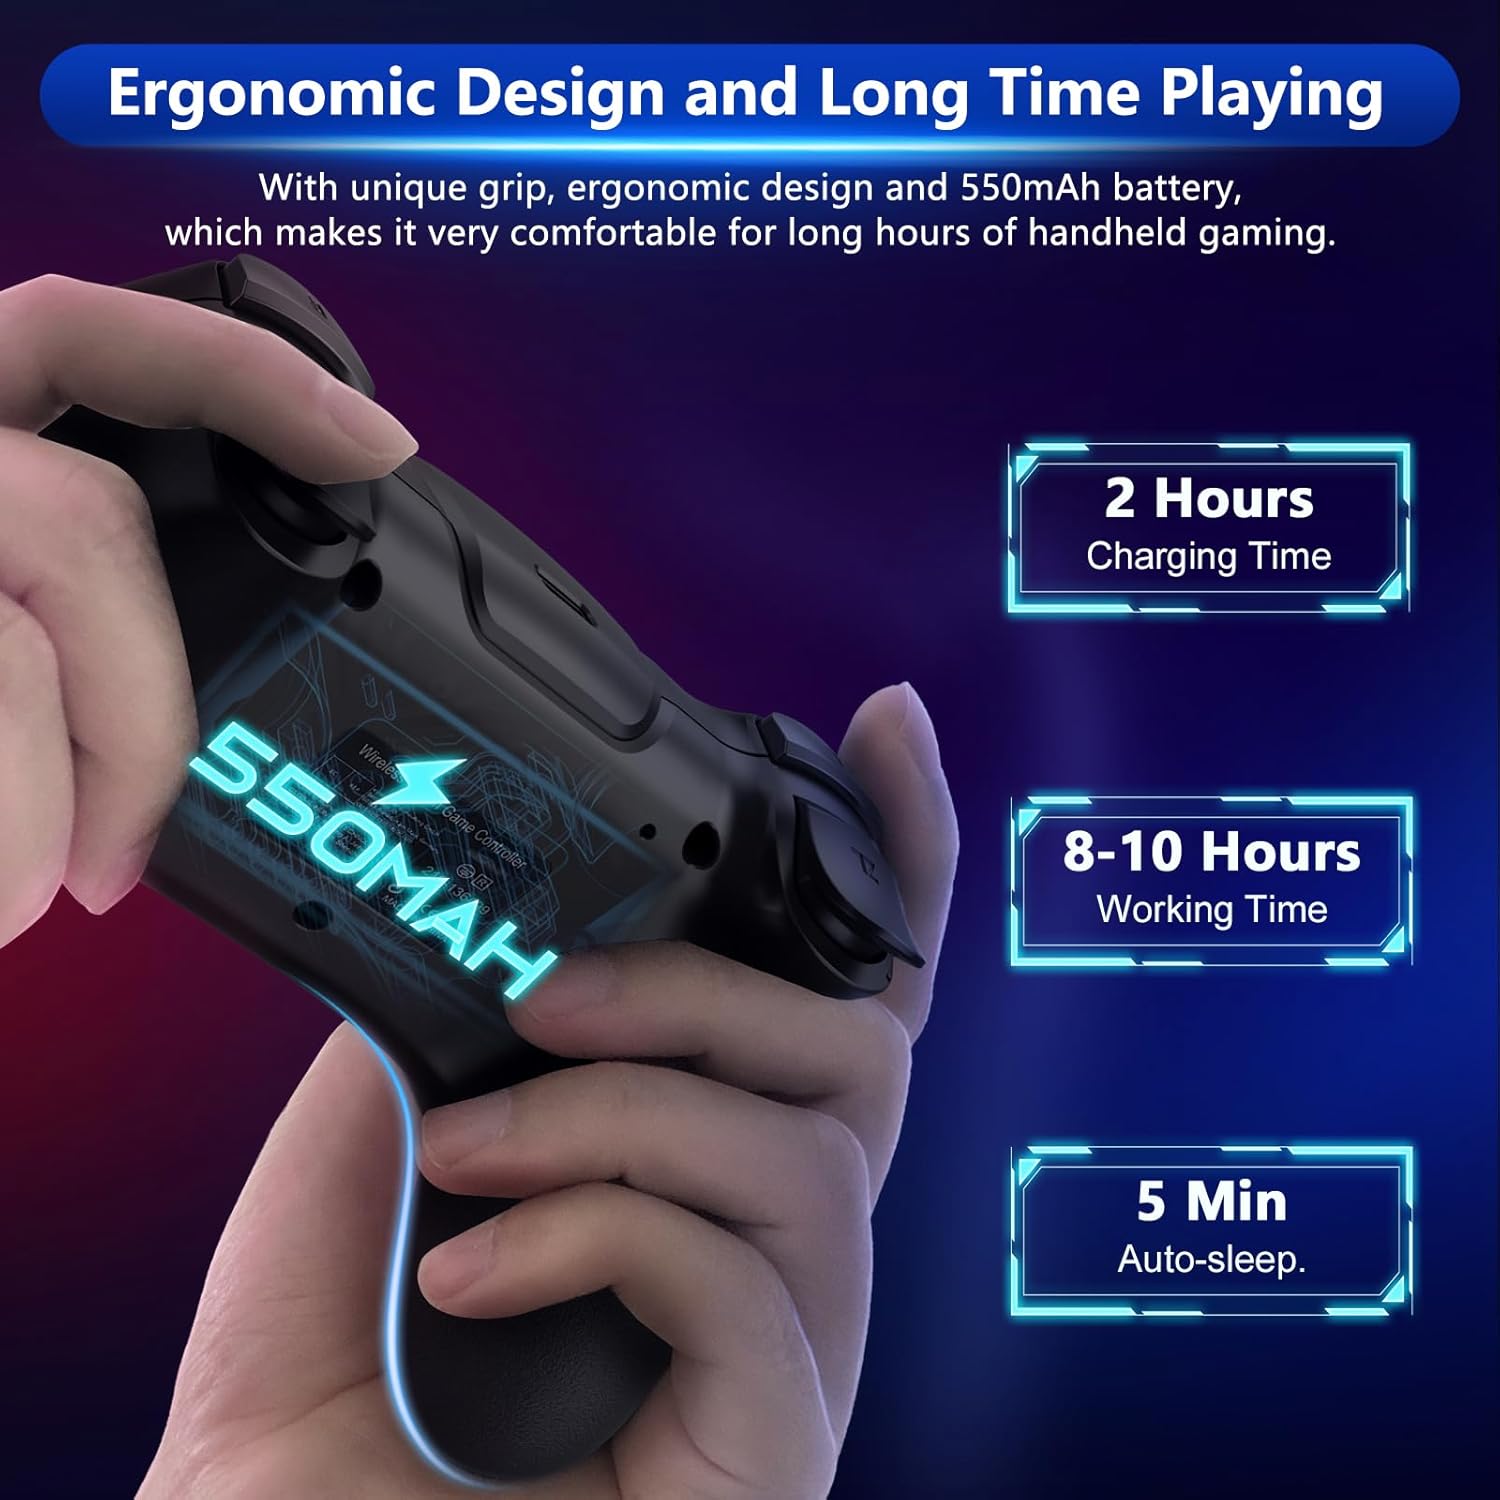
Image 4.1: Illustration of the controller's ergonomic design and battery specifications, including 550mAh capacity, charging time, and working time.
4.2 Pairing with Nintendo Switch/Switch Lite/Switch OLED
The controller connects wirelessly to your Nintendo Switch console.
- From the HOME Menu, select "Controllers" > "Change Grip/Order".
- On the controller, press and hold the HOME button (H) for 3-5 seconds until the four player indicator LEDs begin to flash rapidly.
- Once paired, the corresponding player indicator LED(s) on the controller will light up solid.
The controller maintains a stable wireless connection within an 8-10 meter range in an open environment.
4.3 Connecting to Windows PC
For Windows PC, the controller requires a wired connection via the USB-C cable. Wireless connection is not supported for PC.
- Connect the USB-C end of the cable to the controller.
- Connect the USB-A end of the cable to a USB port on your PC.
- The PC should automatically detect and install the necessary drivers.
5. Operating the Controller
5.1 Wake-up Function
After initial pairing, you can wake up both the controller and the Nintendo Switch/Switch Lite/Switch OLED console by simply pressing the HOME button (H) on the controller. This function is not supported for Switch 2.

Image 5.1: The HOME button (H) used to wake up the controller and console.
5.2 Turbo Function
The turbo function allows for rapid, repeated button presses. It has three adjustable speeds.
- Activate Turbo: Press and hold the desired action button (A/B/X/Y/L/R/ZL/ZR), then press the Turbo button (T) once. The button will now continuously press as long as you hold it.
- Adjust Turbo Speed: While holding the Turbo button (T), move the Right Analog Stick up or down to cycle through the three speeds:
- 5 shots/second
- 12 shots/second
- 20 shots/second
- Deactivate Turbo: Repeat step 1 (press and hold the action button, then press Turbo button (T)) to turn off turbo for that specific button. To clear all turbo settings, press and hold the Turbo button (T) for 5 seconds.

Image 5.2: Visual representation of the three adjustable turbo speeds.
5.3 Dual Motor Vibration
The controller features built-in dual motors that provide realistic vibration feedback. There are three adjustable vibration levels: Weak, Medium, and Strong.
To adjust vibration intensity, press and hold the Turbo button (T), then move the Left Analog Stick up or down to cycle through the vibration levels.
5.4 6-Axis Gyro and Motion Control
A built-in 6-axis gyro sensor detects the inclination and movement of the controller, providing precise motion control for compatible games. This allows for immersive gameplay where tilting or shaking the controller translates to in-game actions.

Image 5.3: Illustration of adjustable vibration levels and the controller's motion control capabilities.
5.5 Screenshot Function
Press the Screenshot button (O) to capture an image of your current game screen. The screenshot will be saved to your console's album.

Image 5.4: The screenshot button (O) on the controller.
6. Maintenance
- Cleaning: Use a soft, dry cloth to clean the controller. Avoid using harsh chemicals or abrasive materials.
- Storage: Store the controller in a cool, dry place away from direct sunlight and extreme temperatures.
- Battery Care: To prolong battery life, avoid fully discharging the battery frequently. Charge the controller regularly, even if not in use for extended periods.
- Avoid Drops: Protect the controller from drops and impacts, which can damage internal components.
7. Troubleshooting
7.1 Controller Not Connecting/Pairing
- Ensure the controller is sufficiently charged.
- Verify that the Nintendo Switch console is powered on and within range (8-10 meters).
- Go to "Controllers" > "Change Grip/Order" on the Switch and try pairing again.
- If issues persist, try resetting the controller. Locate a small pinhole on the back of the controller (usually near the USB-C port) and insert a thin object (like a paperclip) to press the reset button. Then attempt pairing again.
7.2 Input Lag or Disconnections
- Ensure there are no significant obstructions between the controller and the console.
- Move closer to the console.
- Check for other wireless devices that might cause interference.
- Ensure the controller's battery is not low.
7.3 Joystick Drift
If you experience unintended movement from the joysticks:
- Try recalibrating the joysticks through the Nintendo Switch system settings: "System Settings" > "Controllers and Sensors" > "Calibrate Control Sticks".
- Connect the controller to your Switch via the USB-C cable. Sometimes a wired connection can help reset joystick calibration.
- Perform a controller reset using the pinhole button as described in section 7.1.
7.4 Controller Not Waking Up Switch 2
The wake-up function via the HOME button is specifically for Nintendo Switch, Switch Lite, and Switch OLED models. It is not supported for Switch 2.
8. Specifications
| Model Number | CLD-NSC-001 |
| Connectivity | Wireless (Bluetooth), Wired (USB-C) |
| Compatibility | Nintendo Switch, Switch Lite, Switch OLED, Switch 2 (limited), Windows PC (wired only) |
| Battery Capacity | 550mAh Lithium Polymer |
| Charging Time | Approx. 2 hours |
| Playtime | Approx. 8-10 hours |
| Wireless Range | 8-10 meters (barrier-free) |
| Weight | 8 ounces (approx. 0.23 kg) |
| Dimensions | 6.57 x 4.65 x 2.8 inches (approx. 16.7 x 11.8 x 7.1 cm) |
9. Warranty and Support
CuleedTec provides the following support for your Wireless Pro Controller:
- 30-Day Return Policy: For initial product issues.
- 1-Year Replacement Service: Covers manufacturing defects for one year from the date of purchase.
- Lifetime Technical Support: Assistance with product usage and troubleshooting.
For any concerns or questions, please contact CuleedTec customer support. Contact information can typically be found on the product packaging or the retailer's website.
Ask a question about this manual
Ask about setup, troubleshooting, compatibility, parts, safety, or missing instructions. Manuals+ will review the question and use this page’s manual context to help answer it.