1. Introduction
The Waveshare 7-inch HDMI LCD (H) is a high-resolution (1024x600) IPS capacitive touch screen display designed for versatile applications. It features an HDMI interface and supports a wide range of mini-PCs, desktop computers, and game consoles. This manual provides detailed instructions for setup, operation, and maintenance of your display.

The Waveshare 7-inch HDMI LCD (H) is a capacitive touch screen display with a 1024x600 IPS panel.
2. Features
- 7-inch IPS display with 1024x600 hardware resolution, configurable up to 1920x1080 via software.
- Capacitive five-point touch functionality (when used as a computer monitor).
- HDMI interface for video input.
- Supports popular mini-PCs including Raspberry Pi (4, 3, 2, 1 B+, B, A+), Jetson Nano, BB Black, and Banana Pi.
- Driver-free operation with Raspbian, Ubuntu, Kali, Retropie, and WIN10 IOT on Raspberry Pi.
- Driver-free operation with Windows 10/8.1/8/7 as a computer monitor.
- Compatible with game consoles such as Microsoft XBOX360 and Nintendo Switch.
- Multi-language OSD menu for power management, brightness, and contrast adjustment.
- 3.5mm audio jack and speaker connector for HDMI audio output.
- Supports VGA input (requires a separate VGA cable, not included).
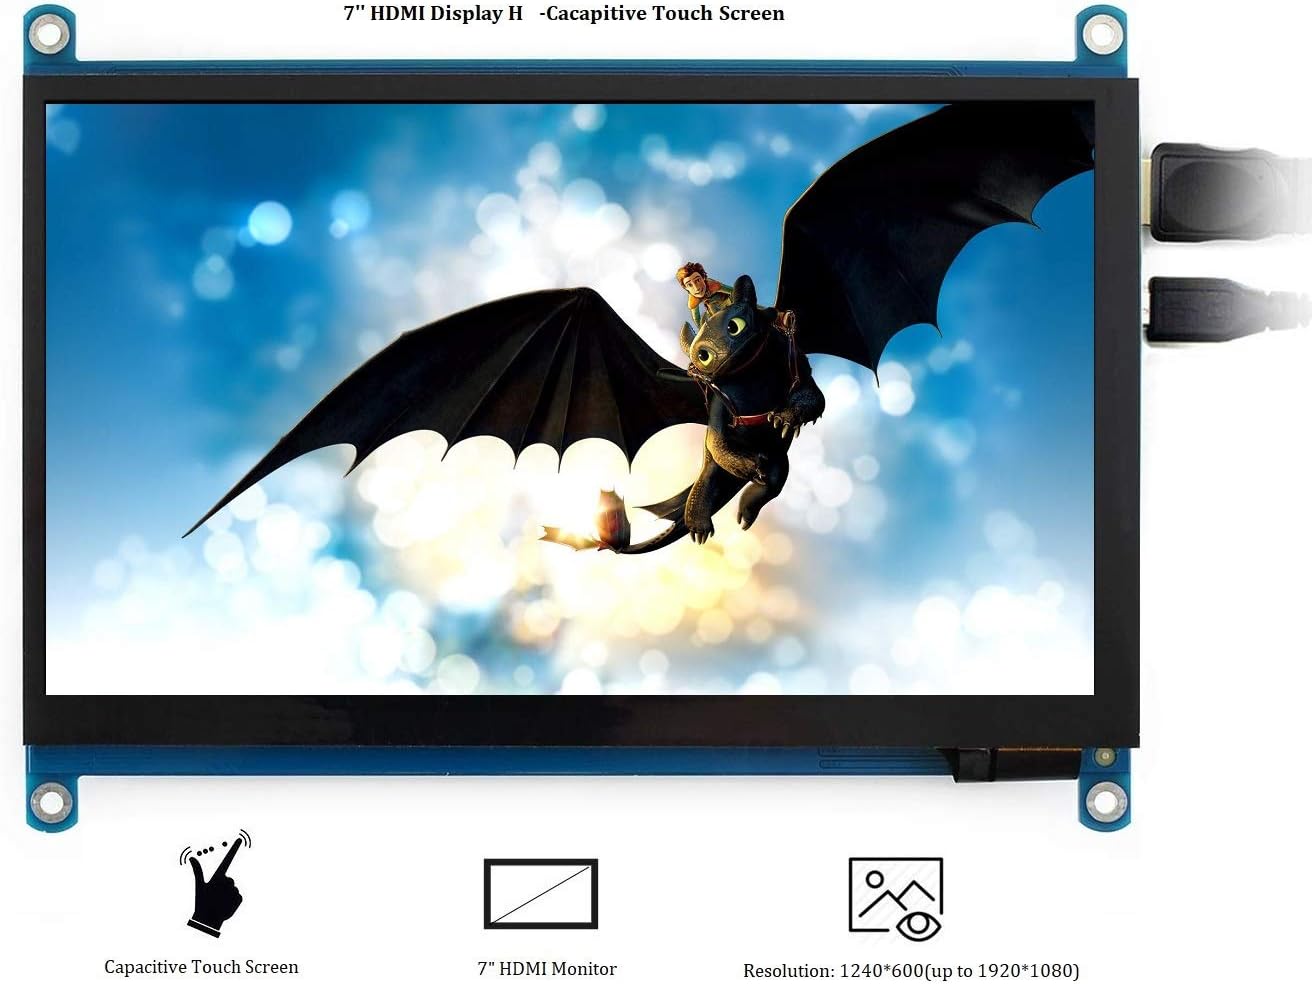
This image highlights the key features: capacitive touch functionality, its role as an HDMI monitor, and its native 1024x600 resolution, configurable up to 1920x1080.
3. Package Contents
Please verify that all items are present in your package:
- 7inch HDMI LCD (H) x1
- HDMI cable x1
- HDMI to Micro HDMI Adapter x1
- USB type A plug to micro B plug cable x1
- Quick start sheet x1
4. Product Overview: Ports and Buttons

This diagram labels the various ports and control buttons: HDMI input, Touch USB port, Power Only USB port, 3.5mm Audio Jack (HP), VGA input, Speaker connector, and OSD menu buttons (Power, Menu, Up/Left, Down/Right, Exit).
Ports:
- HDMI: For video input from your device.
- Touch: Micro USB port for touch functionality and power supply.
- Power Only: Micro USB port for power supply only, if touch is not required or powered separately.
- HP (3.5mm Audio Jack): For audio output.
- VGA: For VGA video input (requires separate cable).
- Speaker: Connector for external speakers.
Control Buttons:
- Power: Turns the LCD display on or off.
- Menu: Opens the OSD menu. Also functions as 'OK' within the menu.
- Up/Left: Navigation button for OSD menu.
- Down/Right: Navigation button for OSD menu.
- Exit: Exits the OSD menu. Also functions as 'Return' within the menu.
5. Setup Instructions
5.1 General Connection
- Connect the display to your device (e.g., mini-PC, computer, game console) using the provided HDMI cable.
- For touch functionality and power, connect the USB type A to micro B cable from your device's USB port to the 'Touch' micro USB port on the display.
- Alternatively, if touch is not needed or powered separately, you can use the 'Power Only' micro USB port for power.
- If using external speakers, connect them to the 'Speaker' interface on the display board.

The display connected to a Raspberry Pi, demonstrating its use as a mini-PC monitor. Note: Raspberry Pi is not included.
5.2 Raspberry Pi Setup
When used with Raspberry Pi, the display supports Raspbian, Ubuntu, Kali, Retropie, and WIN10 IOT operating systems without requiring additional drivers. Ensure your Raspberry Pi's operating system is up-to-date for optimal performance.
5.3 Computer Monitor Setup
As a computer monitor, the display supports Windows 10/8.1/8/7 with five-point touch functionality, requiring no additional drivers.
5.4 Game Console Connection
The display is compatible with popular game consoles like Microsoft XBOX360 and Nintendo Switch. Please note that due to limitations of game console operating systems, the touch function is generally unavailable when connected to game consoles.

The back of the display board showing the speaker connector. Speakers (8Ω 5W) are sold separately and are not included.
6. Operating Instructions
6.1 OSD Menu Navigation
Use the control buttons on the side of the display to navigate and adjust settings:
- Press the Menu button to open the On-Screen Display (OSD) menu.
- Use the Up/Left and Down/Right buttons to navigate through menu options.
- Press the Menu button again to confirm a selection (functions as 'OK').
- Press the Exit button to go back or exit the OSD menu.
6.2 Power Management
To reduce power consumption when the display is idle for an extended period, press the Power button to turn off the LCD display.
6.3 Brightness and Contrast Adjustment
Within the OSD menu, you can find options to adjust the display's brightness and contrast settings to suit your viewing preferences.
7. Compatibility
The Waveshare 7-inch HDMI LCD (H) offers broad compatibility:
- Mini-PCs: Raspberry Pi (all models), Jetson Nano, BB Black, Banana Pi.
- Operating Systems (with Raspberry Pi): Raspbian, Ubuntu, Kali, Retropie, WIN10 IOT (driver-free).
- Desktop Computers: Windows 10/8.1/8/7 (driver-free, five-points touch).
- Game Consoles: Microsoft XBOX360, Nintendo Switch.

Technical drawing showing the physical dimensions of the display in millimeters, along with icons indicating compatibility with Raspberry Pi, Windows systems, XBOX360, PS4, and Nintendo Switch.
8. Specifications
| Feature | Specification |
|---|---|
| Screen Size | 7 Inches |
| Hardware Resolution | 1024 x 600 Pixels |
| Configurable Resolution | Up to 1920 x 1080 Pixels |
| Panel Type | IPS |
| Touch Type | Capacitive, Five-points (PC monitor mode) |
| Aspect Ratio | 16:9 |
| Video Input | HDMI, VGA |
| Audio Output | 3.5mm Audio Jack, Speaker Connector |
| Item Weight | 9.6 ounces |
| Package Dimensions | 8.11 x 6.42 x 2.13 inches |
9. Troubleshooting
- No Display/Black Screen: Ensure all cables (HDMI, USB for power) are securely connected. Verify the power source is adequate.
- Touch Function Not Working: For PC use, ensure the 'Touch' USB port is connected to your computer. For game consoles, touch functionality is typically not supported.
- Image Scaling Issues (Raspberry Pi): If the display shows incorrect scaling, you may need to manually adjust the resolution settings in your Raspberry Pi's configuration files. Refer to Raspberry Pi documentation for specific instructions.
- No Audio: Confirm that HDMI audio output is enabled on your source device. If using external speakers, ensure they are correctly connected to the speaker interface.
- Display Turns Off Unexpectedly: Check power connections. If the display is idle, it might be in power-saving mode; press the 'Power' button to reactivate.
10. Maintenance
- Cleaning: Use a soft, lint-free cloth to clean the screen. For stubborn marks, lightly dampen the cloth with water or a screen-safe cleaner. Avoid harsh chemicals.
- Handling: Handle the display with care to avoid physical damage. Avoid dropping or applying excessive pressure to the screen.
- Storage: Store the display in a cool, dry environment away from direct sunlight and extreme temperatures.
11. Warranty and Support
For warranty information and technical support, please refer to the Waveshare official website or contact your retailer. Keep your purchase receipt as proof of purchase for warranty claims.


