
XUNATA LED037-WH-18W
XUNATA Dimmable 18W 8-inch Ultra-Thin Round LED Panel Light Instruction Manual
Model: LED037-WH-18W
Brand: XUNATA
Product Overview
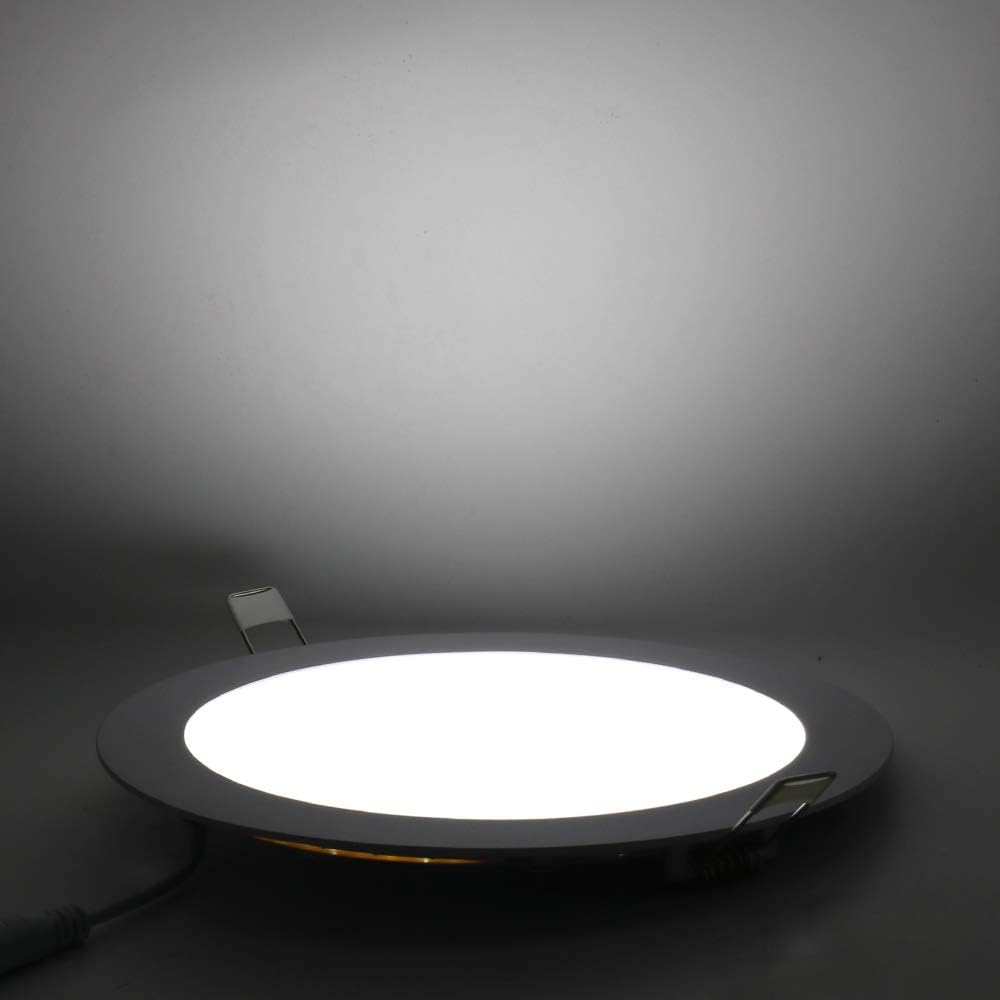
This manual provides instructions for the XUNATA Dimmable 18W 8-inch Ultra-Thin Round LED Panel Light. This LED panel light offers 1600 lumens, equivalent to a 140W incandescent bulb, while consuming only 18 watts. It features 6500K Daylight White illumination and is designed for recessed ceiling installation in various settings.
Key Features
- Energy Efficient: 1600 lumens output with only 18W power consumption, replacing 140W incandescent bulbs.
- Dimmable: Compatible with SCR (silicone-controlled rectifier) dimmers such as LUTRON DVCL-153P, FEIT 72302, and LEVITON TBL03 models.
- High Brightness & Long Lifespan: Utilizes SMD2835 LEDs for super bright illumination and boasts over 50,000 hours of operational life.
- Uniform Soft Light: Sideways light emission through a diffuser and guiding plate creates a uniform and soft light effect, which is pleasant on the eyes with flicker-free operation.
- Durable Construction: Made with die-cast aviation aluminum for excellent heat dissipation and an intelligent constant current driver for safety.
- Easy Installation: Includes pre-assembled spring clips and wiring caps for simplified setup.

Installation Guide
Follow these steps for safe and proper installation of your LED panel light. Ensure power is disconnected before beginning any electrical work.
- Turn off Power: Locate the circuit breaker controlling the installation area and switch off the main power supply.
- Cut Hole: Using appropriate tools, cut a circular hole in the ceiling (sheetrock) with a diameter of 195-205mm (approximately 7.68-8.07 inches).
- Connect Transformer: Connect the LED driver (transformer) to the 110V AC power supply. Ensure all connections are secure and insulated, utilizing the provided wiring caps.
- Position Light: Pull up the spring clips on the LED panel light.
- Insert into Hole: Carefully insert the LED panel light into the prepared ceiling hole, ensuring the spring clips retract and hold the panel securely against the ceiling.
- Adjust Panel: Gently adjust the panel to ensure it sits flush and tightly against the ceiling surface.

For visual assistance, please refer to the product demonstration video below.
Operating Instructions
The XUNATA LED Panel Light is designed for simple operation.
- Power On/Off: Once installed and connected to a power source, the light can be turned on or off using a standard wall switch.
- Dimming Function: If connected to a compatible SCR dimmer switch (e.g., LUTRON DVCL-153P, FEIT 72302, LEVITON TBL03), the brightness of the LED panel light can be adjusted by manipulating the dimmer control.
Maintenance
The XUNATA LED Panel Light requires minimal maintenance.
- Cleaning: To clean the surface of the light, ensure the power is off. Use a soft, dry, or slightly damp cloth. Avoid abrasive cleaners or solvents, as these can damage the finish.
- No User-Serviceable Parts: The LED components are integrated and not designed for user replacement. Do not attempt to disassemble the light fixture.
Troubleshooting
If you encounter issues with your LED panel light, consider the following:
- Light Not Turning On:
- Check if the power supply is active at the switch and circuit breaker.
- Verify all electrical connections are secure and correctly wired.
- Ensure the LED driver is properly connected to both the power supply and the light panel.
- Light Flickering or Dimming Incorrectly:
- Confirm that the dimmer switch used is compatible with LED lighting and specifically with SCR (silicone-controlled rectifier) dimmers.
- Ensure the dimmer's load capacity is not exceeded by the number of lights connected.
- Check for loose wiring connections.
- Reduced Brightness:
- If using a dimmer, ensure it is set to maximum brightness.
- Verify the power supply voltage is within the specified range (AC 110V).
If problems persist after checking these points, please contact customer support.
Technical Specifications
| Feature | Specification |
|---|---|
| Brand | XUNATA |
| Model | LED037-WH-18W |
| Wattage | 18W |
| Luminous Flux | 1600lm |
| Incandescent Equivalent | 140W |
| Color Temperature | 6500K Daylight White |
| Input Voltage | AC 110V/50-60 Hz |
| Dimension | 225mm (diameter) x 10mm (thickness) |
| Cut Hole Size | 195-205mm |
| Material | Aluminum + Acrylic |
| IP Rating | IP22 |
| CRI | Ra>80 |
| Beam Angle | 150 degrees |
| Lifespan | >50,000 hours |
| Special Feature | Dimmable |
| Indoor/Outdoor Usage | Indoor |

Warranty and Support
Warranty: The product description mentions a "100% MONEY BACK GUARANTEED" policy if you are not satisfied for any reason. For specific warranty terms and conditions, please refer to your purchase documentation or contact the seller directly.
Customer Support: For further assistance, technical inquiries, or to report any issues, please contact XUNATA customer support. You can often find contact information through the seller's store page on Amazon: Visit the XUNATA Store.
Ask a question about this manual
Ask about setup, troubleshooting, compatibility, parts, safety, or missing instructions. Manuals+ will review the question and use this page’s manual context to help answer it.