
KLARSTEIN ACO7-2200-jrtt
Klarstein Norderney 1000W Electric Convection Heater User Manual
Brand: KLARSTEIN | Model: ACO7-2200-jrtt
1. Safety Instructions
Please read all safety information and instructions carefully before using this appliance. Keep this manual for future reference.
- Electrical Safety: Ensure the voltage indicated on the appliance matches your local mains voltage before connecting. Do not operate with a damaged cord or plug.
- Placement: Position the heater on a firm, level surface. Maintain a minimum distance of 1 meter (3 feet) from flammable materials (curtains, furniture, etc.). Do not cover the heater.
- Water and Moisture: This appliance has an IP24 protection rating, making it suitable for use in bathrooms. However, do not immerse the heater in water or other liquids. Avoid direct water spray.
- Children and Vulnerable Persons: This appliance can be used by children aged 8 years and above and persons with reduced physical, sensory or mental capabilities or lack of experience and knowledge if they have been given supervision or instruction concerning use of the appliance in a safe way and understand the hazards involved. Children shall not play with the appliance. Cleaning and user maintenance shall not be made by children without supervision.
- Overheating Protection: The heater is equipped with an automatic overheating protection system. If the heater overheats, it will switch off automatically. Unplug the appliance and allow it to cool down before restarting.
- Maintenance: Always unplug the heater before cleaning or performing any maintenance. Do not attempt to repair the appliance yourself. Contact qualified service personnel.
2. Product Overview
The Klarstein Norderney electric convection heater provides efficient and silent heating for your home. Its elegant design and versatile installation options make it suitable for various rooms, including bathrooms.
Key Features:
- Convection Heating: Ensures uniform distribution of heated air without a fan, providing silent operation.
- Adjustable Thermostat: Allows precise temperature control from 5°C to 45°C.
- Timer Function: Program automatic on/off times for convenience and energy saving.
- Overheating Protection: Automatic shutdown in case of overheating for enhanced safety.
- Child Lock: Prevents unintended operation by children.
- Versatile Installation: Can be wall-mounted or used freestanding with included castors.
- IP24 Protection: Splash-proof design suitable for bathrooms.
- X-Shape Heating Element: Maximizes heat transfer for rapid room warming.
Product Components:
The heater includes the main unit, a remote control, and mounting accessories for wall installation or castors for freestanding use.
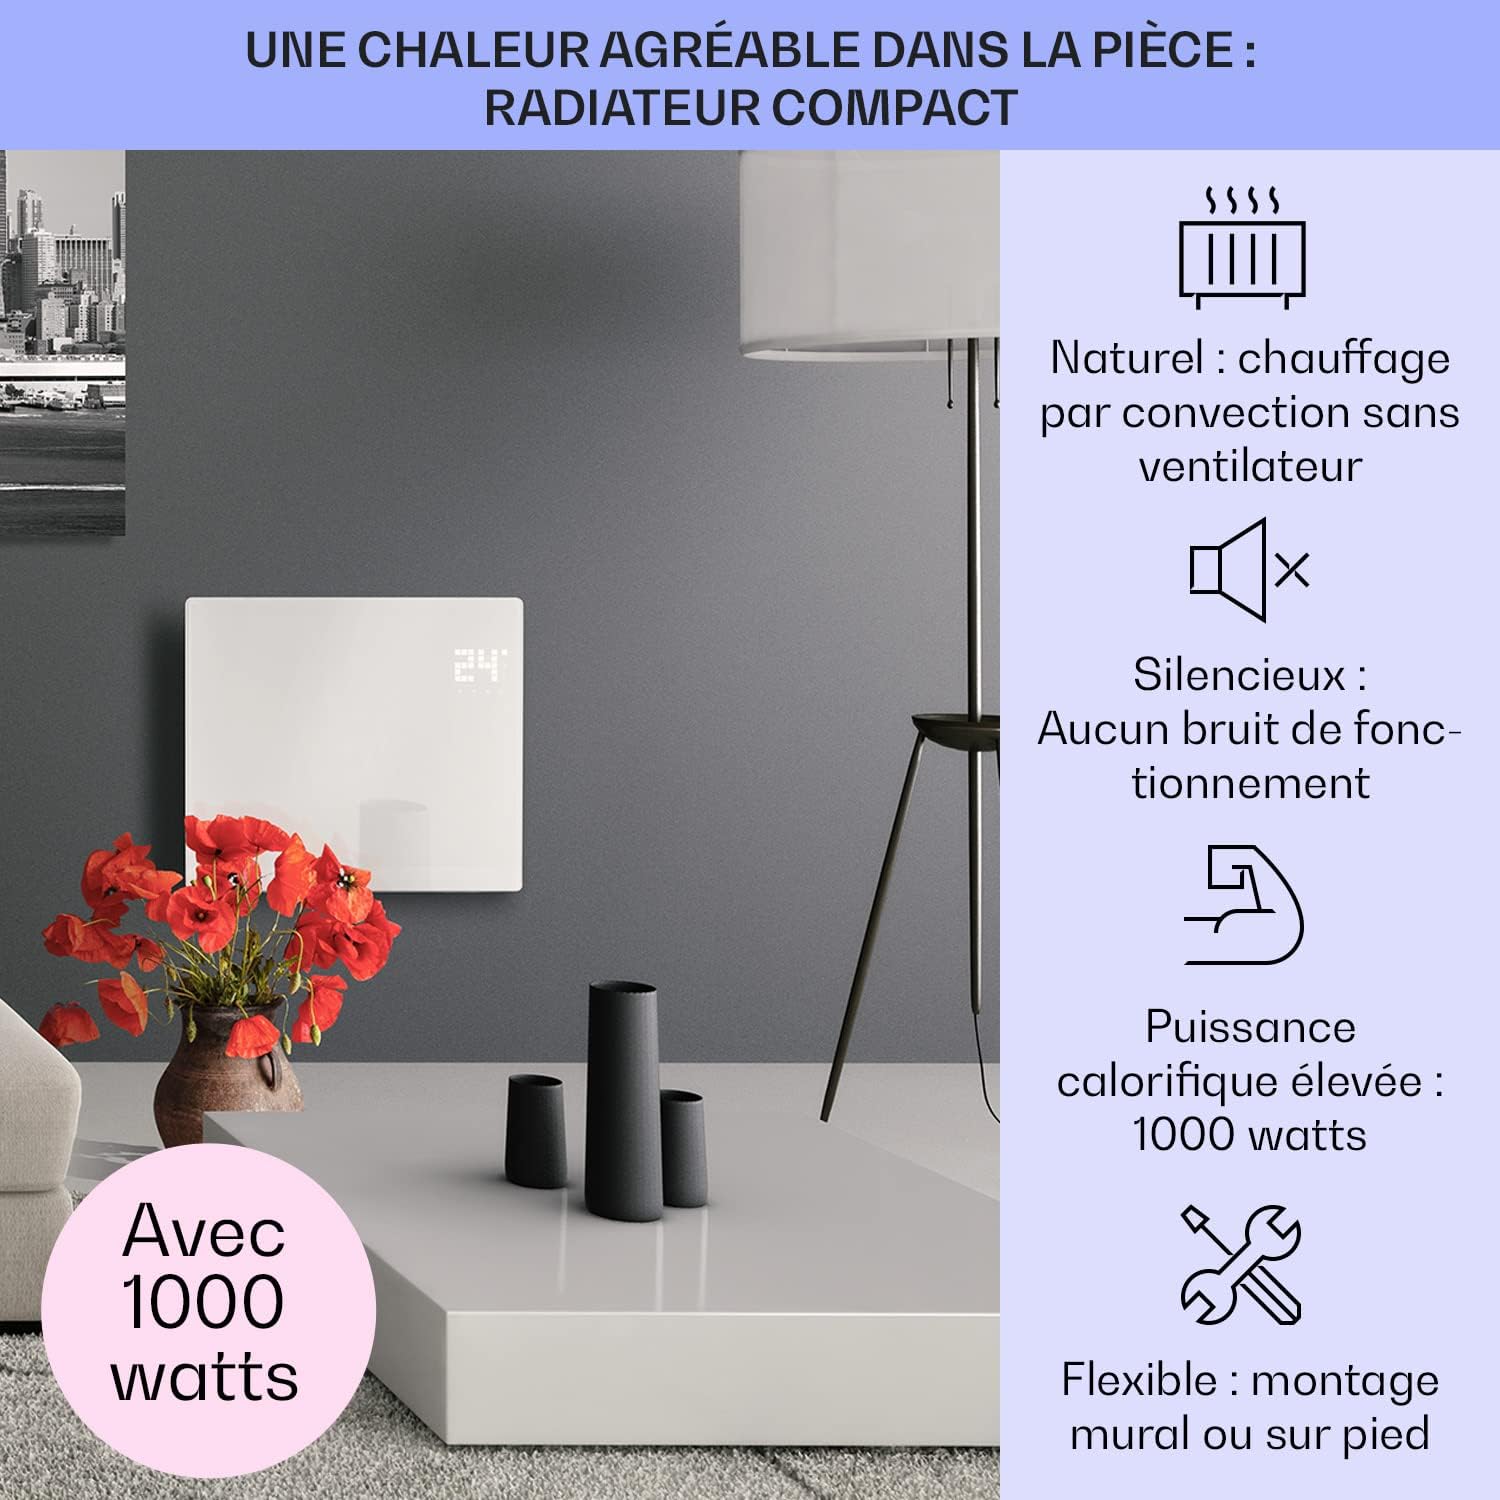
Image: Klarstein Norderney 1000W heater showing its main unit, remote control, and options for wall mounting or freestanding use.
3. Setup and Installation
Your Klarstein Norderney heater offers flexible installation options: wall-mounted or freestanding.
3.1. Wall-Mounted Installation
- Choose a suitable wall location, ensuring sufficient clearance from ceilings, floors, and side walls (minimum 10 cm from ceiling, 15 cm from floor, 20 cm from sides).
- Mark the drilling points on the wall using the provided mounting bracket as a template.
- Drill holes and insert wall plugs.
- Secure the mounting bracket to the wall with screws.
- Carefully hang the heater onto the mounting bracket, ensuring it is securely seated.

Image: Illustration of the wall-mounting process for the heater, showing the bracket and placement.
3.2. Freestanding Installation (with Castors)
- Attach the provided castors to the base of the heater using the screws.
- Ensure all castors are firmly attached and the heater is stable.
- Place the heater on a flat, stable surface. The castors allow for easy movement.

Image: The Klarstein Norderney 1000W heater shown in its freestanding configuration with attached castors.
4. Operating Instructions
The heater can be operated via the touch control panel on the unit or the included remote control.
4.1. Power On/Off
- Plug the heater into a suitable power outlet.
- Press the power button (⏻) on the control panel or remote to turn the unit on or off.
- When turning off, the fan may continue to run for a short period to cool down the heating element.
4.2. Temperature Setting
- Use the '+' and '-' buttons on the control panel or remote to adjust the desired room temperature.
- The temperature can be set between 5°C and 45°C.
- The heater will automatically maintain the set temperature.
4.3. Mode Selection
- Press the 'Mode' button (often represented by a fan or snowflake icon) to cycle through available heating modes (e.g., Comfort, ECO, Anti-freeze).
- Comfort Mode: Maintains the set temperature for continuous warmth.
- ECO Mode: Adjusts heating to optimize energy consumption while maintaining comfort.
- Anti-freeze Mode: Activates heating automatically if the room temperature drops below 5°C to prevent freezing.
Video: Overview of the Aigostar Helen Smart Electric Convector, demonstrating temperature settings, ECO mode, anti-freeze mode, and installation options. Note: This video is for a similar product and illustrates general features.
4.4. Timer Function
- Press the 'Timer' button (often represented by a clock icon) to set a countdown timer for automatic shutdown.
- Use the '+' and '-' buttons to adjust the desired operating duration (e.g., 1-12 hours).
- The heater will automatically turn off after the set time.
4.5. Child Lock
- Activate the child lock function (refer to the remote control or unit's specific icon) to prevent accidental changes to settings.
- Deactivate by pressing the child lock button again or following the specific unlock procedure.

Image: The heater's control panel and remote control, illustrating the ease of command and various functions like timer and LED display.
5. Maintenance
Regular cleaning and proper maintenance will ensure the longevity and efficient operation of your heater.
- Cleaning: Always unplug the heater and allow it to cool completely before cleaning. Use a soft, damp cloth to wipe the exterior surfaces. Do not use abrasive cleaners or solvents.
- Storage: If storing the heater for an extended period, ensure it is clean and dry. Store it in a cool, dry place, preferably in its original packaging.
- Inspection: Periodically check the power cord and plug for any signs of damage. If damage is found, do not use the appliance and contact customer support.
6. Troubleshooting
| Problem | Possible Cause | Solution |
|---|---|---|
| Heater does not turn on. | No power supply; Power button not pressed; Overheating protection activated. | Check power connection; Press power button; Unplug and allow to cool for 30 minutes. |
| Heater stops unexpectedly. | Overheating protection activated; Tip-over switch activated. | Unplug and allow to cool; Ensure heater is on a stable, flat surface. |
| Insufficient heating. | Temperature setting too low; Room size too large for heater capacity; Obstruction of air vents. | Increase temperature setting; Ensure heater is appropriate for room size; Clear any obstructions from air vents. |
| Remote control not working. | Batteries depleted; Obstruction between remote and heater. | Replace batteries; Ensure clear line of sight to heater's receiver. |
7. Specifications
- Brand: KLARSTEIN
- Model Number: ACO7-2200-jrtt
- Color: White
- Dimensions (L x W x H): 24.5 x 51.5 x 45 cm
- Weight: 6.3 Kilograms
- Power: 1000 Watts
- Voltage: 220 Volts
- Automatic Shut-off Function: Yes
- Number of Speeds: 2
- Special Feature: Easy to use
- Form Factor: Pedestal (can be wall-mounted)
- Indoor/Outdoor Use: Indoor
- Power Source: Electric
- Heating Method: Convection
- Recommended Uses: Indoor Heating
- Mounting Type: Independent (Freestanding or Wall-mounted)
- IP Rating: IP24 (Splash-proof)
8. Warranty and Support
For warranty information, technical support, or service inquiries, please refer to the warranty card included with your product or visit the official Klarstein website. Keep your proof of purchase for any warranty claims.
Klarstein France: Visit the Klarstein Store on Amazon.fr
Related documentsACO7-2200-jrtt

Ask a question about this manual
Ask about setup, troubleshooting, compatibility, parts, safety, or missing instructions. Manuals+ will review the question and use this page’s manual context to help answer it.