
1. Safety Information
Please read and understand all instructions before beginning installation. Failure to do so may result in electric shock, fire, or other injuries that could be hazardous or fatal. All wiring connections must be in accordance with local and national electrical codes.
- WARNING: To avoid electric shock, disconnect power at the circuit breaker before installation.
- This fixture is intended for indoor use only.
- Ensure the mounting surface can support the weight of the fixture.
- Do not connect this fixture to an ungrounded electrical system.
- Consult a qualified electrician if you are unsure about the installation process.
2. Package Contents
Verify that all components are present before proceeding with installation.

Image: The VAXCEL Alto 6-Light LED Ceiling Spot Light, showcasing its brushed nickel finish and six adjustable spot heads on a linear track.
- Fixture body with 6 adjustable spot heads
- Mounting hardware (screws, wire nuts, mounting plate)
- 6 x 7-watt LED GU10 bulbs
- Instruction manual

Image: A close-up view of one of the fixture's spot heads, clearly showing an LED GU10 bulb installed, with an arrow pointing to the bulb and text "LED Bulb Included".
3. Setup & Installation
Professional installation is recommended. Ensure power is OFF at the circuit breaker before starting.
- Prepare the Mounting Surface: Ensure the electrical box is securely mounted and can support the fixture's weight.
- Attach Mounting Plate: Secure the mounting plate to the electrical box using the provided screws.
- Wiring Connections:
- Connect the fixture's ground wire to the supply ground wire (usually bare copper or green).
- Connect the fixture's white wire to the supply neutral wire (white).
- Connect the fixture's black wire to the supply hot wire (black).
- Secure all connections with wire nuts.
- Mount the Fixture: Carefully align the fixture body with the mounting plate and secure it with the decorative nuts or screws.
- Install Bulbs: Insert the provided GU10 LED bulbs into each spot head.
- Restore Power: Turn power back ON at the circuit breaker.
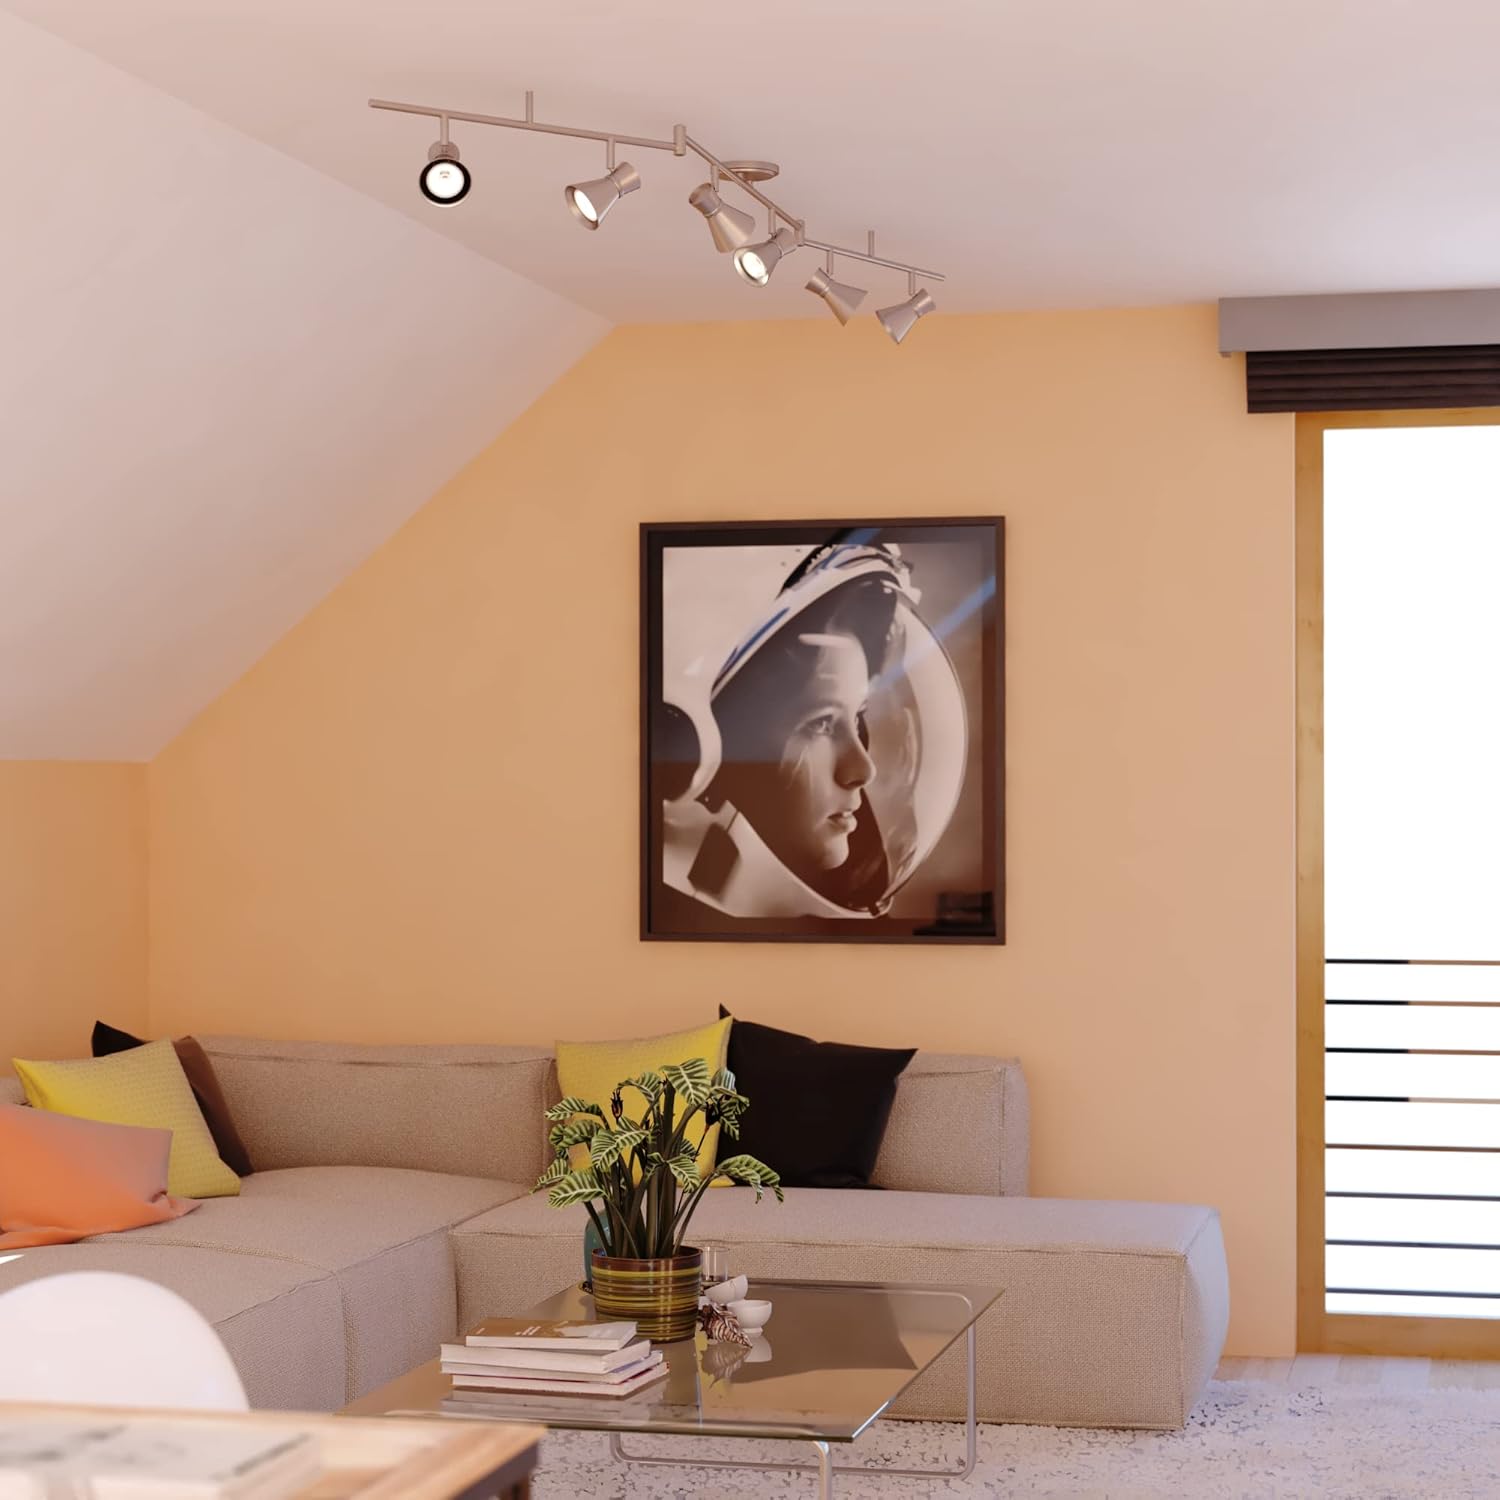
Image: The VAXCEL Alto 6-Light LED Ceiling Spot Light mounted on a ceiling, demonstrating its appearance in a home setting.
4. Operating Instructions
The VAXCEL Alto C0221 fixture is designed for ease of use and directional lighting.
- Power On/Off: Control the light fixture using a standard wall switch connected to the circuit.
- Adjusting Spot Heads: Each spot head can be individually rotated and angled to direct light precisely where needed. The two swing arms also allow for broader light distribution.
- Dimming Functionality: This fixture is dimmable when used with a compatible LED dimmer wall switch. Ensure your dimmer switch is rated for LED lighting.

Image: A view of the VAXCEL Alto 6-Light fixture from below, showing one of the spot heads rotated to illustrate its adjustable nature.
5. Maintenance
Regular maintenance ensures optimal performance and longevity of your fixture.
- Cleaning:
- Always disconnect power before cleaning.
- Wipe the fixture with a soft, dry cloth.
- Do not use abrasive cleaners or solvents, as they may damage the finish.
- Bulb Replacement:
- The included LED GU10 bulbs are long-lasting. If replacement is necessary, ensure power is off.
- Allow bulbs to cool before handling.
- Replace with GU10 LED bulbs of the same wattage (7W) and type for best performance.
6. Troubleshooting
If you experience issues with your VAXCEL Alto C0221 fixture, refer to the following common problems and solutions:
| Problem | Possible Cause | Solution |
|---|---|---|
| Light does not turn on. |
|
|
| Light flickers or dims improperly. |
|
|
| Fixture hums. |
|
|
If problems persist, contact VAXCEL customer support.
7. Specifications
Key technical details for the VAXCEL Alto C0221 6-Light LED Ceiling Spot Light:
| Feature | Detail |
|---|---|
| Model Number | C0221 |
| Dimensions (W x H x D) | 82 in x 8 in x 5 in |
| Weight | 6.61 pounds |
| Material | Aluminum, Steel |
| Finish | Brushed Nickel and Chrome |
| Light Type | LED |
| Bulb Type | GU10 (MR16 shape) |
| Wattage (per bulb) | 7 watts |
| Total Brightness | 3300 Lumens |
| Color Temperature | 3000 Kelvin (Warm White) |
| Color Rendering Index (CRI) | 90 |
| Voltage | 120 Volts |
| Dimmable | Yes (with compatible LED dimmer) |
| Indoor/Outdoor Usage | Indoor (Damp Rated) |
| Installation Method | Ceiling Mounted, Hardwired |
| Certifications | ETL |

Image: A technical diagram illustrating the dimensions of the VAXCEL Alto 6-Light fixture, with labels A: 8" and B: 82".

Image: A "Lumens Calculator" chart providing a comparison between traditional incandescent bulb wattage and equivalent LED wattage, along with their respective lumen outputs. This helps understand LED brightness.
8. Warranty & Support
Warranty Information:
This VAXCEL Alto C0221 fixture comes with a 1-year limited warranty from the date of purchase. This warranty covers defects in materials and workmanship under normal use. It does not cover damage resulting from improper installation, accident, misuse, abuse, or unauthorized modifications.
Customer Support:
For technical assistance, warranty claims, or replacement parts, please contact VAXCEL customer service. Refer to the VAXCEL official website or your purchase documentation for contact details.
When contacting support, please have your model number (C0221) and proof of purchase readily available.


