
1. Introduction
This manual provides essential information for the proper setup, operation, maintenance, and troubleshooting of your L&R Ultrasonic Drain Hose with Clamp. Please read these instructions carefully before use to ensure safe and efficient operation of the product.
2. Product Overview
The L&R Ultrasonic Drain Hose with Clamp is designed to facilitate the safe and efficient drainage of liquids from ultrasonic cleaning units. It features a durable, clear hose for visual monitoring of fluid flow, an elbow connector for secure attachment, and a clamp for controlled drainage.
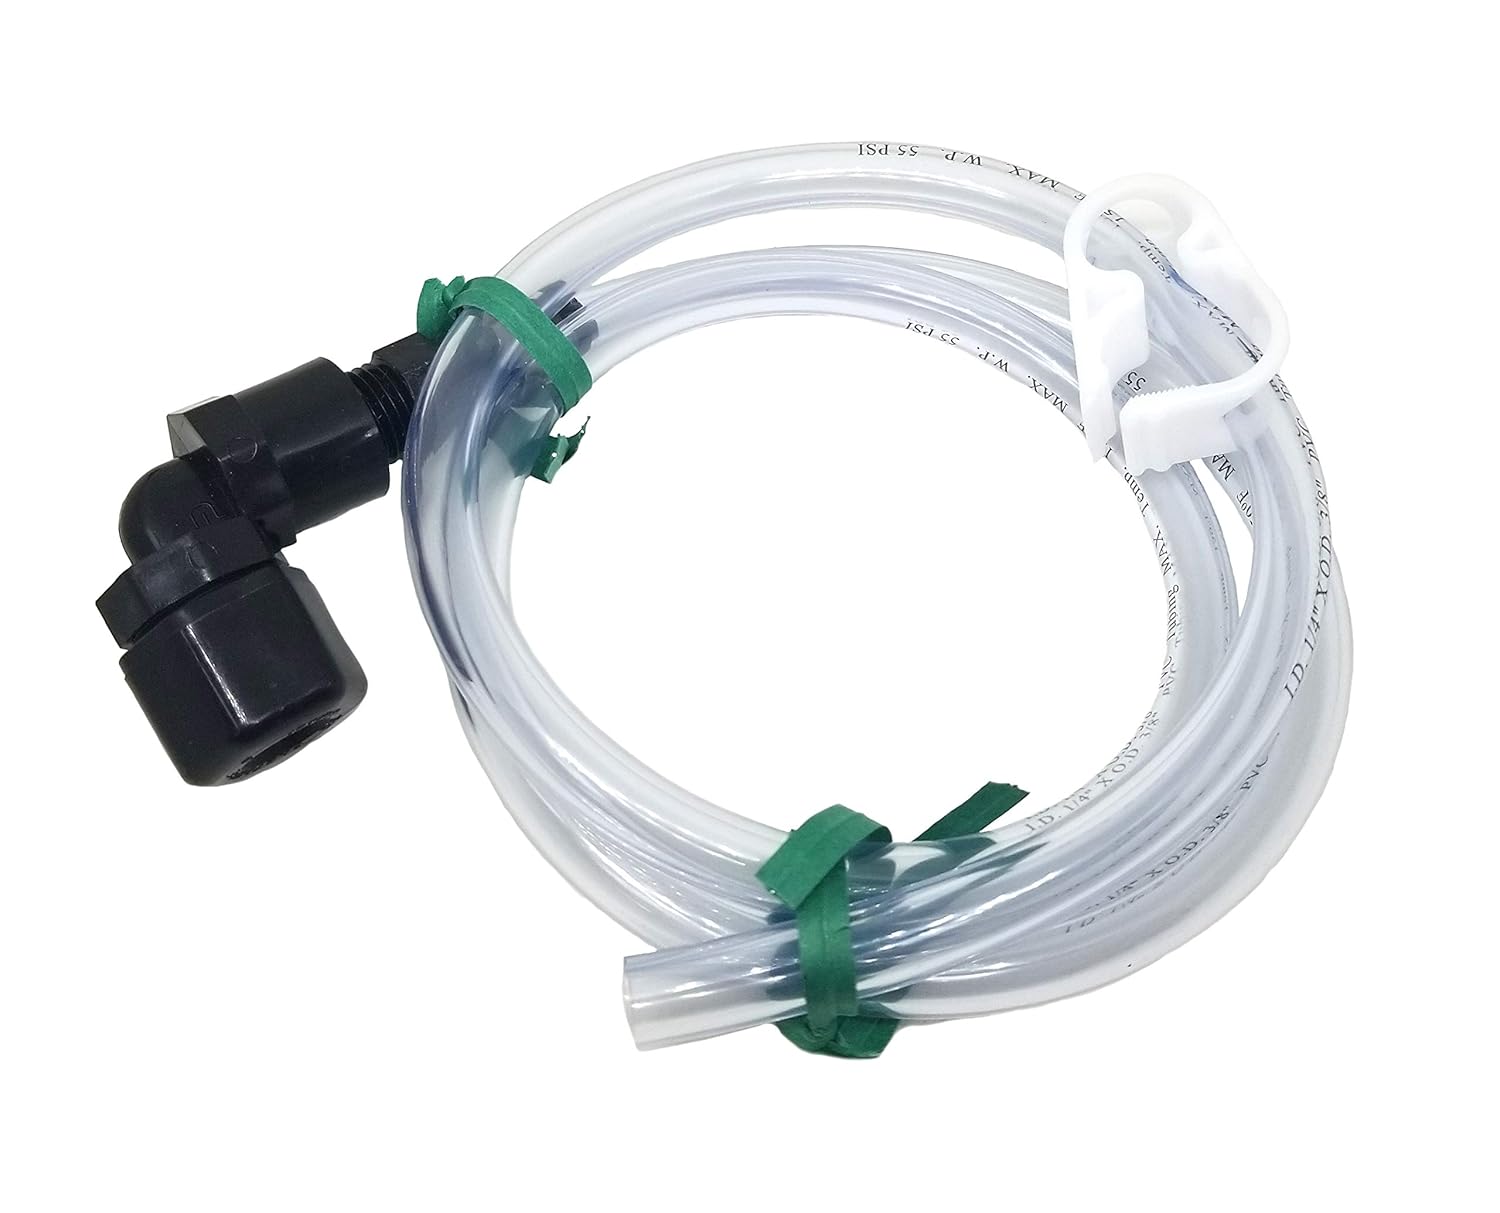
Figure 1: The L&R Ultrasonic Drain Hose, featuring a clear, flexible hose, a black elbow connector for attachment to an ultrasonic unit, and a white plastic clamp for securing the hose and regulating flow.
Components:
- Clear Drain Hose: Flexible tubing for liquid transport.
- Elbow Connector: Black, angled fitting for connecting the hose to the drain port.
- Hose Clamp: White plastic clamp for securing the hose and controlling flow.
3. Setup and Installation
Follow these steps to properly install the drain hose:
- Identify Drain Port: Locate the drain port on your ultrasonic cleaning unit. Ensure the unit is powered off and unplugged before proceeding.
- Attach Elbow Connector: Securely screw or push the black elbow connector onto the ultrasonic unit's drain port. Ensure a tight fit to prevent leaks.
- Connect Hose: Slide one end of the clear drain hose onto the elbow connector. If necessary, gently warm the end of the hose in warm water to make it more pliable for easier attachment.
- Secure with Clamp: Position the white hose clamp over the connection point between the hose and the elbow connector, or at a suitable point along the hose to control flow. Ensure it is firmly closed to prevent accidental detachment or leakage.
- Route Hose: Direct the other end of the drain hose to a suitable waste receptacle or drain. Ensure the hose has a continuous downward slope to allow for gravity drainage and avoid kinks or obstructions.
4. Operating Instructions
Once installed, the drain hose is ready for use:
- Initiate Drainage: Open the drain valve on your ultrasonic unit (if applicable) and/or adjust the hose clamp to allow fluid to flow through the hose.
- Monitor Flow: Observe the clear hose to ensure proper fluid flow and to detect any blockages or leaks.
- Complete Drainage: Once the ultrasonic unit is empty, close the drain valve and/or secure the hose clamp to prevent further drainage or spills.
5. Maintenance
Regular maintenance ensures the longevity and proper function of your drain hose:
- Cleaning: Periodically flush the hose with clean water to remove any residue or buildup from drained solutions.
- Inspection: Regularly inspect the hose, elbow connector, and clamp for signs of wear, cracks, or damage. Replace components if they show significant deterioration.
- Storage: When not in use, store the hose in a clean, dry place, away from direct sunlight or extreme temperatures, to prevent material degradation.
6. Troubleshooting
Refer to the following for common issues and their solutions:
- Issue: Leaks at the connection point.
Solution: Ensure the elbow connector is tightly secured to the drain port and the hose is firmly attached to the elbow. Check the hose clamp for proper closure. Inspect for cracks in the hose or connector. - Issue: Slow or no drainage.
Solution: Check for kinks or obstructions in the hose. Ensure the hose has a continuous downward slope. Verify that the hose clamp is fully open and the ultrasonic unit's drain valve is open. - Issue: Hose appears discolored or brittle.
Solution: This indicates material degradation. Replace the hose immediately to prevent leaks and ensure safe operation.
7. Specifications
| Feature | Detail |
|---|---|
| Brand | L&R Manufacturing |
| Model (ASIN) | B07NBWFJ9Q |
| Outside Diameter | 0.38 Inches |
| Item Length | 1 Meter |
| UPC | 640823602533 |
| Manufacturer | L&R Manufacturing Company |
| Date First Available | February 1, 2019 |
8. Warranty and Support
For warranty information or technical support, please contact L&R Manufacturing directly. Keep your purchase receipt as proof of purchase. Specific warranty terms may vary and are typically provided with the original product packaging or on the manufacturer's official website.