
INTEX 28634GS
Intex 28634GS Cartridge Filter Pump C2500 User Manual
Model: 28634GS | Brand: INTEX
1. Introduction
This manual provides essential information for the safe and efficient operation, installation, and maintenance of your Intex 28634GS Cartridge Filter Pump C2500. This filter pump is designed to keep your pool water clean and clear by filtering out debris and impurities. Please read this manual thoroughly before setup and operation to ensure proper use and longevity of your product.
2. Important Safety Information
WARNING: Failure to follow these instructions can result in serious injury or death.
- Always disconnect the filter pump from the electrical outlet before servicing or cleaning.
- Do not bury the electrical cord. Locate the cord where it will not be damaged by lawnmowers, hedge trimmers, or other equipment.
- This appliance is not intended for use by persons (including children) with reduced physical, sensory or mental capabilities, or lack of experience and knowledge, unless they have been given supervision or instruction concerning use of the appliance by a person responsible for their safety.
- Children should be supervised to ensure that they do not play with the appliance.
- The filter pump must be installed on a solid, level surface.
- Ensure the electrical outlet is protected by a Residual Current Device (RCD) with a rated residual operating current not exceeding 30 mA.
- Never operate the pump if the water temperature is below 10°C (50°F) or above 35°C (95°F).
3. Package Contents
Verify that all components are present and undamaged. If any parts are missing or damaged, do not attempt to assemble or operate the pump. Contact Intex customer service for assistance.
- Filter Pump Unit
- Filter Cartridge (Type B)
- Hoses and Clamps
- Inlet and Outlet Fittings
- Instruction Manual

Image: The Intex Krystal Clear Filter Pump packaging, showing the pump unit and a filter cartridge.
4. Setup Guide
4.1 Before You Begin
- Choose a location for the filter pump that is at least 2 meters (6.5 feet) away from the pool.
- Ensure the location is level, stable, and can support the weight of the pump when filled with water.
- The pump requires a 220-240 Volt AC power supply.
4.2 Assembly and Installation
- Place the filter pump on its designated level surface.
- Connect the two hoses to the pump's inlet and outlet ports. Secure them with the provided clamps.
- Attach the other ends of the hoses to the pool's inlet and outlet fittings. Ensure all connections are tight to prevent leaks.
- Ensure the filter cartridge is correctly installed inside the filter housing.
- Fill the pool with water to the recommended level. The pump should be below the water level for proper priming.
- Open the air release valve on top of the filter housing to allow air to escape as water fills the pump. Close the valve once a steady stream of water emerges.

Image: The Intex Cartridge Filter Pump C2500, showing its main components and hose connections.

Image: The Intex Cartridge Filter Pump C2500 set up on a grassy area next to a pool, demonstrating typical outdoor installation.
5. Operating Instructions
5.1 Starting the Pump
- Ensure all hoses are securely connected and the pool is filled to the appropriate level.
- Verify that the air release valve on the filter housing is closed.
- Plug the pump into a grounded 220-240 Volt electrical outlet protected by an RCD.
- Turn the pump ON using the power switch. The pump should begin circulating water.
5.2 Daily Operation
For optimal water clarity, operate the filter pump for a minimum of 4-6 hours per day. The exact duration may vary depending on pool size, bather load, and environmental conditions. Regularly check the water flow and pressure to ensure efficient operation.

Image: Close-up of the Intex Hydro Aeration Technology component, which enhances water circulation and aeration.
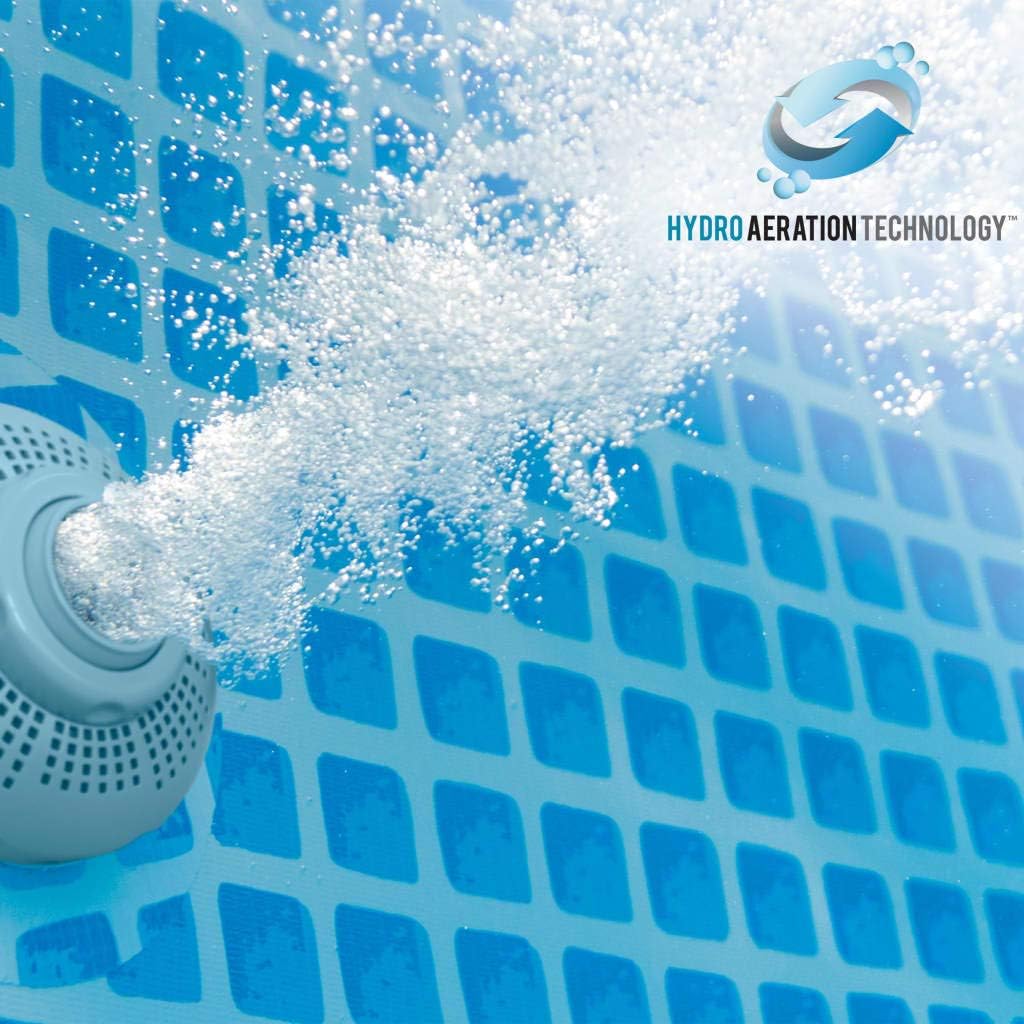
Image: Hydro Aeration Technology in action, showing bubbles being introduced into the pool water for improved filtration and freshness.
6. Maintenance
6.1 Filter Cartridge Cleaning
The filter cartridge should be cleaned regularly, ideally every few days, depending on pool usage and debris levels. To clean:
- Disconnect the pump from the power supply.
- Remove the filter housing lid.
- Carefully remove the filter cartridge.
- Rinse the cartridge thoroughly with a garden hose to remove accumulated debris.
- Inspect the cartridge for damage. If damaged, replace it.
- Reinsert the clean cartridge and secure the lid.
6.2 Filter Cartridge Replacement
Filter cartridges should be replaced every 2-4 weeks, or sooner if they remain dirty after cleaning or if water flow significantly decreases. Use only genuine Intex Type B replacement cartridges.

Image: A clean Intex Type B filter cartridge, ready for installation or replacement.
7. Troubleshooting
If you encounter issues with your filter pump, refer to the table below for common problems and solutions.
| Problem | Possible Cause | Solution |
|---|---|---|
| Pump not running | No power; RCD tripped; Motor overheated | Check power connection; Reset RCD; Allow pump to cool down. |
| Low water flow | Clogged filter cartridge; Air in system; Kinked hoses; Blocked inlet/outlet | Clean/replace cartridge; Bleed air from pump; Straighten hoses; Clear blockages. |
| Water leaking from connections | Loose clamps; Damaged O-rings/gaskets | Tighten clamps; Inspect and replace O-rings/gaskets. |
| Unusual noise from pump | Air in system; Debris in impeller; Pump not level | Bleed air; Disconnect power and check impeller for debris; Ensure pump is on a level surface. |
8. Product Specifications
| Specification | Value |
|---|---|
| Model Number | 28634GS |
| Brand | INTEX |
| Voltage | 220-240 Volt |
| Flow Rate | 9463 Liters per Hour |
| Material | PVC |
| Color | Grey |
| Item Weight | 12.6 Kilograms |
| Power Source | Corded Electric |
9. Warranty and Customer Support
Intex products are manufactured to the highest quality standards. For information regarding warranty coverage, technical support, or replacement parts, please refer to the warranty card included with your product or visit the official Intex website. Keep your proof of purchase for warranty claims.
Ask a question about this manual
Ask about setup, troubleshooting, compatibility, parts, safety, or missing instructions. Manuals+ will review the question and use this page’s manual context to help answer it.