1. Introduction and Overview
The Ironton Heavy-Duty Demolition Breaker Hammer is a robust tool designed for demanding demolition tasks. It delivers significant impact energy to break up various tough surfaces, including concrete and masonry. This manual provides essential information for the safe and effective operation, maintenance, and troubleshooting of your demolition hammer.
Key features of this tool include:
- Powerful Motor: 15 Amp, 110 Volt motor for consistent performance.
- High Impact Energy: Provides 1,400 BPM (Blows Per Minute) with up to 37 ft.-lbs. of impact energy.
- Versatile Bit Retention: Accepts standard 1 1/8 inch hex steel bits.
- Ergonomic Design: Balanced design with a 360° side handle for comfortable use in various orientations.
- Anti-Vibration Technology: Reduces user fatigue during extended operation.
- Durable Construction: Features auto-stop carbon brushes and ball bearing construction for extended tool life.
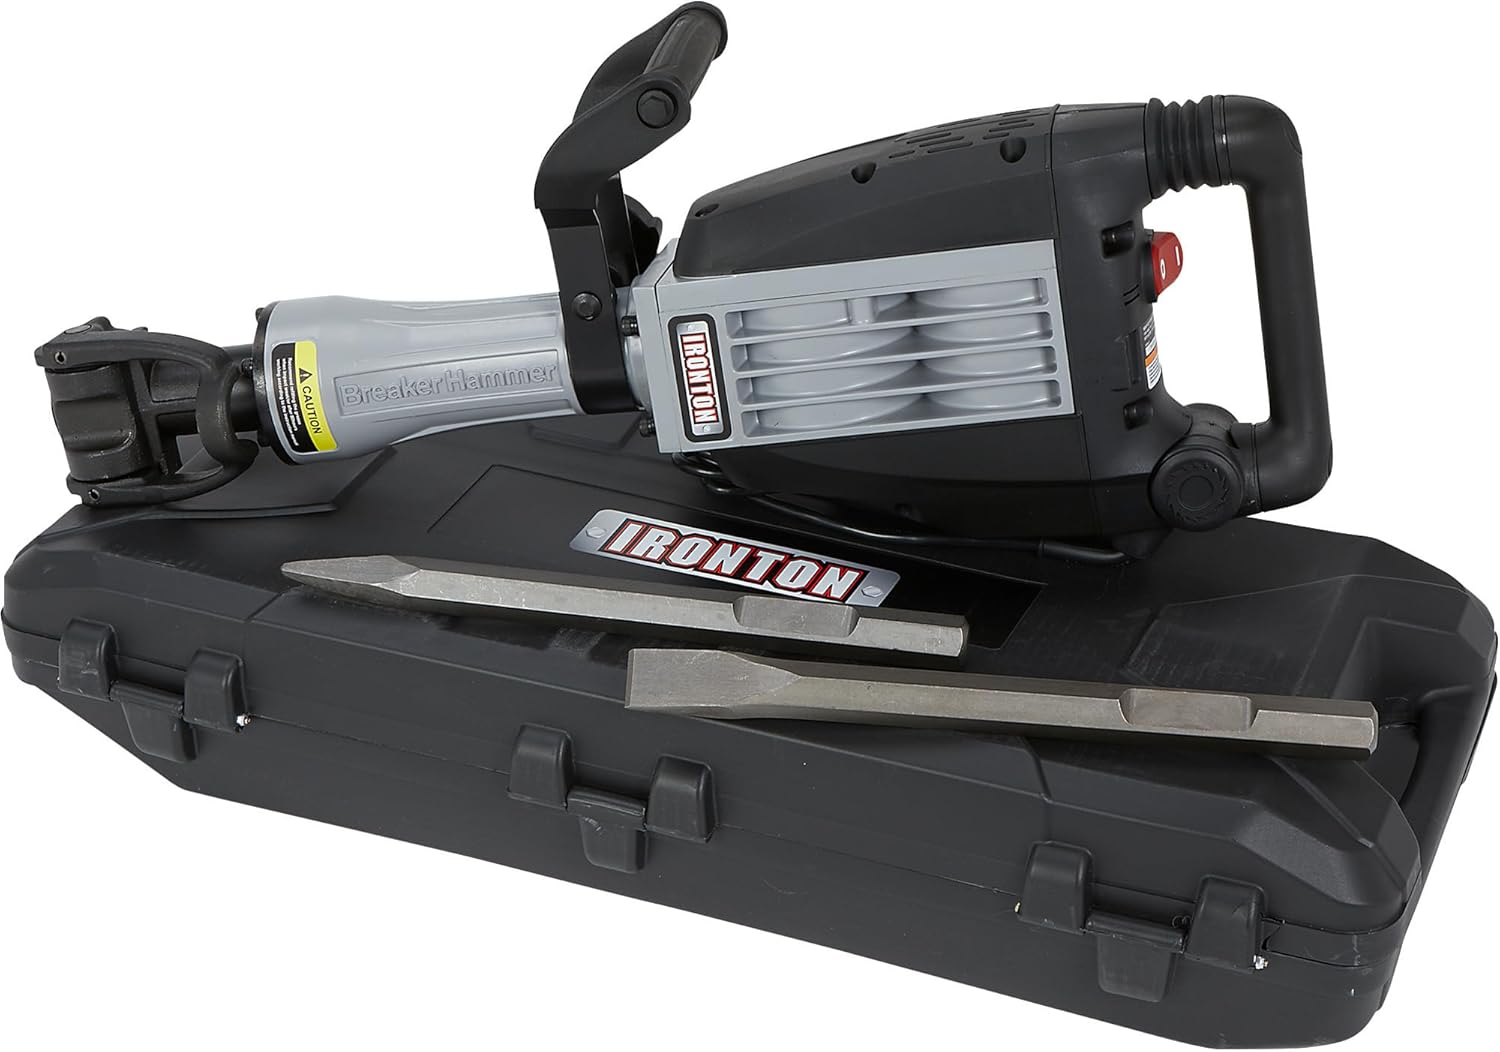
This image displays the Ironton Demolition Breaker Hammer, its durable carrying case, and the included chisel bits (point and flat). The tool features a black and gray body with an ergonomic handle and a robust chuck for bit retention.
2. Safety Instructions
Always adhere to fundamental safety precautions when operating this power tool to minimize the risk of electric shock, fire, and serious injury. Read and understand all instructions before use.
2.1 General Power Tool Safety
- Work Area Safety: Keep the work area clean and well-lit. Cluttered or dark areas invite accidents. Do not operate power tools in explosive atmospheres, such as in the presence of flammable liquids, gases, or dust.
- Electrical Safety: Power tool plugs must match the outlet. Never modify the plug. Avoid body contact with earthed or grounded surfaces (e.g., pipes, radiators, ranges, refrigerators). Do not expose power tools to rain or wet conditions.
- Personal Safety: Always wear appropriate personal protective equipment (PPE), including safety glasses, hearing protection, and heavy-duty gloves. Wear non-skid safety footwear and a hard hat when necessary. Dress properly; avoid loose clothing or jewelry that can get caught in moving parts.
- Tool Use and Care: Do not force the power tool. Use the correct power tool for your application. Disconnect the plug from the power source before making any adjustments, changing accessories, or storing power tools.
- Maintenance: Maintain power tools. Check for misalignment or binding of moving parts, breakage of parts, and any other condition that may affect the power tool’s operation. If damaged, have the power tool repaired before use.
2.2 Specific Demolition Hammer Safety
- Secure Workpiece: Always ensure the workpiece is stable and secured before beginning demolition.
- Hidden Utilities: Before starting work, check for hidden electrical wires, gas pipes, or water pipes in the work area. Use appropriate detectors if necessary.
- Proper Grip: Maintain a firm grip on the tool with both hands. The auxiliary handle must always be used.
- Dust Control: Demolition generates significant dust. Use dust extraction systems and wear a dust mask or respirator.
- Overheating: Allow the tool to cool down during prolonged use to prevent overheating.
3. Package Contents
Upon unpacking, verify that all items listed below are present and undamaged. If any parts are missing or damaged, contact your retailer immediately.
- Ironton Heavy-Duty Demolition Breaker Hammer Unit
- Auxiliary Handle
- Point Chisel Bit (1 1/8 inch hex)
- Flat Chisel Bit (1 1/8 inch hex)
- Heavy-Duty Carrying Case with Wheels
- User Manual
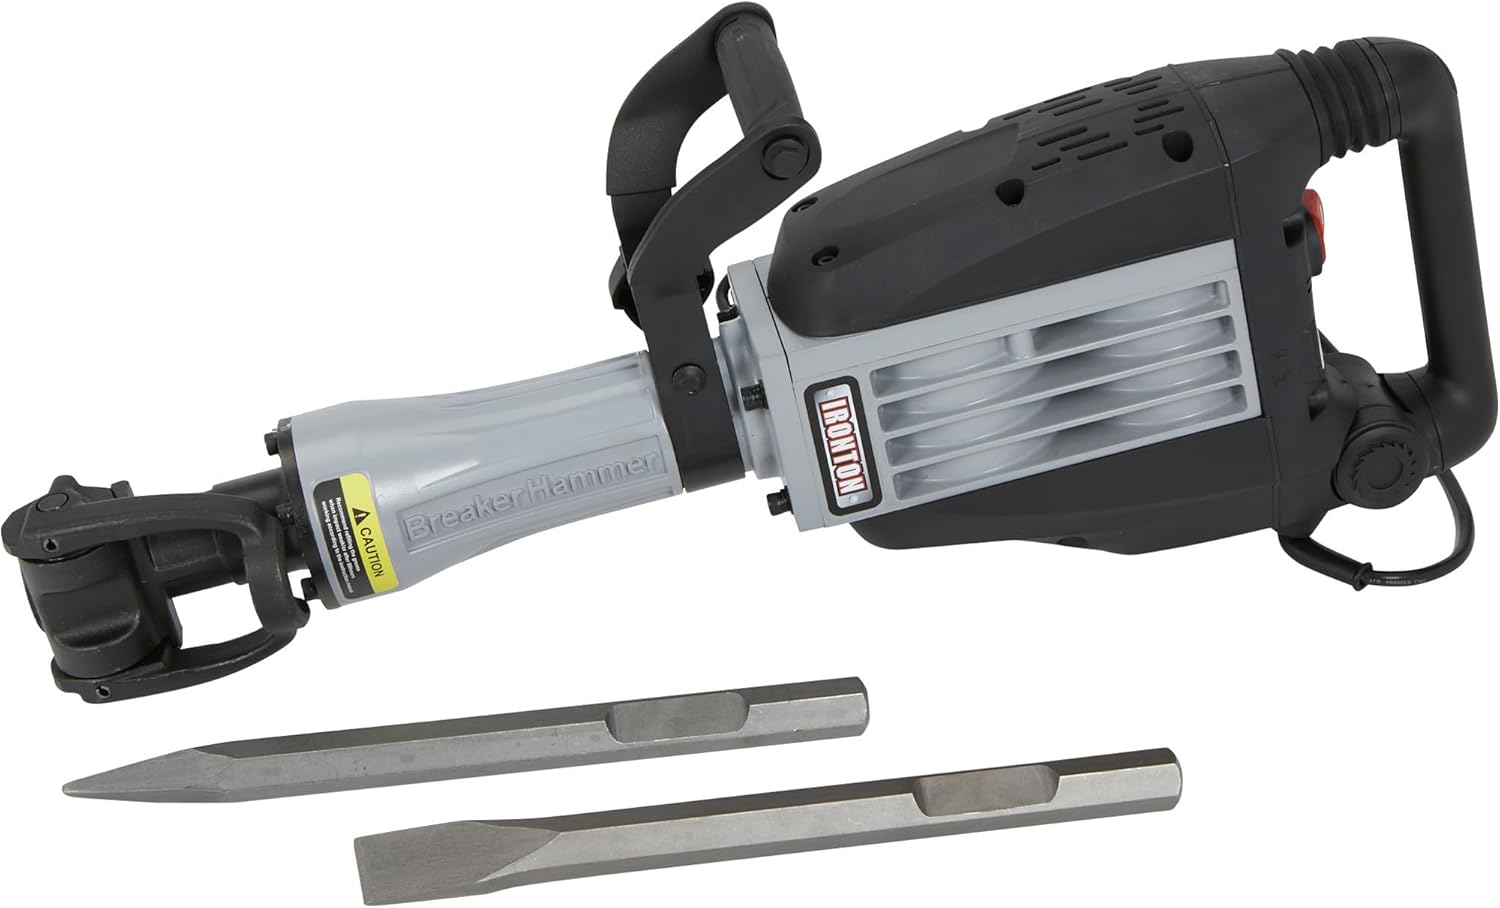
This image shows the Ironton Demolition Breaker Hammer alongside its two primary chisel bits: one pointed for initial penetration and one flat for wider breaking. The tool's chuck mechanism is visible, designed to securely hold these hex-shank accessories.
4. Specifications
| Specification | Value |
|---|---|
| Brand | Ironton |
| Model Number | f9641d18-03b2-4f39-8949-5916d766f319 |
| Part Number | 4972843 |
| Power Source | Corded Electric |
| Voltage | 110 Volts |
| Amperage | 15 Amps |
| Maximum Power | 1800 Watts |
| Impact Rate | 1,400 BPM |
| Impact Energy | 34-37 ft.-lbs. |
| Bit Retention | 1 1/8 inch Hex Steel |
| Item Weight | 46 Pounds |
| Material | Metal |
| Special Features | Anti-vibration Control, Auto-stop Carbon Brushes, Ergonomic Handle |
5. Setup
Before operating the demolition hammer, ensure it is properly assembled and all safety checks are performed.
5.1 Attaching the Auxiliary Handle
- Loosen the clamping mechanism on the auxiliary handle.
- Slide the auxiliary handle onto the tool's barrel, positioning it for comfortable and secure two-handed operation.
- Tighten the clamping mechanism firmly to secure the handle in place. Ensure it does not rotate freely.
5.2 Inserting Chisel Bits
- Ensure the tool is unplugged from the power source.
- Pull back the locking sleeve on the tool's chuck.
- Insert the desired 1 1/8 inch hex chisel bit into the chuck, rotating it slightly until it seats fully.
- Release the locking sleeve. Gently pull on the bit to ensure it is securely locked. The bit should have a small amount of play, which is normal for this type of chuck.
5.3 Power Connection
Connect the tool's power cord to a grounded 110 Volt AC outlet. Ensure the circuit can handle the 15 Amp load of the tool. If using an extension cord, it must be rated for outdoor use, grounded, and have a wire gauge sufficient for the tool's amperage and cord length (e.g., 12-gauge for lengths up to 50 feet).
6. Operating Instructions
Always wear safety glasses, hearing protection, and heavy-duty gloves during operation.
6.1 Starting and Stopping the Tool
- To Start: Press the ON/OFF switch located on the handle.
- To Stop: Release the ON/OFF switch. For continuous operation, some models may have a lock-on button; refer to the tool's specific markings.
This close-up view highlights the ergonomic main handle and the prominent red ON/OFF switch of the Ironton Demolition Breaker Hammer. The switch is clearly labeled for easy operation.
6.2 Proper Grip and Posture
- Hold the tool firmly with both hands, one on the main handle and one on the auxiliary handle.
- Maintain a balanced stance, keeping your feet shoulder-width apart.
- Allow the tool to do the work. Do not apply excessive downward pressure, as this can reduce efficiency and increase strain.
6.3 Demolition Techniques
- Initial Breaking: Use the point chisel bit to create initial holes or cracks in the material.
- Wider Breaking: Switch to the flat chisel bit for widening cracks and breaking larger sections.
- Angle of Attack: For optimal results, strike the material at an angle rather than straight down. This helps to pry and break material more effectively.
- Working in Sections: Break down large areas into smaller, manageable sections.
7. Maintenance
Regular maintenance ensures the longevity and optimal performance of your demolition hammer. Always unplug the tool before performing any maintenance.
7.1 Cleaning
- After each use, clean the tool's exterior with a damp cloth. Do not use harsh chemicals or solvents.
- Clear any dust or debris from the ventilation openings to prevent overheating.
- Clean the chuck regularly to ensure smooth bit insertion and removal.
7.2 Carbon Brush Replacement
The tool is equipped with auto-stop carbon brushes. When the brushes wear down to a certain limit, the tool will automatically stop operating to prevent motor damage. Replace both carbon brushes simultaneously.
- Locate the brush caps on the sides of the motor housing.
- Unscrew the brush caps using a screwdriver.
- Remove the old carbon brushes.
- Insert new carbon brushes, ensuring they are oriented correctly.
- Securely screw the brush caps back into place.
7.3 Lubrication
The internal mechanism of the demolition hammer requires periodic lubrication. Refer to the tool's specific service instructions or consult a qualified service technician for proper lubrication procedures and recommended lubricants.
7.4 Storage
Store the demolition hammer and its accessories in the provided heavy-duty carrying case in a clean, dry, and secure location, out of reach of children. Protect the power cord from damage.

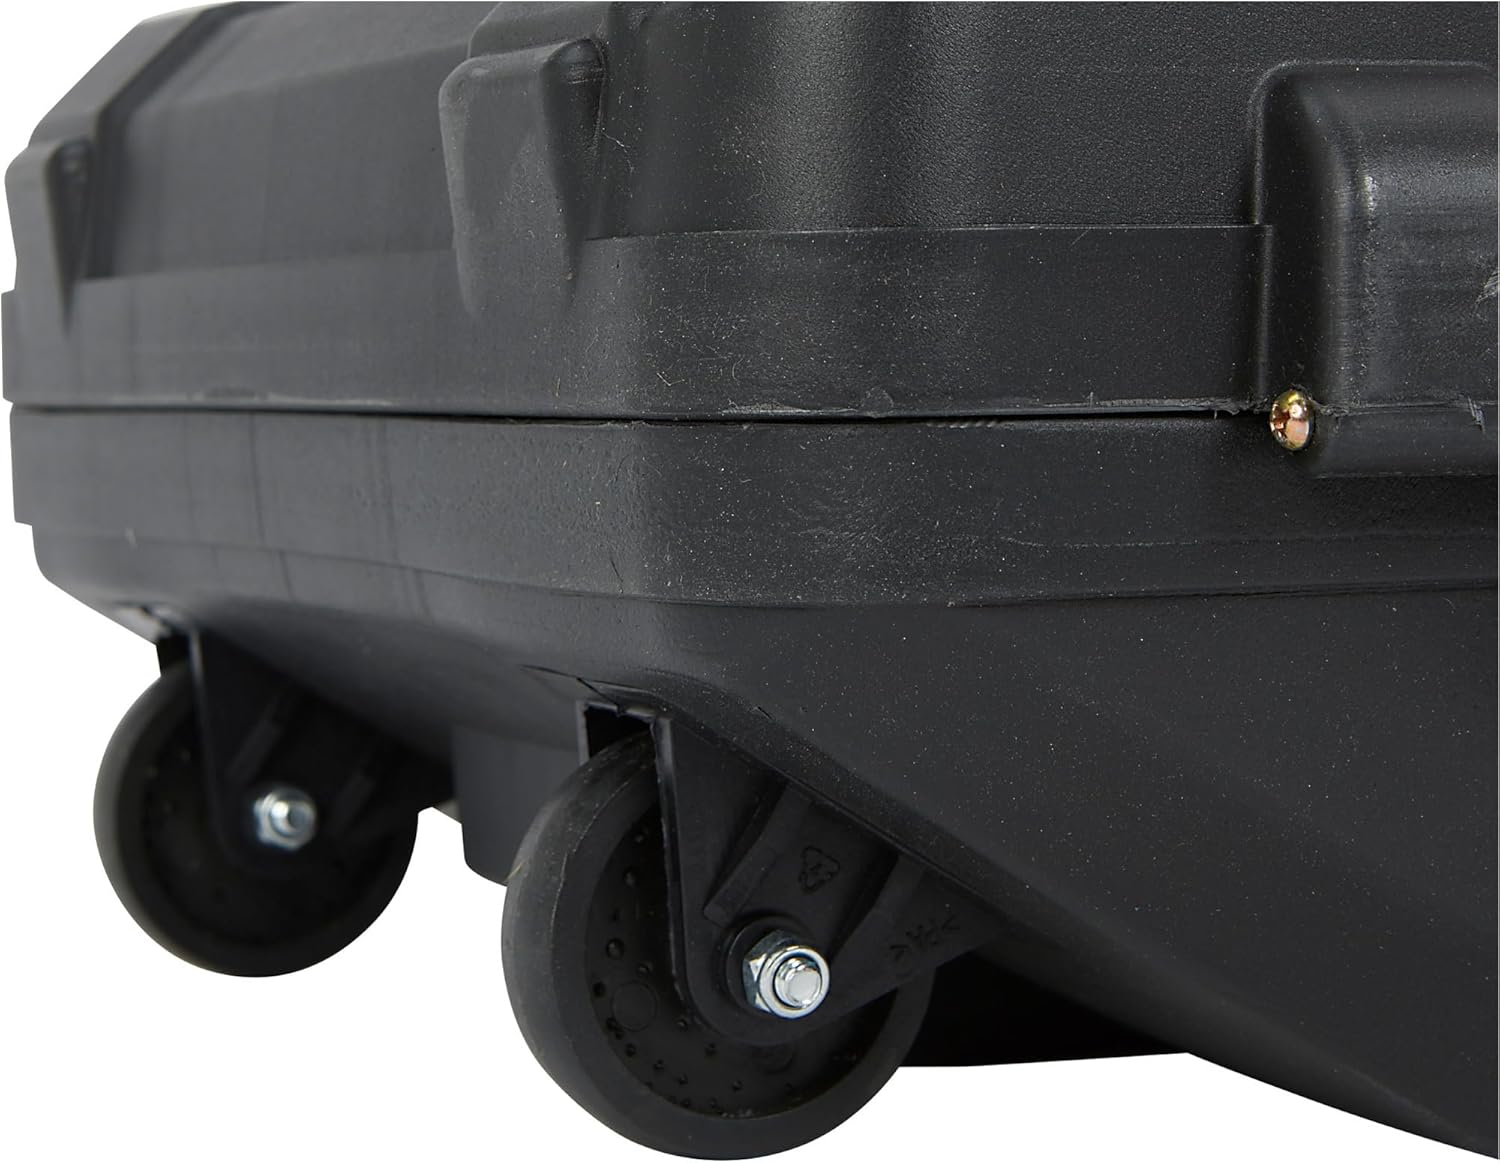
This image shows a close-up of the durable wheels integrated into the heavy-duty carrying case for the Ironton Demolition Breaker Hammer, facilitating easy transport and storage of the tool and its accessories.
8. Troubleshooting
This section addresses common issues you might encounter with your demolition hammer. For problems not listed here, contact customer support.
| Problem | Possible Cause | Solution |
|---|---|---|
| Tool does not start | No power supply Faulty power cord/plug Worn carbon brushes | Check power outlet and circuit breaker Inspect cord for damage; replace if necessary Replace carbon brushes (see Section 7.2) |
| Reduced impact power | Worn chisel bit Insufficient lubrication Worn internal components | Replace chisel bit Consult service technician for lubrication Contact service technician |
| Excessive vibration or noise | Loose components Damaged internal parts Improperly seated bit | Check all external fasteners Contact service technician Re-insert bit, ensuring it is locked |
| Tool overheats | Blocked ventilation Prolonged heavy use Internal motor issue | Clean ventilation openings Allow tool to cool down periodically Contact service technician |
9. Warranty and Support
Ironton products are manufactured to high-quality standards. For specific warranty information, including terms and conditions, please refer to the warranty card included with your product or visit the official Ironton website. If you require technical assistance, replacement parts, or service, please contact Ironton customer support directly. Ensure you have your model number (f9641d18-03b2-4f39-8949-5916d766f319) and purchase details available when contacting support.
For more information about Ironton products, you can visit the Ironton Store on Amazon.


