Introduction
This manual provides instructions for the installation, operation, and maintenance of your Best Pro Lighting 12V Aluminum Path Light, model LED-BPL309. This low voltage landscape light is designed for outdoor use in pathways, walkways, gardens, driveways, or patios. It features a durable cast aluminum construction with a powder-coated rust finish and provides 360° illumination.
Safety Information
- Always disconnect power at the transformer before installing or servicing the fixture.
- This fixture is designed for 12-Volt low voltage systems only. Do not connect to 120-Volt line voltage.
- Installation should be performed by a qualified electrician if you are unsure about wiring procedures.
- Ensure all connections are secure and waterproof for outdoor use.
- Do not operate the fixture with a damaged bulb or housing.
Package Contents
Please verify that all components are present before beginning installation.
Video: This video demonstrates the unboxing and assembly of the Best Pro Lighting 12V Aluminum Path Light, Model LED-BPL309, showing the stem riser, direct burial cord, G4 LED bulb, and the small hat fixture.
- 1x Path Light Fixture (Stem Riser, Small Hat)
- 1x 3W G4 Base LED Bulb (pre-installed or included separately)
- 1x 20W JC Bi-Pin Halogen Bulb (for optional use)
- 1x 18-Gauge AWG Direct Burial Cord (36 inches)
- 1x 1/2 inch Female NPT Threaded PVC Plastic Ground Spike
Note: Low voltage transformer, wire nuts, and additional connectors are NOT included and must be purchased separately.
Setup & Installation
Bulb Installation: If not already installed, carefully insert the G4 LED bulb (or optional 20W Halogen bulb) into the socket at the top of the stem riser. Ensure it is seated firmly. Avoid touching the glass of halogen bulbs directly with bare hands.

Image: A G4 LED bulb, which is compatible with this fixture.
Attach Fixture Head: Screw the small hat fixture onto the top of the stem riser, ensuring it is securely tightened. The clear glass cylinder inside the hat protects the bulb and socket.
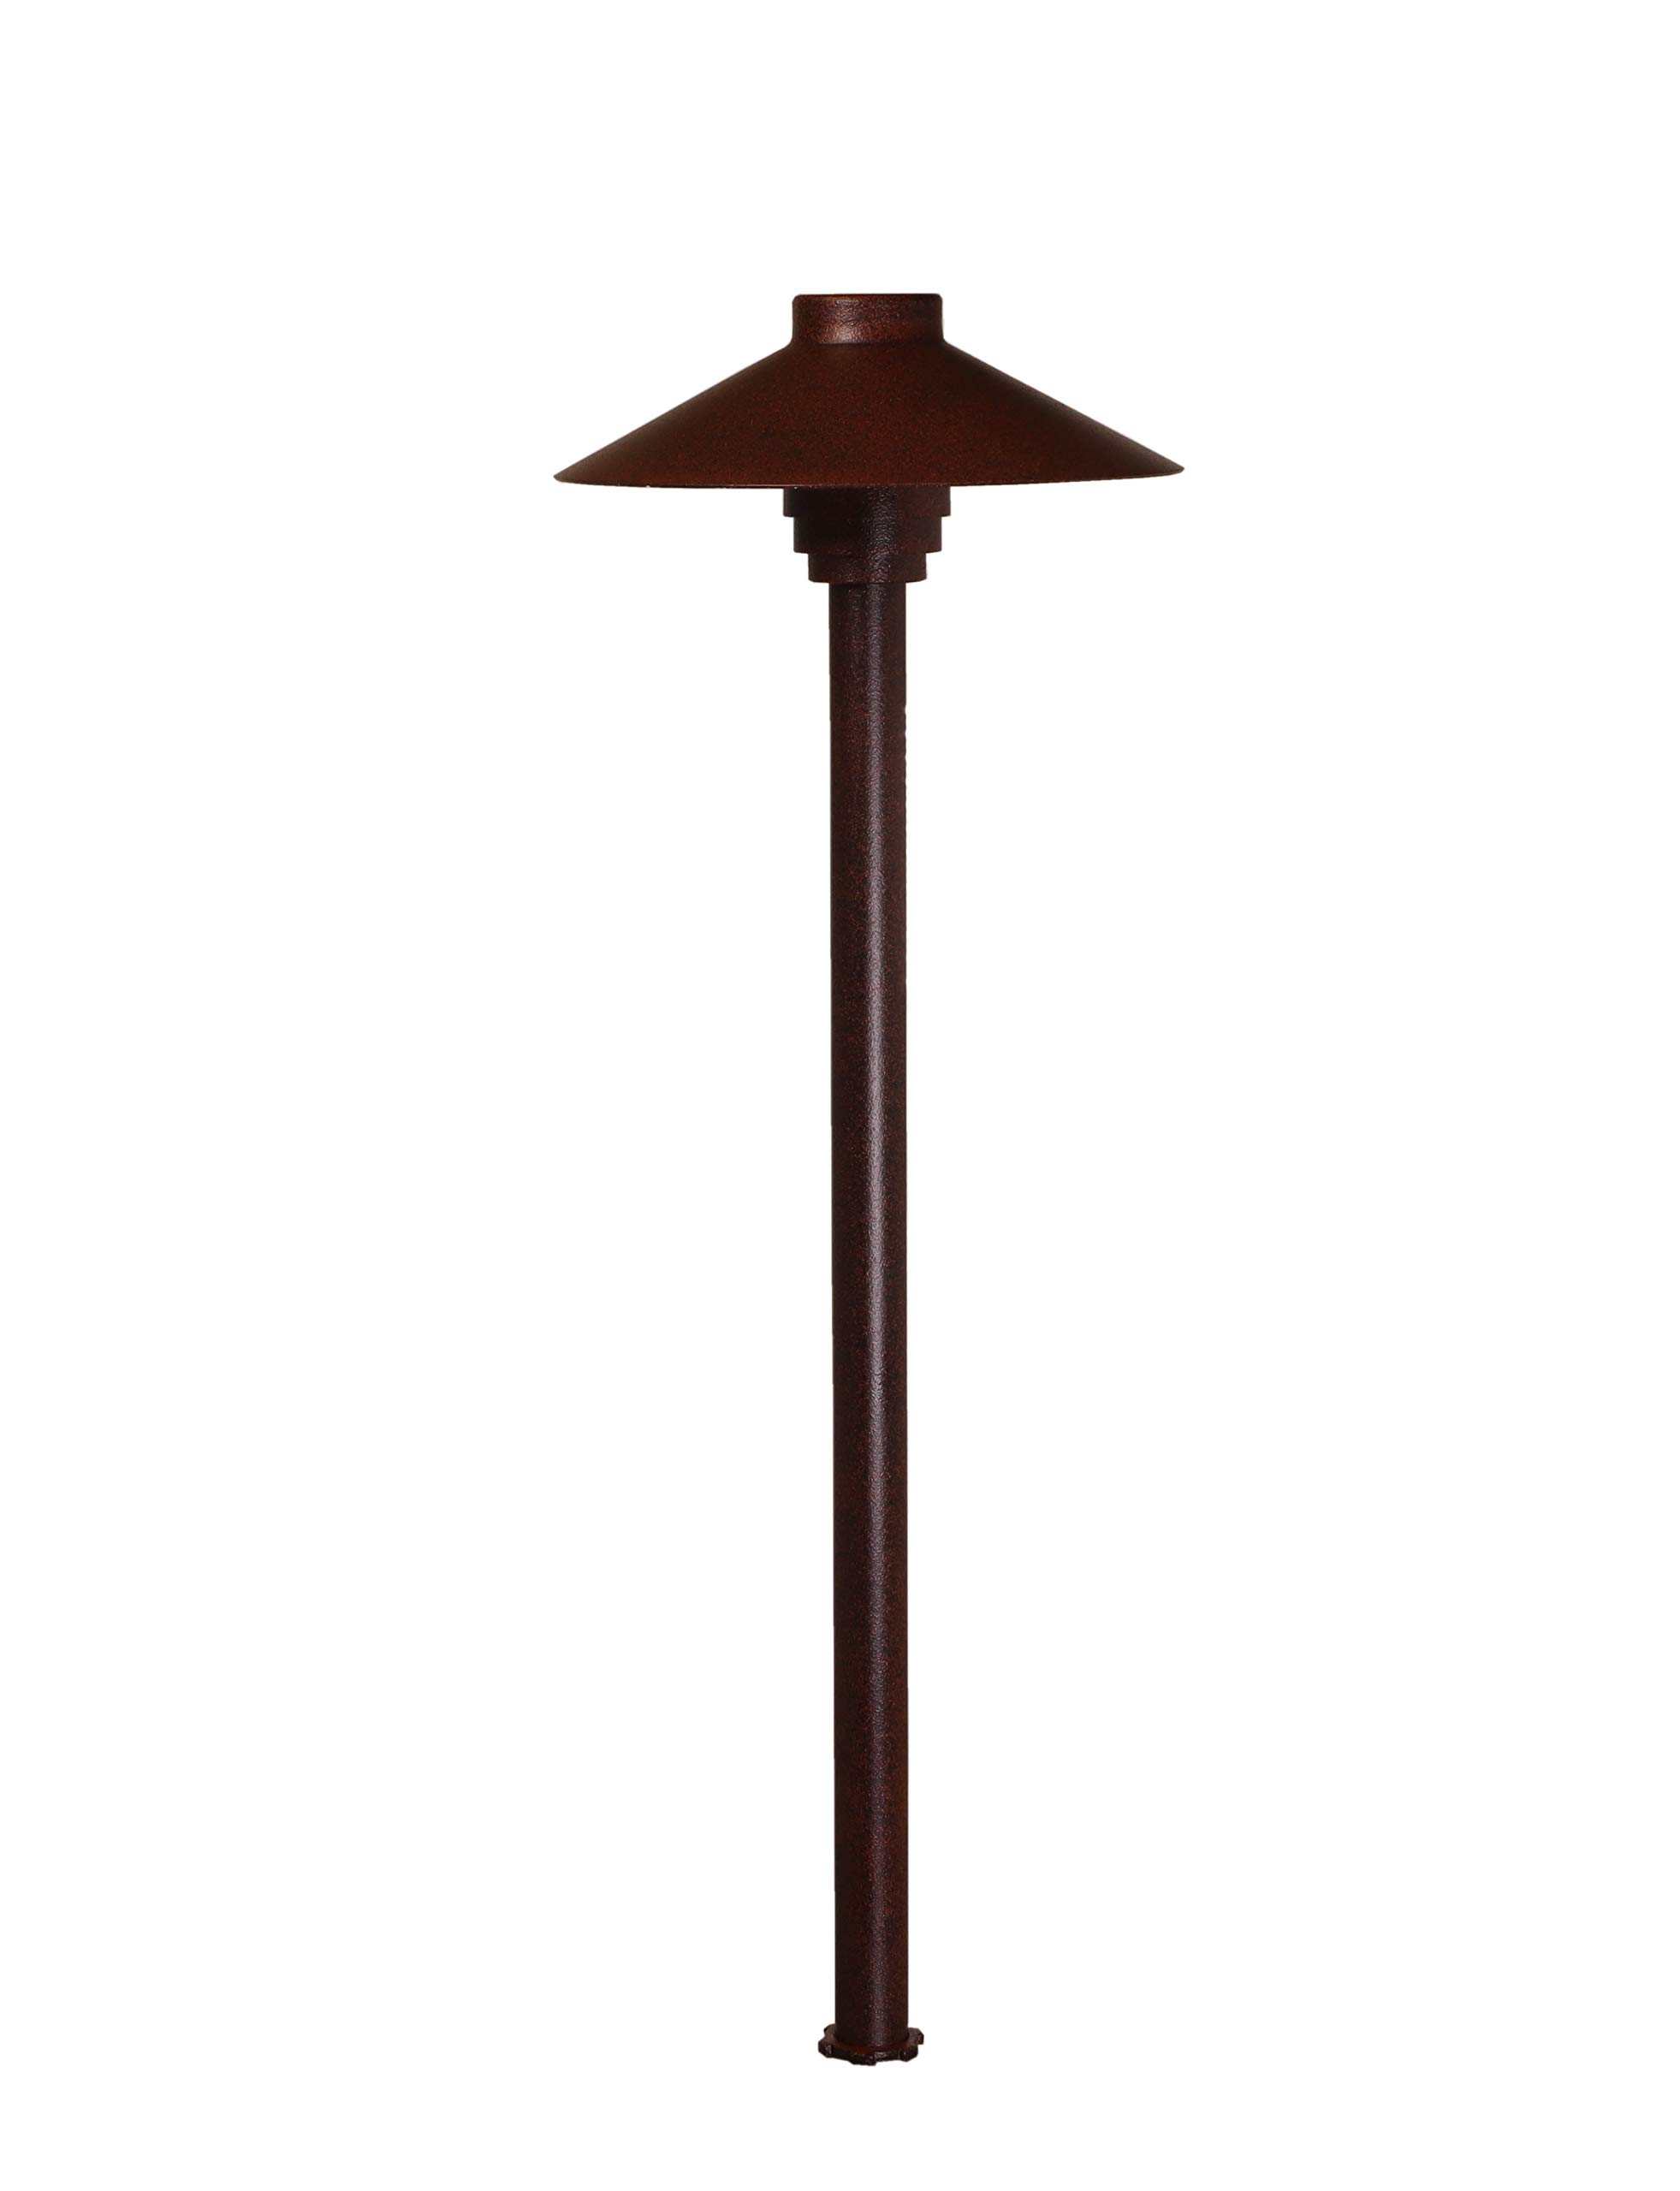
Image: The fully assembled path light, showing the stem and hat.
Attach Ground Spike: Thread the direct burial cord through the ground spike. Then, securely attach the ground spike to the bottom of the stem riser. The spike allows for easy placement in the ground.
Positioning: Select a desired location for your path light. Ensure the location allows for proper cable routing to a low voltage transformer (not included).
Wiring to Transformer: Connect the 18-gauge direct burial cord to your 12-Volt low voltage landscape lighting transformer using appropriate waterproof wire connectors (not included). Ensure polarity is correct if specified by your transformer or other system components. Bury the cable according to local electrical codes.
Power On: Once all connections are secure and the fixture is properly installed, connect the transformer to a power source to test the light.
Operating Instructions
This path light operates on a 12-Volt low voltage system. Once connected to a compatible low voltage transformer and powered on, the light will illuminate. Operation is typically controlled by the transformer's timer or photocell settings.
- Ensure the transformer is set to the desired operating schedule (e.g., dusk-to-dawn, timed).
- Verify that the transformer is receiving power.
Maintenance
- Cleaning: Periodically clean the fixture with a soft, damp cloth to remove dirt and debris. Do not use abrasive cleaners or solvents.
- Bulb Replacement: To replace the G4 bulb, disconnect power at the transformer. Carefully unscrew the hat fixture and remove the old bulb. Insert the new G4 bulb firmly into the socket. Reassemble the fixture, ensuring all parts are securely tightened. This fixture is compatible with both 3W G4 LED bulbs and 20W JC Bi-Pin Halogen bulbs.
- Inspection: Regularly inspect the wiring and connections for any signs of damage or wear. Address any issues promptly to ensure safe operation.
Troubleshooting
| Problem | Possible Cause | Solution |
|---|---|---|
| Light does not turn on | No power to transformer | Check power outlet and transformer connection. |
| Light does not turn on | Faulty bulb | Replace bulb. |
| Light does not turn on | Loose wiring connection | Check all wire connections at the fixture and transformer. |
| Light is dim | Voltage drop due to long wire run or undersized transformer | Consult a professional to assess your low voltage system. |
| Water inside fixture | Improper sealing or damage | Ensure all components are tightly sealed. Inspect for cracks or damage and replace if necessary. |
Specifications
| Feature | Detail |
|---|---|
| Model | LED-BPL309 |
| Brand | Best Pro Lighting |
| Voltage | 12 Volts AC |
| Material | Cast Aluminum |
| Finish | Powder Coated Rust |
| Dimensions | 18"L x 6"W x 18"H |
| Light Source Type | LED (G4 Base) |
| Included Bulb | 3W G4 LED (2700K Warm White, 270 Lumens) & 20W JC Halogen |
| Special Features | Energy Efficient, Low Voltage |
| Installation Type | Flush Mount (with ground spike) |
| Indoor/Outdoor Usage | Outdoor |
| Water Resistance Level | Water Resistant |
Warranty & Support
This Best Pro Lighting fixture comes with a 5 Year Limited Warranty. For warranty claims or technical support, please contact Best Pro Lighting customer service.
Contact information is typically provided on the product packaging or manufacturer's website.


