1. Introduction
Thank you for choosing the COOCHEER Food Dehydrator Machine. This appliance is designed to efficiently remove moisture from various foods, preserving their nutrients and extending their shelf life. With its 8-tray capacity, digital timer, and adjustable temperature control, you can easily create a wide range of dried snacks, fruits, vegetables, and meats. Please read this manual thoroughly before operation to ensure safe and optimal use of your dehydrator.
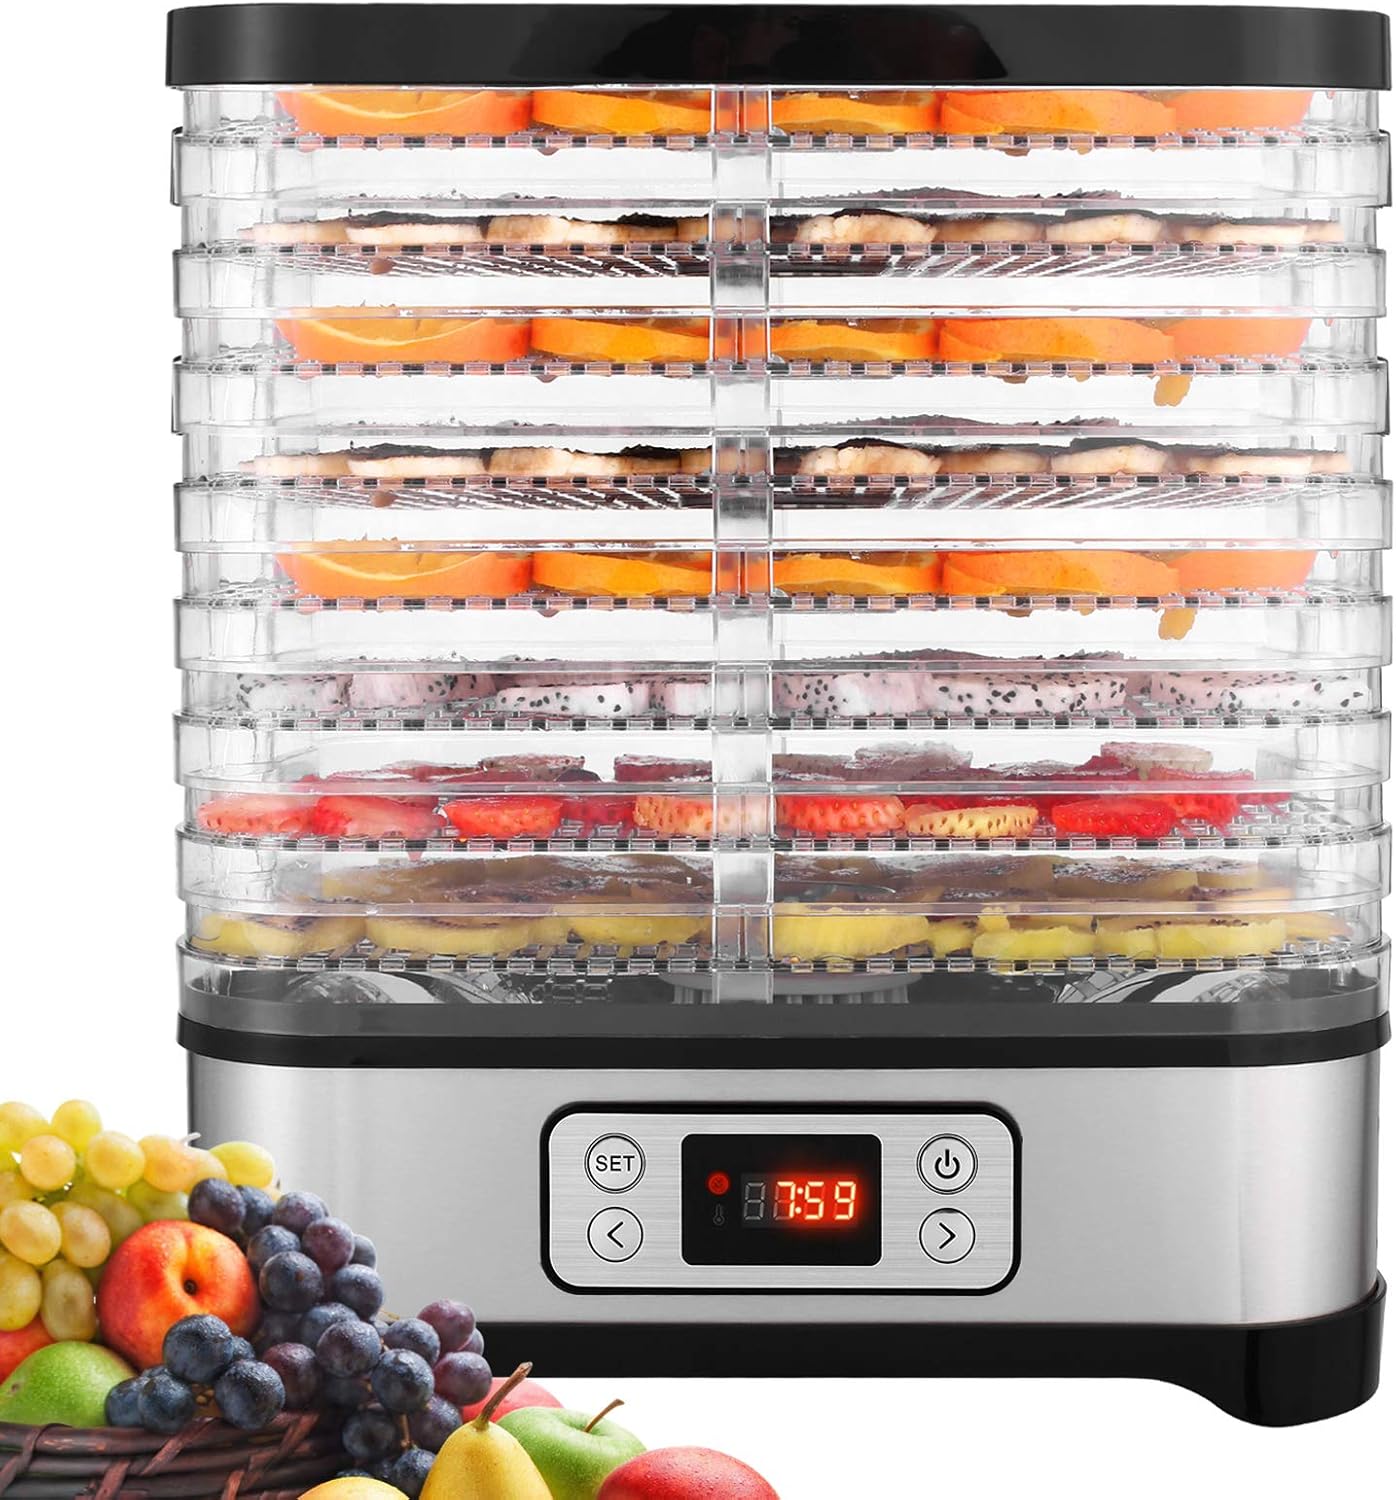
Image 1.1: COOCHEER Food Dehydrator Machine, Model 53308.
2. Important Safeguards
When using electrical appliances, basic safety precautions should always be followed to reduce the risk of fire, electric shock, and/or injury to persons.
- Read all instructions before using the appliance.
- Do not touch hot surfaces. Use handles or knobs.
- To protect against electrical shock, do not immerse cord, plugs, or the appliance base in water or other liquid.
- Close supervision is necessary when any appliance is used by or near children.
- Unplug from outlet when not in use and before cleaning. Allow to cool before putting on or taking off parts.
- Do not operate any appliance with a damaged cord or plug, or after the appliance malfunctions or has been damaged in any manner.
- The use of accessory attachments not recommended by the appliance manufacturer may cause injuries.
- Do not use outdoors.
- Do not let cord hang over edge of table or counter, or touch hot surfaces.
- Do not place on or near a hot gas or electric burner, or in a heated oven.
- Always attach plug to appliance first, then plug cord into the wall outlet. To disconnect, turn any control to "off", then remove plug from wall outlet.
- Do not use appliance for other than intended household use.
- Ensure the appliance is placed on a stable, heat-resistant surface.
- The dehydrator is equipped with an auto shut-off mechanism in case the machine overheats.
3. Product Components
The COOCHEER Food Dehydrator Machine consists of the following main parts:
- Base Unit: Contains the heating element, fan, and control panel.
- Drying Trays (8): Transparent, stackable trays for holding food.
- Lid: Covers the top tray.
- Fine-Mesh Sheet: For drying smaller items like herbs.
- Solid Fruit Roll Tray: For making fruit leathers.

Image 3.1: Included accessories: fine-mesh sheet and solid fruit roll tray. All components are BPA-free.
4. Assembly and First Use
- Unpack: Carefully remove all components from the packaging.
- Clean: Wash the drying trays, fine-mesh sheet, solid fruit roll tray, and lid in warm, soapy water. Rinse thoroughly and dry completely. The trays are dishwasher safe. Wipe the base unit with a damp cloth.
- Assemble Trays: Place the drying trays onto the base unit. The trays can be rotated 180 degrees to adjust the height between them, offering two different spacing options (approximately 3cm and 1.7cm) for various food thicknesses.
- Position: Place the assembled dehydrator on a clean, dry, stable, and heat-resistant surface, away from walls or other appliances to allow for proper air circulation.
- Power Connection: Ensure the voltage of your power outlet matches the appliance's requirements (110 Volts). Plug the power cord into a grounded electrical outlet.

Image 4.1: Tray stacking options for adjustable height.
5. Operation
5.1 Control Panel
The dehydrator features a digital control panel with an LCD display for setting time and temperature.
- Power Button: Turns the unit on/off.
- SET Button: Toggles between time and temperature settings.
- Arrow Buttons (< / >): Adjust time and temperature values.
- Display: Shows current temperature and remaining time.
5.2 Drying Process
- Prepare Food: Wash, peel, core, and slice food evenly. For best results, slices should be uniform in thickness.
- Load Trays: Arrange food in a single layer on the drying trays. Do not overlap food. Ensure there is space for air circulation.
- Stack Trays: Place loaded trays onto the base unit, then cover with the lid.
- Set Temperature: Press the SET button until the temperature indicator flashes. Use the < and > buttons to select the desired temperature (range: 95°F - 158°F / 35°C - 70°C).
- Set Timer: Press the SET button again until the time indicator flashes. Use the < and > buttons to set the desired drying time (up to 72 hours).
- Start Dehydrating: Press the Power button to start the dehydration process. The display will show the remaining time and current temperature.
- Monitor: Periodically check the food's dryness. The bottom-mounted fan and heating element provide consistent airflow, reducing the need for tray rotation.
- Finish: Once the drying cycle is complete, the unit will automatically shut off. Unplug the dehydrator and allow the food and trays to cool before handling.

Image 5.1: The dehydrator's 720° all-round hot air circulation system ensures even drying.
6. Drying Guidelines
The following table provides general recommendations for drying various types of food. Drying times can vary based on food thickness, moisture content, and ambient humidity.
| Food Type | Recommended Temperature | Approximate Drying Time |
|---|---|---|
| Fruits (e.g., apples, bananas, berries) | 131°F - 140°F (55°C - 60°C) | 6 - 12 hours |
| Vegetables (e.g., carrots, mushrooms, tomatoes) | 131°F - 140°F (55°C - 60°C) | 4 - 10 hours |
| Herbs & Flowers | 95°F - 104°F (35°C - 40°C) | 2 - 6 hours |
| Meat (Jerky) | 140°F - 158°F (60°C - 70°C) | 6 - 15 hours |
| Nuts & Seeds | 95°F - 104°F (35°C - 40°C) | 4 - 8 hours |
| Pet Treats | 131°F - 158°F (55°C - 70°C) | 6 - 12 hours |
Note: For meat products, ensure proper food safety practices are followed, including pre-treatment and achieving appropriate internal temperatures. The maximum operating temperature of this dehydrator is 158°F (70°C).

Image 6.1: Recommended temperature ranges for different food types.
7. Care and Cleaning
Regular cleaning and maintenance will ensure the longevity and optimal performance of your dehydrator.
- Unplug: Always unplug the dehydrator from the power outlet before cleaning.
- Cool Down: Allow the appliance to cool completely before disassembling or cleaning.
- Clean Trays and Lid: The drying trays, fine-mesh sheet, solid fruit roll tray, and lid are dishwasher safe. Alternatively, wash them in warm, soapy water, rinse thoroughly, and dry completely.
- Clean Base Unit: Wipe the exterior of the base unit with a soft, damp cloth. Do not immerse the base unit in water or any other liquid.
- Storage: Stack the trays in "Storage Mode" (by rotating them to the narrower spacing) to take up less space. Store the dehydrator in a clean, dry place.

Image 7.1: The dehydrator is easy to clean; simply wipe the base unit.
8. Troubleshooting
If you encounter any issues with your dehydrator, please refer to the following common problems and solutions:
| Problem | Possible Cause | Solution |
|---|---|---|
| Dehydrator does not turn on. | Not plugged in; power outlet malfunction; unit overheated. | Ensure the power cord is securely plugged into a working outlet. Check the circuit breaker. If the unit overheated, allow it to cool down completely before attempting to restart. |
| Food is not drying evenly. | Food slices are uneven; trays overloaded; insufficient air circulation. | Ensure food is sliced uniformly. Do not overload trays; arrange food in a single layer. Check that the dehydrator is placed in an area with good airflow. |
| Dehydrator is too loud. | Normal fan operation; unit not on a stable surface. | A certain level of fan noise is normal during operation. Ensure the unit is on a flat, stable surface to minimize vibrations. |
| Temperature not reaching desired level. | Ambient temperature too low; unit malfunction. | Ensure the dehydrator is used in a room with a reasonable ambient temperature. If the issue persists, contact customer support. Note that the maximum temperature is 158°F (70°C). |
9. Technical Specifications
| Feature | Specification |
|---|---|
| Brand | COOCHEER |
| Model Number | 53308 |
| Material | Plastic, Stainless Steel (Food Safe, BPA Free) |
| Color | Silver |
| Wattage | 400 watts |
| Voltage | 110 Volts |
| Number of Trays | 8 |
| Temperature Range | 95°F - 158°F (35°C - 70°C) |
| Timer | Up to 72 hours |
| Item Weight | 8.28 pounds |
| Package Dimensions | 14.25 x 13 x 11.75 inches |
| UPC | 721780966750 |

Image 9.1: Detailed specifications of the dehydrator.

Image 9.2: Dehydrator dimensions and adjustable tray heights.
10. Warranty Information
The product is typically covered by a manufacturer's warranty. While specific warranty duration details may vary, some documentation indicates a 1-year or 2-year warranty period. Please retain your proof of purchase for warranty claims. For detailed warranty terms and conditions, refer to the documentation included with your product or contact the manufacturer directly.
11. Customer Support
For any questions, technical assistance, or warranty inquiries, please contact COOCHEER customer support. Refer to the product packaging or the official COOCHEER website for the most current contact information.
