
1. Introduction
This manual provides detailed instructions for the installation, operation, and maintenance of your new Grill Valueparts PS9900 Grill Grates Replacement Parts. These grates are designed to offer enhanced durability, superior heat distribution, and improved grilling performance for a variety of grill models. Please read this manual thoroughly before installation and use to ensure optimal performance and longevity of your product.

Image 1.1: Grill Valueparts PS9900 Grill Grates.
2. Compatibility
The PS9900 Grill Grates are compatible with a wide range of grill models. Please verify your grill's model number against the list below to ensure proper fit.
2.1 Compatible Grill Models:
- Smoke Hollow: PS9900, PS9900-SY18, PS9500, 7000CGS, 8500, 6800
- Kingsford: BC222, 2409690
- Expert Grill: XG1910200103, 571743713
- Outdoor Gourmet: DLX2012, DLX2013, DLX2014
- Charbroil: 463722314, 463722315, 463770915, G312-2102-W1A, 463771015, G312-0K02-W1, 463722313, 463721007, 473721007, 463742111, 463750914, 461773017, 463722311, 463722312, 463722415, 463722416, 466750914, 463722911, 463722912, C33G4, C-33G4, C33G3, C-33G3
- Kenmore: 141.152270, 141.155400, 141.16680, 141.155401, 141.156400, 141.157900, 141.157902, 141.157941, 141.157981, 141.166400, 141.16681, 141.1669, 141.166901, 141.16691, 141.168600, 141.17227, 141.173372, 141.173373, 141.176400, 141.17681, 141.157901, 141.157940, 141.157950, 141.157951, 141.157980, 141.157990, 141.157991, 141.165400, 141.17337, 141.173371, 141.173379, 141.17560, 141.1768, 141.176801
2.2 How to Find Your Grill Model Number:
Refer to your grill's user manual, control panel, inside of the door, or on the cart side/back panel for the model number. It is typically found on the model/rating labels or a small white label.

Image 2.1: Locations to find your grill's model number.
3. Product Features
- Material: Constructed from upgraded matte enamel cast iron for enhanced durability and resistance to rust, corrosion, chipping, cracking, and deformity.
- Dimensions: Each grate measures approximately 10 7/10 inches x 16 1/2 inches. The total coverage for two grates is approximately 21 2/5 inches x 16 1/2 inches.
- Heat Distribution: Designed for even heat distribution, providing consistent cooking temperatures and promoting bold sear marks.
- Durability: Robust and sturdy construction ensures long-lasting performance without distorting or degrading under high heat.
- Improved Grilling: Helps increase smokiness and enhances the flavor of grilled food.

Image 3.1: Product Dimensions.
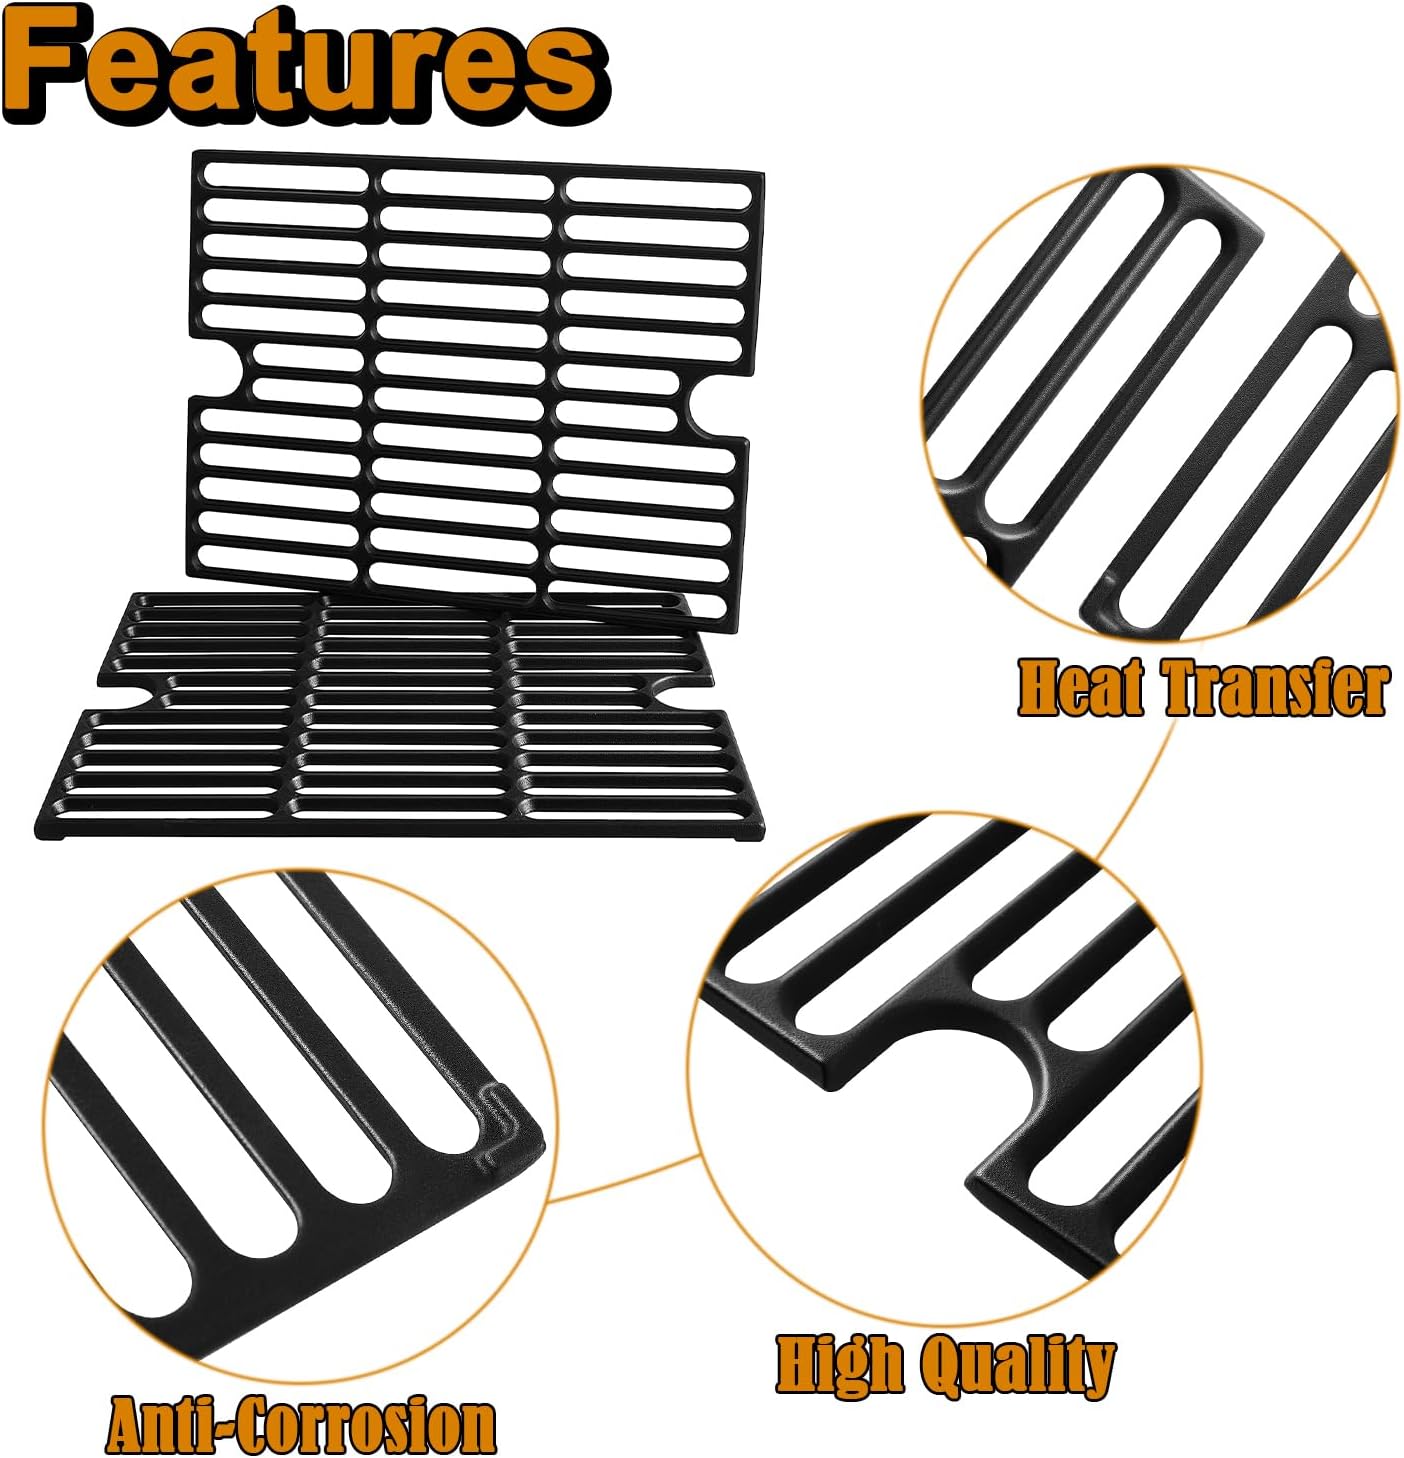
Image 3.2: Key features of the grill grates including heat transfer, anti-corrosion properties, and high quality construction.

Image 3.3: Comparison of upgraded grates versus standard grates.
4. Installation
Installing your new grill grates is a straightforward process. Ensure your grill is completely cool and turned off before beginning.
- Preparation: Open the grill lid and remove any existing grates, warming racks, or heat tents.
- Cleaning (Optional): This is an opportune time to clean the inside of your grill, including burner covers and the firebox, if necessary.
- Placement: Carefully place the new PS9900 grill grates onto the designated supports inside your grill. Ensure they sit flat and are properly aligned.
- Verification: Gently push down on the grates to confirm they are securely seated and do not wobble.

Image 4.1: Installing the grill grates.
5. Operation
To achieve the best grilling results and extend the life of your cast iron grates, follow these operational guidelines.
5.1 Initial Seasoning:
Before first use, and periodically thereafter, it is recommended to season your cast iron grates. This creates a non-stick surface and protects against rust.
- Clean the grates thoroughly with warm water and a mild soap, then dry completely.
- Apply a thin, even coat of high-smoke-point cooking oil (e.g., vegetable oil, grapeseed oil) to all surfaces of the grates.
- Place the grates in your grill and heat to a medium-high temperature (around 350-400°F or 175-200°C) for 30-60 minutes.
- Turn off the grill and allow the grates to cool completely. Repeat this process 2-3 times for optimal seasoning.
5.2 Grilling Tips:
- Preheating: Always preheat your grill with the grates in place for 10-15 minutes to ensure they reach the desired cooking temperature. This helps create excellent sear marks and prevents sticking.
- Oiling: Lightly oil the grates before placing food on them, even after seasoning, to further prevent sticking.
- Even Cooking: The cast iron material provides excellent heat retention and even heat transfer, contributing to consistently cooked food.

Image 5.1: Achieving a great grilling experience with the new grates.
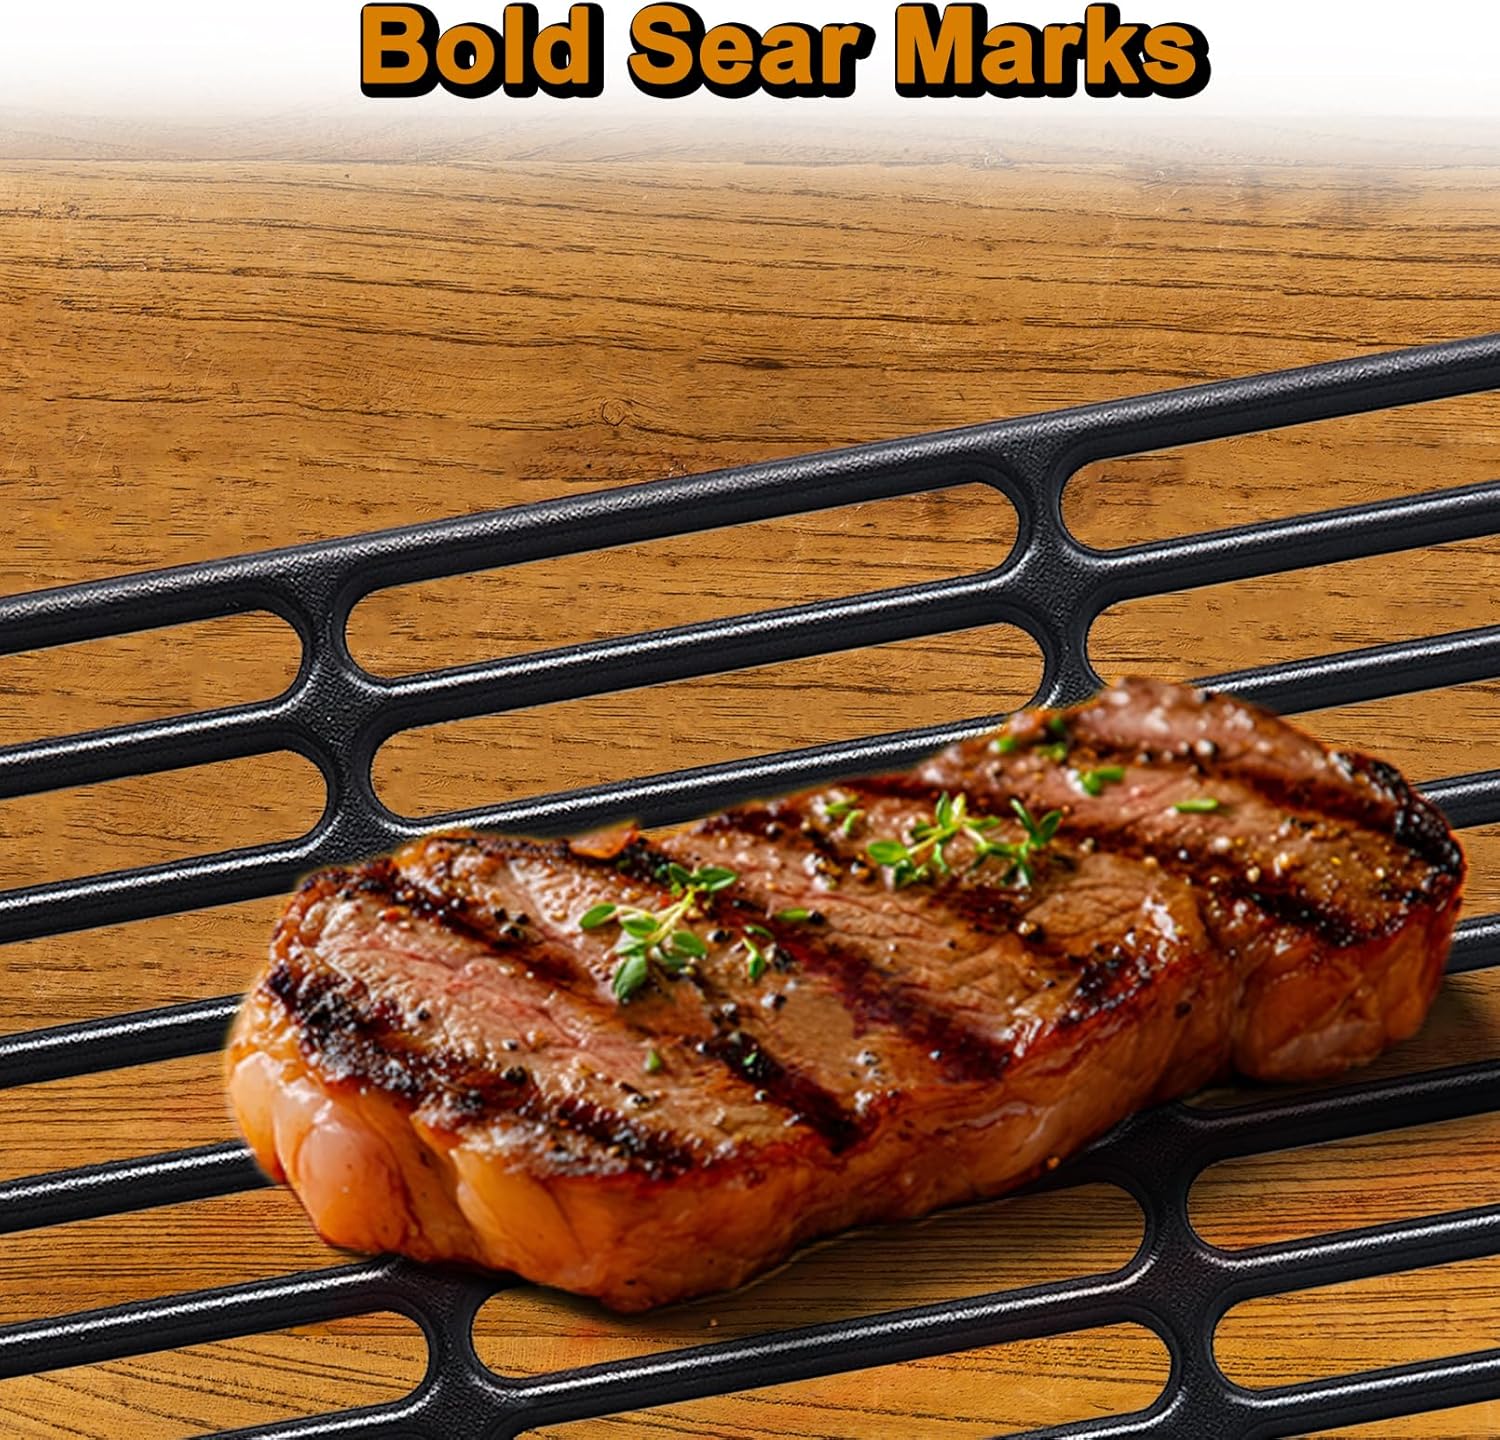
Image 5.2: Bold sear marks achieved on grilled food.

Image 5.3: Illustration of excellent heat retention.
6. Maintenance
Proper care and maintenance will ensure your grill grates remain in excellent condition for many years.
6.1 Cleaning After Use:
- While Warm: The easiest time to clean cast iron grates is while they are still warm after cooking. Use a stiff-bristled grill brush to scrape off any food residue.
- Deep Cleaning: For more thorough cleaning, allow the grates to cool. Wash with warm water and a mild dish soap. Avoid harsh abrasives or steel wool, which can damage the seasoning.
- Drying: Always dry cast iron grates immediately and thoroughly after washing to prevent rust. You can place them back on a warm grill for a few minutes to ensure complete drying.
- Re-oiling: After cleaning and drying, apply a very thin layer of cooking oil to the grates. This helps maintain the seasoning and protects against rust.

Image 6.1: Applying oil to the grill grates for maintenance.
6.2 Storage:
Store grates in a dry environment. If storing for extended periods, ensure they are clean, dry, and lightly oiled.
7. Troubleshooting
Here are solutions to common issues you might encounter with your grill grates.
- Food Sticking:
- Ensure grates are properly seasoned. Re-season if necessary.
- Preheat the grill sufficiently before adding food.
- Apply a thin layer of cooking oil to the grates before each use.
- Rust Formation:
- Rust indicates a lack of seasoning or improper drying.
- Scrub off any rust with a stiff brush or steel wool.
- Wash, dry thoroughly, and then re-season the grates immediately.
- Always dry grates completely after washing and apply a light coat of oil before storage.
- Uneven Heating:
- Ensure your grill's burners are functioning correctly and evenly.
- Verify that the grates are seated properly and not obstructed.
- Cast iron naturally distributes heat well; if unevenness persists, check your grill's internal components.
8. Specifications
| Attribute | Detail |
|---|---|
| Model Name | PS9900 Grill Grates |
| Item Model Number | REV190128C-2 |
| Brand | Grill Valueparts |
| Material | Upgraded Matte Enamel Cast Iron |
| Color | Black |
| Individual Grate Dimensions (L x W x H) | 16.5 x 10.7 x 0.38 inches (approx. 16 1/2" x 10 7/10" x 3/8") |
| Total Grate Dimensions (L x W) | Approx. 21 2/5" x 16 1/2" (for two grates) |
| Item Weight | 9.73 pounds |
| UPC | 715002171053 |
9. Warranty and Support
For any questions regarding your Grill Valueparts PS9900 Grill Grates Replacement Parts, including compatibility, installation, or maintenance, please contact our customer support. While specific warranty details are not provided in this manual, Grill Valueparts is committed to customer satisfaction. Please refer to your purchase documentation or the retailer's website for warranty information.
For further assistance, you may visit the Grill Valueparts Store on Amazon.