
PERMO PERMO
PERMO Minimalist Single Socket Wall Sconce Lighting (Set of 2, Black)
Instruction Manual
1. Introduction
Thank you for choosing the PERMO Minimalist Single Socket Wall Sconce Lighting. This manual provides essential information for the safe and correct installation, operation, and maintenance of your new lighting fixtures. Please read these instructions thoroughly before installation and retain them for future reference.

Image 1.1: PERMO Minimalist Single Socket Wall Sconces (Set of 2)
2. Safety Information
- WARNING: To avoid electric shock, always turn off the power at the main circuit breaker or fuse box before beginning installation.
- All electrical connections must be in accordance with local codes, ordinances, or the National Electric Code (NEC). Consult a qualified electrician if you are unfamiliar with proper electrical wiring connections.
- Use only bulbs of the specified type and wattage. Exceeding the maximum wattage may cause overheating and damage to the fixture or create a fire hazard.
- Do not install this fixture in wet or damp locations. It is designed for indoor use only.
- Ensure the fixture is securely mounted to a structural element of the wall or ceiling.
- Do not connect this fixture to an ungrounded electrical system.
3. Package Contents
Verify that all components are present before beginning installation:
- 2 x Wall Sconce Fixtures
- Mounting Hardware (screws, wire nuts, mounting plate)
- Instruction Manual
Note: Bulbs are not included and must be purchased separately.
4. Specifications
| Feature | Detail |
|---|---|
| Brand | PERMO |
| Model Name | PERMO |
| Color | Black |
| Material | Metal |
| Product Dimensions | 2.95"L x 4.7"W x 6.3"H (approximate) |
| Light Fixture Form | Sconce |
| Power Source | Hardwired |
| Installation Type | Wall Mount, Hanging |
| Bulb Base | E26 |
| Max Wattage | 60 watts |
| Voltage | 110-120 Volts |
| Switch Type | Rotary (On/Off switch on socket) |
| Special Feature | Not Dimmable (unless paired with dimmable bulb and dimmer switch) |

Image 4.1: Product Dimensions and Twist Switch Detail
5. Installation Instructions
Before You Begin: Ensure the power is turned off at the circuit breaker. Hardwired installation is required. If you are unsure about any steps, consult a qualified electrician.
- Prepare the Mounting Surface: The canopy of the mount plate is 4.72 inches and is designed to cover US general octagonal, round, or square junction/electrical boxes.
- Attach Mounting Plate: Secure the mounting plate to your electrical junction box using the provided screws. Ensure it is firmly attached.
- Wire Connections:
- Connect the black wire from the fixture to the black wire (Live) from the junction box.
- Connect the white wire from the fixture to the white wire (Neutral) from the junction box.
- Connect the green or bare copper wire (Ground) from the fixture to the green or bare copper wire (Ground) from the junction box.
- Secure all connections with wire nuts and wrap with electrical tape for added safety.
- Attach Fixture to Mounting Plate: Carefully tuck the wires into the junction box. Align the fixture base with the mounting plate and secure it with the provided screws.
- Install Bulb: Screw an E26 base bulb (max 60W) into the socket. Compatible bulb types include LED, CFL, Halogen, and Incandescent.
- Restore Power: Turn the power back on at the circuit breaker.
The fixture can be installed with the light bulb facing upwards or hanging downwards, and the socket can be rotated 180 degrees to adjust the light direction.

Image 5.1: Application Methods and 180-degree Control
Video 5.1: Permo Minimalist Socket Single Wall Sconce Light Overview. This video demonstrates the product's features, including the twist switch and various installation orientations.
6. Operating Instructions
The PERMO wall sconce features a convenient twist switch located directly on the socket for easy operation.
- Turning On/Off: Rotate the twist switch clockwise or counter-clockwise to turn the light on or off.
- Bulb Compatibility: This fixture is compatible with E26 base LED, Compact Fluorescent (CFL), Halogen, and Incandescent bulbs, up to a maximum of 60 watts.
- Dimming Functionality: If you wish to use a dimming function, you will need to install a dimmable E26 bulb and connect the fixture to a compatible dimmable wall switch (dimmer remote). The switch on the fixture itself is a simple on/off mechanism. If using a wall dimmer, leave the fixture's twist switch in the 'on' position.
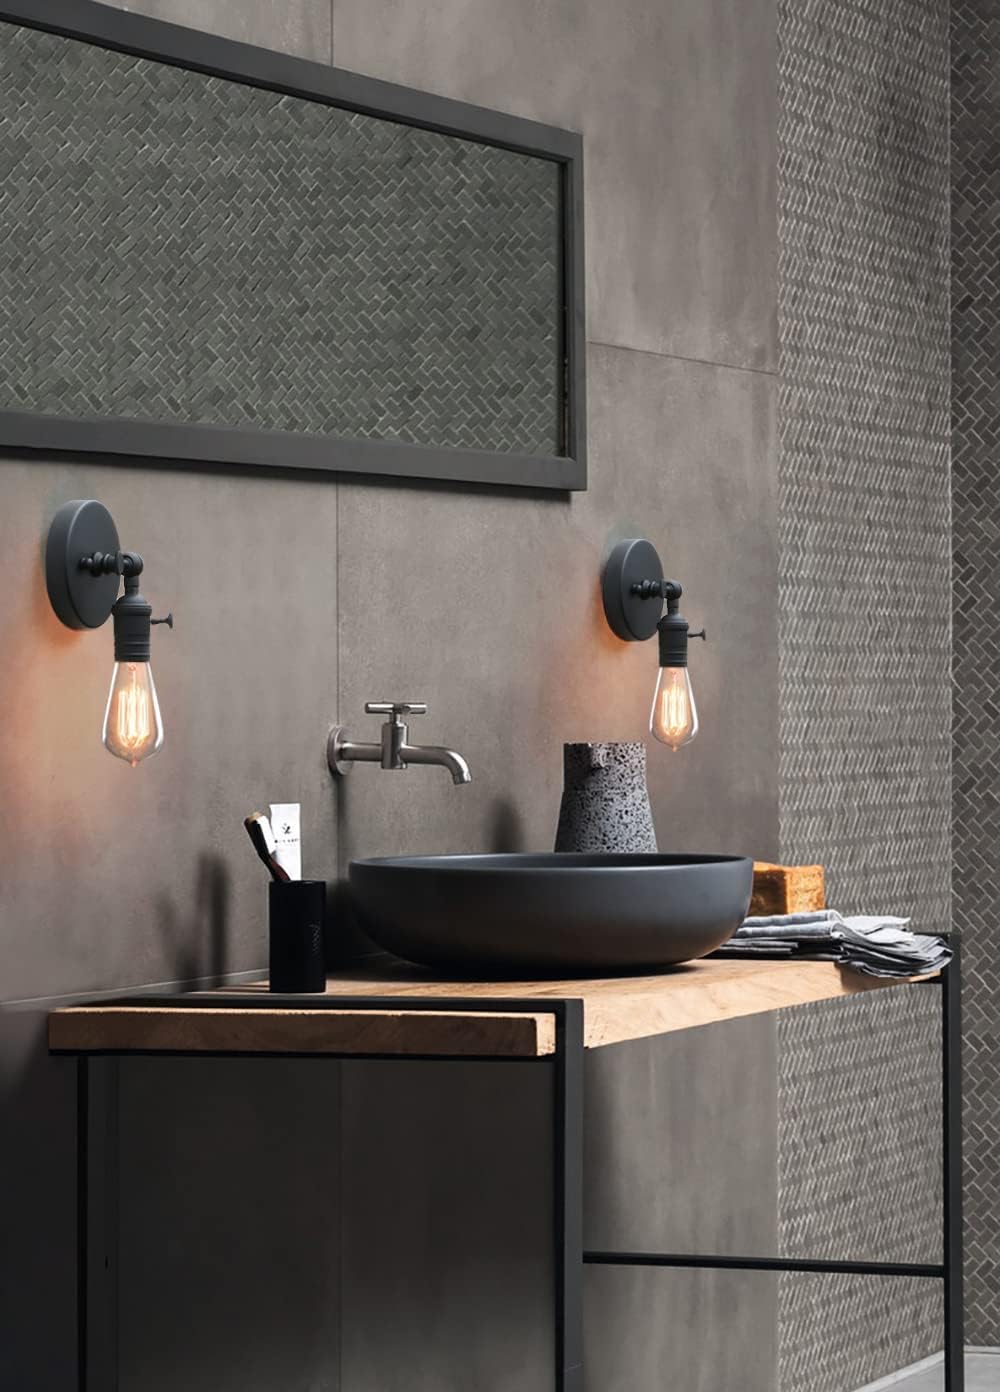
Image 6.1: Sconces installed in a bathroom setting
7. Maintenance
- Cleaning: To clean the fixture, ensure the power is off and the fixture is cool. Wipe with a soft, dry cloth. Do not use abrasive cleaners or solvents, as they may damage the finish.
- Bulb Replacement: Always turn off the power before replacing a bulb. Allow the old bulb to cool completely before removing it. Screw in the new E26 base bulb (max 60W) firmly but gently.
8. Troubleshooting
| Problem | Possible Cause | Solution |
|---|---|---|
| Light does not turn on. | 1. Power is off at the circuit breaker. 2. Bulb is loose or faulty. 3. Wiring connections are incorrect or loose. 4. Fixture's twist switch is off. |
1. Check the circuit breaker and ensure power is on. 2. Tighten or replace the bulb. 3. Turn off power, then check and secure all wiring connections. 4. Rotate the twist switch on the socket to the 'on' position. |
| Light flickers. | 1. Loose bulb. 2. Loose wiring connection. 3. Incompatible dimmer switch/bulb. |
1. Tighten the bulb. 2. Turn off power, then check and secure wiring connections. 3. Ensure dimmable bulbs are used with compatible dimmer switches. |
9. Warranty
PERMO Lighting offers a 12-month quality guarantee against any defects in materials and workmanship from the date of purchase. If any shade is damaged or parts are missing upon opening the box, a replacement can be applied for. Please retain your proof of purchase for warranty claims.
10. Customer Support
For further assistance, technical support, or warranty claims, please contact PERMO Lighting customer service through the retailer where the product was purchased. Please have your product model number (PERMO) and purchase date available when contacting support.
Ask a question about this manual
Ask about setup, troubleshooting, compatibility, parts, safety, or missing instructions. Manuals+ will review the question and use this page’s manual context to help answer it.