Introduction
This manual provides essential instructions for the safe and effective use of your Turtlebox Speaker Replacement Charger (Gen 1). Please read this manual thoroughly before use and retain it for future reference.
Safety Information
- Use only the specified charger for your Turtlebox Gen 1 speaker.
- Do not expose the charger to extreme temperatures or direct sunlight.
- Keep the charger away from water or liquids. Ensure the speaker's charging port cover is securely closed when not charging to maintain its waterproof integrity.
- Do not attempt to disassemble or modify the charger.
- Unplug the charger from the power outlet when not in use or during electrical storms.
Package Contents
- 1 x Turtlebox Replacement Charger (Gen 1)
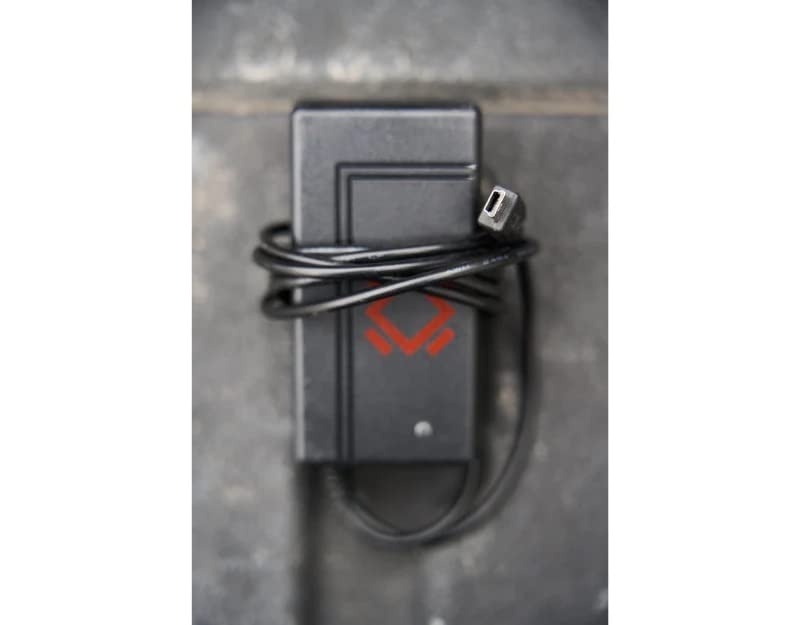
This image displays the Turtlebox Gen 1 Replacement Charger, a compact black power adapter with an attached cable ending in a barrel connector. The charger features the Turtlebox logo.
Setup
- Locate the Charging Port: On your Turtlebox Gen 1 speaker, find the waterproof cover on the side or back panel. Open this cover to reveal the charging port.
- Connect the Charger: Insert the barrel connector of the replacement charger into the charging input port on your Turtlebox speaker.
- Plug into Power: Plug the charger's power adapter into a standard 110V AC wall outlet.
This video demonstrates the physical characteristics of the charger and how it connects to the speaker. It highlights the barrel connector and the power adapter, showing the process of plugging it into a wall outlet.
Operating
Once connected to power, the charging indicator lights on your Turtlebox speaker will illuminate, typically showing green LEDs to indicate the battery level and charging status. Allow the speaker to charge until all indicator lights are solid green, signifying a full charge.
After charging, disconnect the charger from the speaker and the wall outlet. Ensure the waterproof cover on the speaker's charging port is securely closed to maintain its IP67 rating.
Maintenance
- Keep the charger clean and free from dust and debris. Use a dry, soft cloth for cleaning.
- Store the charger in a cool, dry place when not in use.
- Regularly inspect the charger cable and connector for any signs of damage. If damaged, discontinue use and replace with an official Turtlebox charger.
Troubleshooting
| Issue | Possible Cause | Solution |
|---|---|---|
| Speaker not charging | Charger not properly connected; Power outlet issue; Damaged charger. | Ensure the charger is fully inserted into the speaker and wall outlet. Test the outlet with another device. Inspect the charger for damage and replace if necessary. |
| Slow charging | Using a non-standard charger; Power fluctuations. | Ensure you are using the official Turtlebox Gen 1 Replacement Charger. Try a different power outlet. |
Specifications
- Brand: Turtlebox
- Model: Gen 1 Replacement Charger
- Charger Output Voltage: 14 Volts
- Charger Input: Standard AC Wall Outlet
- Material: Plastic
- Item Weight: 6.7 ounces (Note: This weight is likely for the speaker, not the charger itself.)
- Product Dimensions: 11.5 x 6.5 x 8.75 inches (Note: These dimensions are likely for the speaker, not the charger itself.)
- UPC: 861053002621
- Manufacturer: Turtlebox Audio, LLC
Warranty and Support
The Turtlebox Speaker Replacement Charger (Gen 1) comes with a Limited Warranty. For specific warranty details, claims, or technical support, please refer to the official Turtlebox Audio, LLC website or contact their customer service directly.
For further assistance, visit the Turtlebox Store on Amazon.


