
1. Introduction
This manual provides detailed instructions for the installation, operation, and maintenance of your A-Tech 8GB DDR3L 1866MHz SO-DIMM Memory Module (Model: ATMS339671B30845X1). This module is specifically designed for compatibility with the Toshiba Satellite L75D-A7283 laptop and other compatible systems requiring DDR3L SO-DIMM memory.
Please read this manual thoroughly before proceeding with installation to ensure proper handling and to maximize the performance and longevity of your memory module.
2. Safety Information
Observe the following safety precautions during installation:
- Electrostatic Discharge (ESD) Prevention: Memory modules are sensitive to static electricity. Before handling, discharge any static electricity from your body by touching a grounded metal object (e.g., an unpainted metal part of your computer chassis). Consider using an anti-static wrist strap.
- Power Off: Always power off your laptop completely and disconnect the AC adapter and remove the battery before opening the chassis or handling internal components.
- Handle with Care: Hold the memory module by its edges, avoiding contact with the gold connectors or the chips on the module.
- Work Area: Perform the installation in a clean, well-lit, and static-free environment.
3. Installation Guide
This section outlines the general steps for installing the A-Tech 8GB DDR3L SO-DIMM module into a compatible laptop, such as the Toshiba Satellite L75D-A7283. Specific steps for opening your laptop may vary; refer to your laptop's official service manual for precise instructions.
3.1. Pre-Installation Checks
- Compatibility: Confirm your laptop supports DDR3L SO-DIMM memory at 1866MHz. This module is designed for the Toshiba Satellite L75D-A7283.
- Tools: You may need a small Phillips-head screwdriver.
- Work Surface: Ensure a clean, flat, and stable work surface.
3.2. Step-by-Step Installation
- Prepare the Laptop:
- Shut down your laptop completely. Do not use sleep or hibernate mode.
- Disconnect the AC power adapter.
- Remove the laptop battery.
- Discharge residual power by pressing and holding the power button for 15-20 seconds.
- Access the Memory Compartment:
- Turn the laptop over and place it on a soft, clean surface to prevent scratches.
- Locate the memory compartment cover, usually secured by small screws.
- Carefully remove the screws and lift off the cover.
- Remove Existing Memory (if upgrading/replacing):
- If there is an existing memory module in the slot you intend to use, gently push apart the two small metal clips on either side of the module. The module will pop up at an angle.
- Carefully pull the module out of the slot. Store it in an anti-static bag if you plan to reuse it.
- Install the New A-Tech Memory Module:
- Align the notch on the A-Tech memory module with the key in the memory slot.
- Insert the module firmly into the slot at a 45-degree angle.
- Push down on the module until the metal clips on both sides snap into place, securing the module horizontally.

Image: Illustrates the process of inserting a SO-DIMM memory module into a laptop slot at an angle, then pressing it down until it clicks into place.
- Reassemble the Laptop:
- Replace the memory compartment cover and secure it with the screws.
- Reinsert the laptop battery and reconnect the AC adapter.
4. Operating and Verification
After installation, power on your laptop. The system should automatically detect the new memory. You can verify the installation through the following methods:
- BIOS/UEFI: During startup, enter your laptop's BIOS/UEFI settings (usually by pressing F2, Del, or Esc). Look for a "System Information" or "Main" tab to see the total installed RAM.
- Operating System:
- Windows: Right-click "This PC" or "My Computer," select "Properties." The "Installed RAM" or "Memory" value should reflect the new total. Alternatively, open Task Manager (Ctrl+Shift+Esc), go to the "Performance" tab, and select "Memory."
- macOS: Click the Apple menu, select "About This Mac." The "Memory" section will show the installed RAM.
- Linux: Open a terminal and type
free -horcat /proc/meminfo.

Image: A person using a laptop, symbolizing the seamless operation and compatibility of the installed memory module.
5. Maintenance
Memory modules generally require minimal maintenance. To ensure optimal performance and longevity:
- Keep System Clean: Regularly clean your laptop's cooling vents to prevent dust buildup, which can lead to overheating and affect component performance.
- Avoid Physical Damage: Protect your laptop from drops or impacts that could dislodge or damage internal components.
- Software Updates: Keep your operating system and drivers updated to ensure stable system operation and memory management.
6. Troubleshooting
If you encounter issues after installing your A-Tech memory module, consider the following troubleshooting steps:
- System Does Not Boot or Display:
- Ensure the memory module is fully seated in its slot. Remove and reinsert it, making sure the clips snap into place.
- Verify that the notch on the module aligns correctly with the key in the slot.
- If you installed multiple modules, try booting with only the new A-Tech module installed. If it works, try adding other modules one by one.
- If your laptop has multiple memory slots, try installing the module in a different slot.
- Incorrect RAM Amount Detected:
- Recheck the seating of the module as described above.
- Ensure your operating system is 64-bit to fully utilize more than 4GB of RAM.
- Consult your laptop's manual to confirm the maximum supported RAM capacity.
- System Instability or Blue Screens (BSOD):
- This could indicate a faulty module or incompatibility. Re-seat the module.
- Run a memory diagnostic tool (e.g., Windows Memory Diagnostic) to check for errors.
- Ensure your laptop's BIOS/UEFI firmware is up to date.
If troubleshooting steps do not resolve the issue, please contact A-Tech Technical Support (see Section 8).
7. Specifications
| Feature | Description |
|---|---|
| Module Type | SO-DIMM (Small Outline Dual In-line Memory Module) |
| Capacity | 8GB (Single Module) |
| Memory Type | DDR3L (Low Voltage DDR3) |
| Speed | 1866MHz (PC3L-14900) |
| Pin Count | 204-pin |
| Voltage | 1.35V (operates at 1.5V if required by system) |
| Error Correction | Non-ECC |
| Rank | 2Rx8 (Dual Rank x8) |
| Compatibility | Toshiba Satellite L75D-A7283 and other compatible laptops/notebooks requiring DDR3L SO-DIMM. |
| Model Number | ATMS339671B30845X1 |
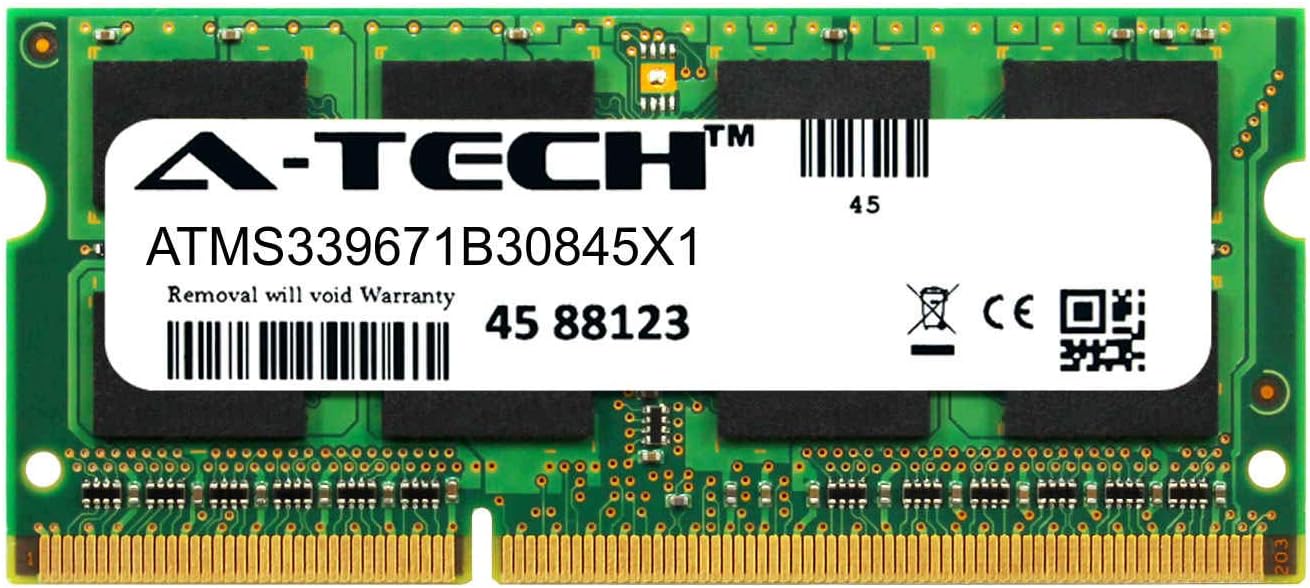
Image: Front view of the A-Tech 8GB DDR3L 1866MHz SO-DIMM memory module, showing the label with model number and specifications.


Image: Comparison of A-Tech DDR3 SO-DIMM (left, for laptops) and DDR3 DIMM (right, for desktops) memory modules, highlighting the size difference.
8. Warranty and Support
Lifetime Warranty: A-Tech memory modules come with a genuine A-Tech Brand Lifetime Warranty. This warranty covers defects in materials and workmanship for the lifetime of the product.
Technical Support: For any technical assistance, installation questions, or troubleshooting help, please contact A-Tech Technical Support. Toll-free support is available.
Please refer to the official A-Tech website or your purchase documentation for the most current contact information and detailed warranty terms.
A-Tech Website: www.atechmemory.com
9. General Information
Understanding Memory (RAM)
Memory (RAM) provides a temporary storage location for data that your computer actively uses. Upgrading RAM can significantly improve system performance, especially when running multiple applications simultaneously or performing resource-intensive tasks like video editing or gaming. More RAM allows your system to handle more data without relying on slower storage, leading to a faster and smoother user experience.
Types of RAM Form Factors: SODIMM vs. DIMM
There are different physical sizes of RAM modules, known as form factors:
- SODIMM (Small Outline Dual In-line Memory Module): These are smaller modules primarily used in laptops, notebooks, some All-in-One (AIO) computers, Mini PCs, and NAS systems. The A-Tech module covered in this manual is a SODIMM.
- DIMM (Dual In-line Memory Module): These are larger modules used in desktop computers, workstations, and servers.
It is important to note that SODIMM and DIMM modules are not interchangeable due to their different physical sizes and pin configurations. Always ensure you purchase the correct form factor for your system.


