1. Introduction
This manual provides essential information for the safe and efficient operation, installation, and maintenance of your Candy CDI 1LS38B built-in dishwasher. Please read these instructions carefully before using the appliance and keep them for future reference.
2. Safety Information
General Safety:
- Ensure the appliance is properly earthed.
- Do not allow children to play with or operate the dishwasher.
- Keep detergents and rinse aid out of reach of children.
- Do not open the door during operation, as hot water may spray out.
- Only use detergents and rinse aid specifically designed for automatic dishwashers.
- In case of malfunction, disconnect the appliance from the power supply and contact qualified service personnel.
Installation Safety:
- Installation must be carried out by a qualified technician.
- Ensure the power supply voltage matches the rating plate.
- Do not install the dishwasher near heat sources.
- The appliance must be installed in a dry, well-ventilated area.
3. Product Overview
The Candy CDI 1LS38B is a full-integrated built-in dishwasher designed for efficient dish cleaning. It features an adjustable upper basket and multiple wash programs.

Figure 3.1: Front view of the Candy CDI 1LS38B built-in dishwasher, showing the control panel at the top edge of the door.

Figure 3.2: Interior view of the dishwasher, illustrating the upper and lower racks in their empty state.

Figure 3.3: Detailed view of the detergent and rinse aid dispenser located on the inner side of the dishwasher door.
4. Setup and Installation
This dishwasher is designed for built-in installation. Proper installation is crucial for optimal performance and safety. It is recommended that installation be performed by a qualified professional.
4.1 Unpacking
- Carefully remove all packaging materials.
- Inspect the dishwasher for any transport damage. Report any damage immediately to the retailer.
- Keep packaging materials out of reach of children.
4.2 Positioning
The appliance dimensions are 55 cm (depth) x 59.8 cm (width) x 82 cm (height). Ensure the cabinet opening meets these requirements.
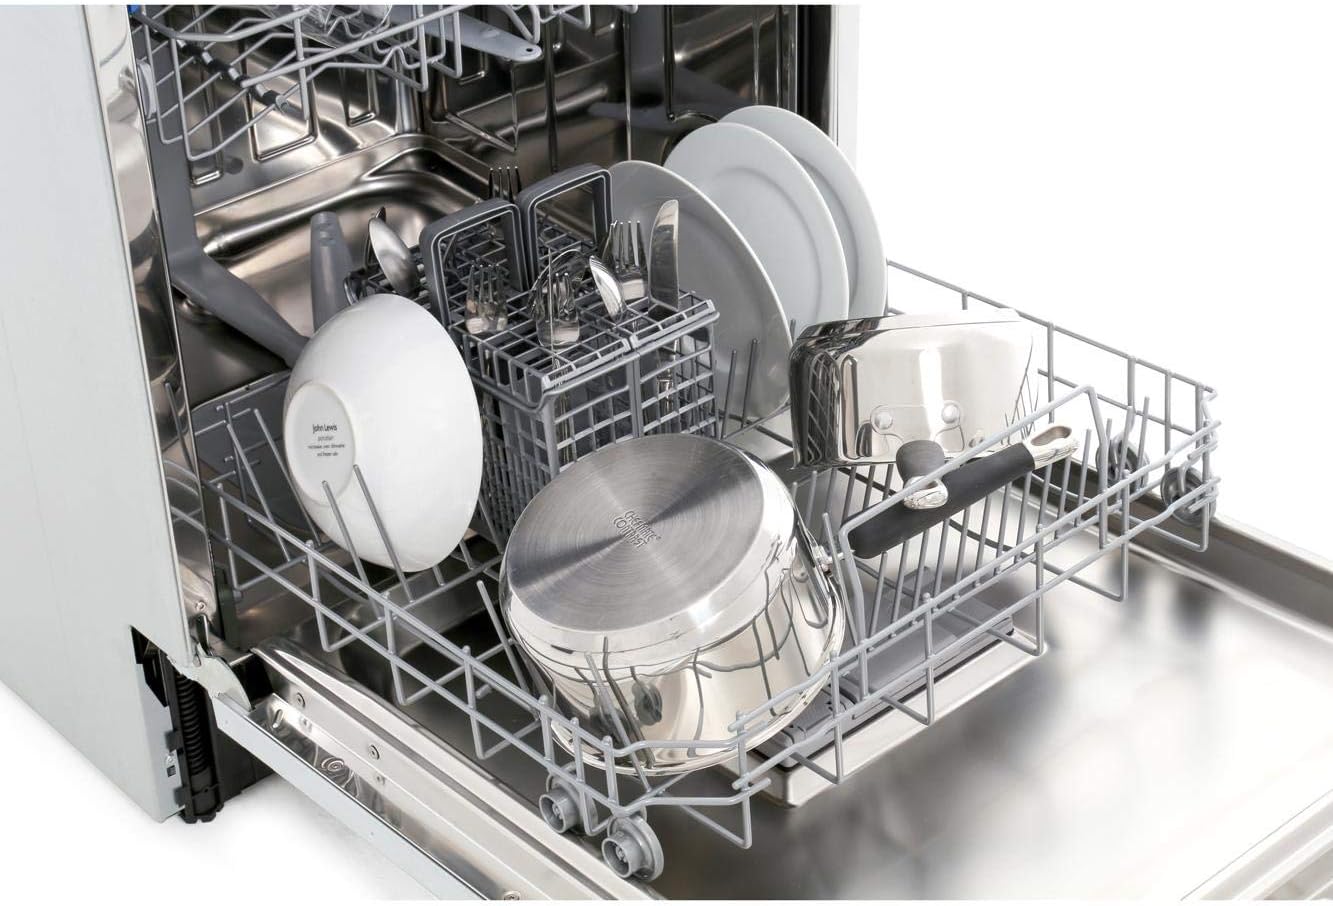
Figure 4.1: Dimensional diagram of the dishwasher, indicating height (82cm), depth (55cm), and width (59.5cm).
4.3 Water Connection
- Connect the water inlet hose to a cold water supply with a minimum pressure of 0.04 MPa and a maximum of 1 MPa.
- Ensure the drain hose is properly connected to a suitable drain, avoiding kinks or sharp bends.
4.4 Electrical Connection
- Connect the dishwasher to a grounded electrical outlet. The voltage requirement is 240 Volts.
- Do not use extension cords or multiple adapters.

Figure 4.2: The dishwasher integrated into a kitchen cabinet, demonstrating a typical built-in installation.
5. Operating Instructions
5.1 Loading the Dishwasher
Proper loading ensures optimal cleaning results and prevents damage to dishes.
- Scrape off large food particles before loading.
- Place larger items in the lower basket and smaller, delicate items in the upper basket.
- Ensure items do not block the spray arms.
- The upper basket is adjustable to accommodate taller items in the lower basket.

Figure 5.1: Lower rack loaded with various plates and bowls, demonstrating efficient space utilization.

Figure 5.2: Upper rack loaded with glasses and cups, showing the dedicated holders for stemware.
5.2 Adding Detergent and Rinse Aid
- Fill the detergent dispenser with the appropriate amount of dishwasher detergent.
- Check the rinse aid indicator and refill the rinse aid dispenser as needed.
5.3 Selecting a Wash Program
Refer to the control panel for available wash programs. Common programs include:
- Intensive: For heavily soiled dishes.
- Eco: Energy-efficient program for normal soil.
- Quick Wash: For lightly soiled dishes with a shorter cycle.
5.4 Starting a Cycle
- Close the dishwasher door firmly.
- Press the desired program button.
- Press the Start button to begin the cycle.
6. Maintenance and Care
6.1 Cleaning the Filters
Regularly clean the filter system to prevent blockages and ensure efficient cleaning. The filter system consists of a coarse filter, a fine filter, and a microfilter.
- Twist the filter assembly counter-clockwise and lift it out.
- Rinse all filter components under running water to remove food particles.
- Reassemble the filters and place them back into the dishwasher, twisting clockwise to secure.
6.2 Cleaning the Spray Arms
Check the spray arm nozzles for blockages. If necessary, remove the spray arms and clean the holes with a thin object.
6.3 Exterior and Interior Cleaning
- Wipe the exterior with a damp cloth. Do not use abrasive cleaners.
- Clean the interior periodically with a dishwasher cleaner or a mixture of vinegar and baking soda.
7. Troubleshooting
| Problem | Possible Cause | Solution |
|---|---|---|
| Dishwasher does not start | Power supply issue, door not closed properly, program not selected. | Check power connection, ensure door is latched, select a program and press start. |
| Dishes are not clean | Improper loading, clogged spray arms, insufficient detergent, clogged filters. | Reload dishes correctly, clean spray arms, add more detergent, clean filters. |
| Water not draining | Clogged drain hose or filter, drain pump malfunction. | Check and clear drain hose and filters. If problem persists, contact service. |
| Excessive noise | Dishes rattling, foreign object in pump, improper installation. | Rearrange dishes, check for foreign objects, ensure dishwasher is level. |
8. Specifications
- Model: Candy CDI 1LS38B
- Type: Full-integrated Built-in Dishwasher
- Place Settings: 13
- Energy Rating: A+
- Drying Performance: A
- Product Dimensions (H x W x D): 82 cm x 59.8 cm x 55 cm
- Noise Level: 53 Decibels
- Voltage: 240 Volts
- Material: Stainless Steel (interior)
- Controls Type: Push Button
9. Warranty and Support
For warranty information and customer support, please refer to the warranty card included with your purchase or visit the official Candy website. Keep your proof of purchase for any warranty claims.
For technical assistance or service requests, contact your local authorized service center.


