
DEWENWILS Outdoor
Contents
Instruction Manual
DEWENWILS 24-Hour Mechanical Light Timer
Model: Outdoor
Brand: DEWENWILS
Introduction
Thank you for choosing the DEWENWILS 24-Hour Mechanical Light Timer. This durable and easy-to-use timer is designed to automate the operation of your outdoor and indoor electrical devices, such as string lights, landscape lighting, and other appliances. With its waterproof design and simple mechanical interface, you can set daily ON/OFF schedules to enhance convenience and energy efficiency.
Important Safety Information
WARNING: To reduce the risk of electric shock, fire, or personal injury, please read and follow all instructions carefully.
- Do not immerse the timer in water. The waterproof cover protects against rain and dust, but it is not designed for submersion.
- Ensure the timer is mounted at least 2 feet off the ground vertically when used outdoors to prevent water accumulation.
- Always plug the timer into a grounded outlet.
- Do not exceed the electrical ratings of the timer (15A, 1/2 HP).
- Keep children away from the timer and connected devices.
- Unplug the timer from the power source before cleaning or performing any maintenance.
- Do not use if the cord or timer housing is damaged.
Product Overview
The DEWENWILS Mechanical Light Timer features a robust design suitable for various applications. Familiarize yourself with its components:
- Timer Dial: The central dial with numbers representing hours (1-12 AM/PM).
- Pins: Small, push-down/pull-up segments around the timer dial for setting ON/OFF intervals.
- Manual Override Switch: Allows you to switch between TIMER mode, ON, or OFF.
- Grounded Outlet: Located at the bottom for connecting your device.
- 2ft Cord: Provides flexibility in placement.
- Mounting Hole: For securing the timer to a wall or vertical surface.
- Waterproof Cover: A clear cover protecting the dial from elements.

Image: The DEWENWILS 24-Hour Mechanical Light Timer, showing the main unit with its dial, manual switch, and attached 2-foot power cord with a grounded plug. The clear waterproof cover is visible over the dial.
Setup and Programming
Follow these steps to set up and program your mechanical timer:
Step 1: Prepare the Timer
- Pull all pins up: Before setting, ensure all 48 pins around the timer dial are in the "up" position. This sets all intervals to OFF initially.
- Set current time: Rotate the timer dial clockwise until the arrow on the dial points to the current time. Note that the dial has both AM (white background) and PM (black background) hours.

Image: A four-panel image illustrating the setup process: 1. Pull all pins up. 2. Set the current time by rotating the dial. 3. Press down pins for desired ON times. 4. Switch the manual override to TIMER mode.

Image: A close-up view of the timer dial, demonstrating how to set the current time by rotating the dial and indicating that pins in the "up" position mean OFF, while pins in the "down" position mean ON.
Step 2: Set ON/OFF Times
- Each pin represents a 30-minute interval.
- To set a period when the connected device should be ON, push the corresponding pins down.
- To set a period when the connected device should be OFF, leave the corresponding pins in the up position.
- The timer allows for up to 48 ON/OFF cycles per 24-hour period. The settings will repeat daily.

Image: A detailed view of the timer dial highlighting the 48 individual pins, each representing a 30-minute interval, allowing for up to 24 ON/OFF cycles per day.

Image: A close-up of the timer showing the dial with pins set for ON/OFF periods, and the clear weatherproof cover that protects the mechanism while allowing visibility.
Step 3: Set Manual Override Switch
- Slide the manual override switch to the "TIMER" position for the programmed schedule to take effect.
- You can also slide the switch to "ON" to keep the connected device continuously powered, or "OFF" to keep it continuously off, bypassing the timer function.
Installation and Placement
The 2-foot cord provides flexibility for placement. For outdoor use, ensure proper installation:
- Utilize the mounting hole on the back of the timer to fix it to a vertical surface.
- When used outdoors, it is recommended to mount the timer at least 2 feet off the ground vertically to protect it from standing water and ensure optimal waterproof performance.

Image: The DEWENWILS timer mounted vertically on a wall outdoors, with string lights in the background, illustrating its waterproof feature and recommended vertical mounting at least 2 feet off the ground.
Typical Applications
This versatile timer is ideal for a variety of uses, both indoors and outdoors:
- Outdoor Lighting: String lights, landscape lights, security lights.
- Holiday Decorations: Christmas lights, Halloween displays.
- Pumps: Small water pumps for fountains or sprinklers.
- Indoor Appliances: Lamps, fans, or other devices you wish to automate.
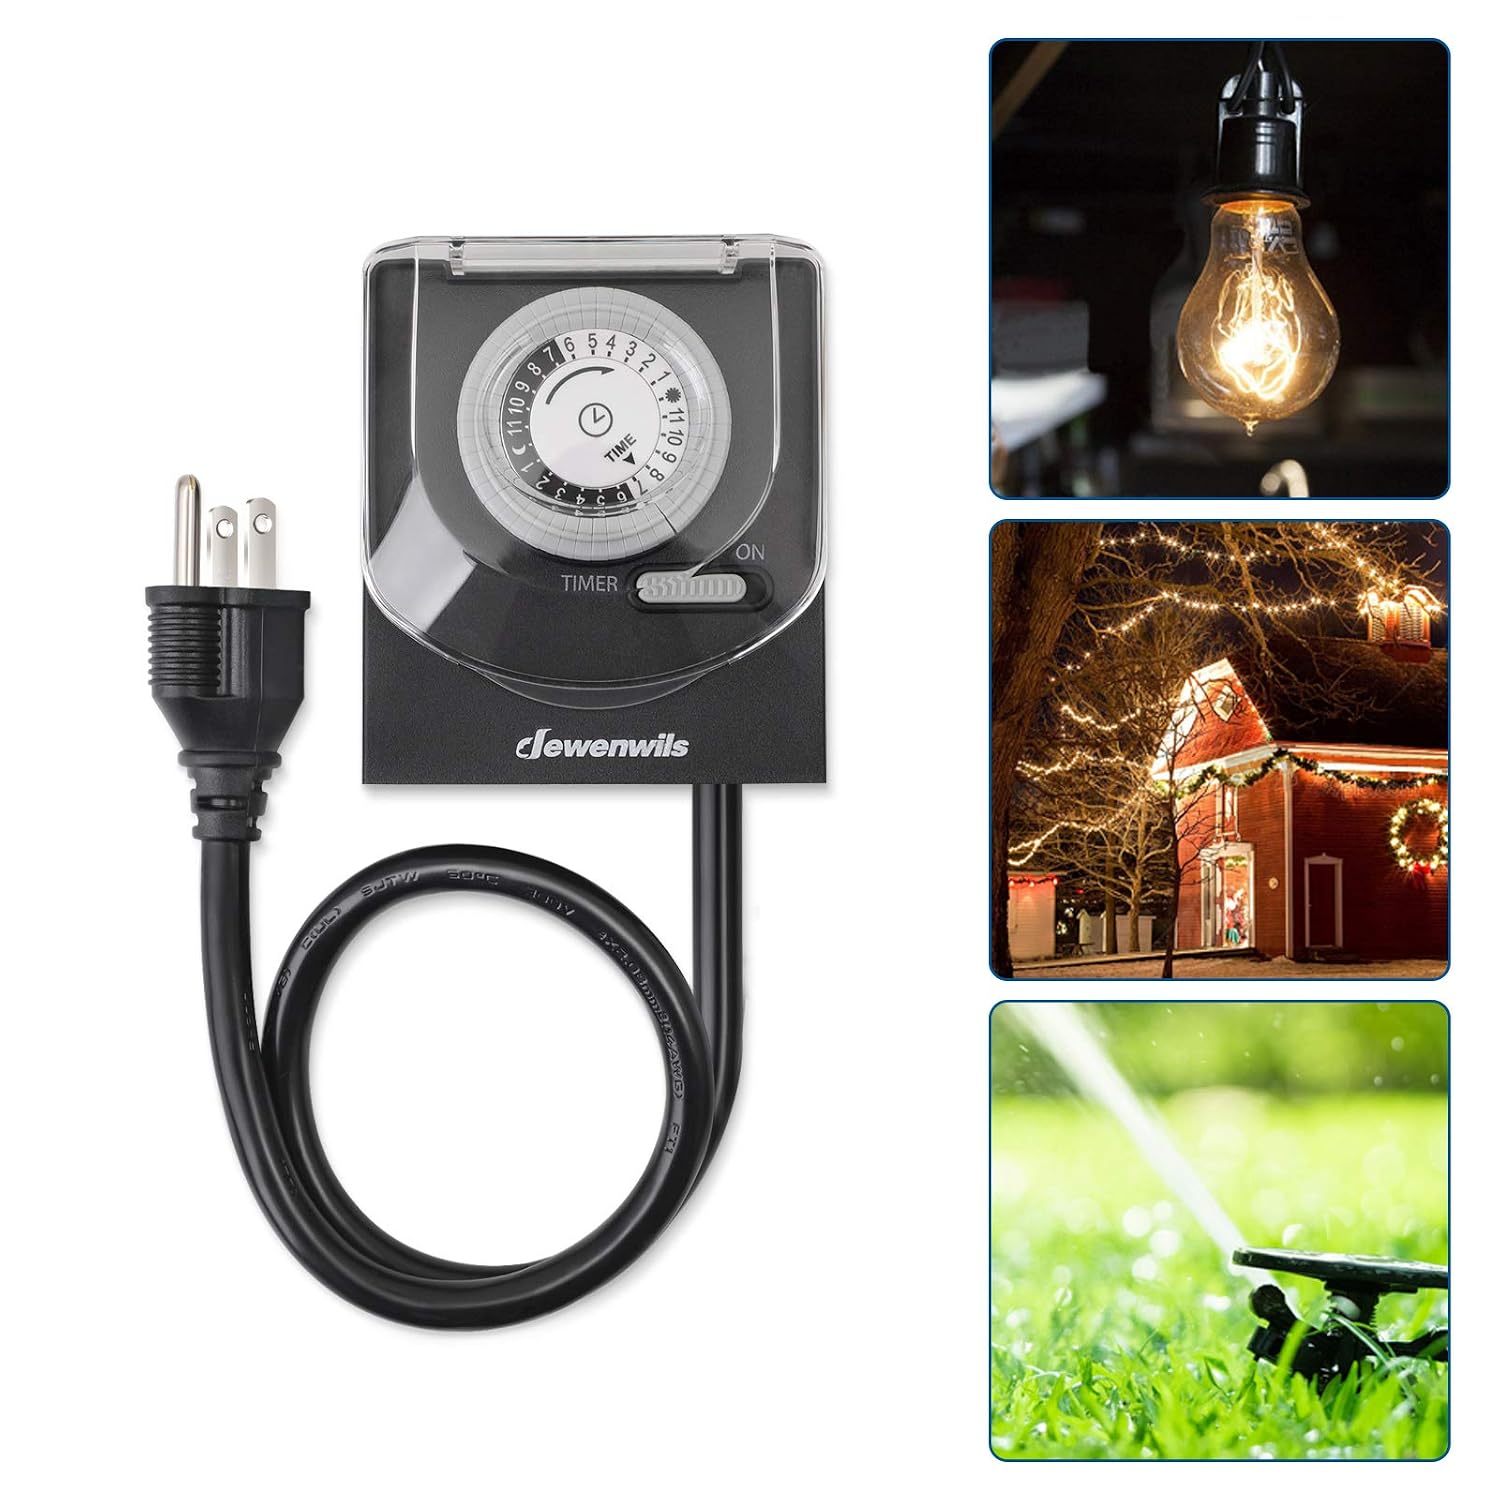
Image: A collage showing three common applications for the timer: a single light bulb, outdoor string lights, and a garden sprinkler system.

Image: A four-panel image showcasing the timer's use in different environments: patio string lights, indoor decorative lights, elaborate outdoor Christmas lights, and a lawn sprinkler.
Maintenance
The DEWENWILS timer is designed for durability and requires minimal maintenance:
- Keep the timer clean by wiping it with a dry, soft cloth. Do not use abrasive cleaners or solvents.
- Ensure the waterproof cover is securely closed at all times, especially when used outdoors.
- Regularly inspect the cord and plug for any signs of damage. If damaged, discontinue use immediately.
Troubleshooting
| Problem | Possible Cause | Solution |
|---|---|---|
| Device does not turn ON/OFF at set times. |
|
|
| Timer dial is not moving. |
|
|
| Water inside the clear cover. |
|
|
Specifications
| Attribute | Detail |
|---|---|
| Brand | DEWENWILS |
| Model Number | Outdoor |
| Product Dimensions | 2"D x 5"W x 6"H |
| Cord Length | 2 ft |
| Material | Acrylonitrile Butadiene Styrene |
| Color | Black |
| Number of Settings | 48 (30-minute intervals) |
| Electrical Rating | 15A, 1/2 HP |
| Certification | UL Listed |
Warranty and Support
DEWENWILS products are manufactured to high-quality standards. For warranty information or technical support, please refer to the product packaging or visit the official DEWENWILS website. Please have your model number and purchase date available when contacting support.
Ask a question about this manual
Ask about setup, troubleshooting, compatibility, parts, safety, or missing instructions. Manuals+ will review the question and use this page’s manual context to help answer it.