1. Introduction
Thank you for purchasing the MEXTECH DT1503 Digital Capacitance Meter. This precision instrument is designed for accurate capacitance measurements across a wide range, suitable for laboratory, factory, and educational use. Please read this manual thoroughly before operating the device to ensure safe and correct usage.
Package Contents:
- MEXTECH DT1503 Digital Capacitance Meter
- One Set Test Leads
- 1pc 9V Battery
- Instruction Manual (this document)
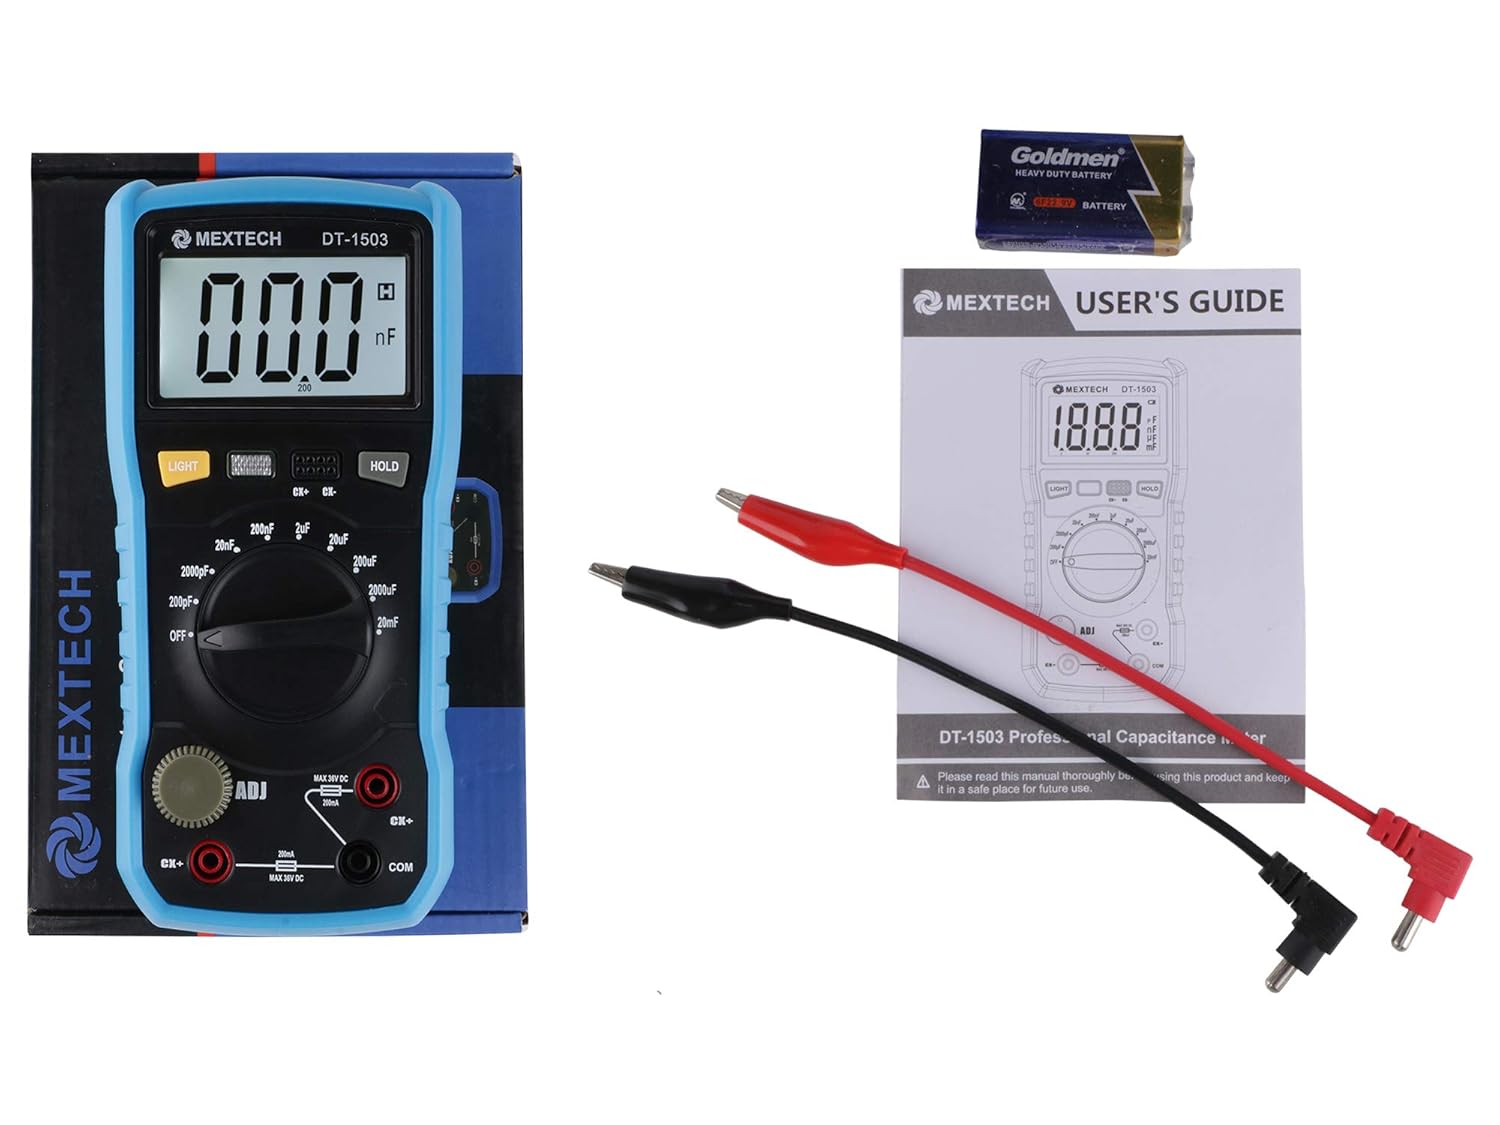
The image above shows the MEXTECH DT1503 Digital Capacitance Meter along with its included accessories: a set of test leads, a 9V battery, and the user manual.
2. Safety Information
WARNING: To avoid electrical shock, do not operate the meter with the battery cover open.
CAUTION: This device complies with IEC61010-1 standards, rated for 1000V CAT II and 600V CAT III, Pollution Degree 2. Always adhere to safety guidelines.
- Always ensure the capacitor under test is fully discharged before connecting it to the meter.
- Do not attempt to measure capacitance in live circuits.
- Inspect test leads for damage before each use. Replace if damaged.
- Do not use the meter if it appears damaged or is not operating correctly.
- Refer all servicing to qualified personnel.

The image displays the back of the MEXTECH DT1503 meter, highlighting important safety warnings and compliance information printed on the battery compartment cover.
3. Product Features
The MEXTECH DT1503 Digital Capacitance Meter offers the following key features:
- Display: 3½ Digit LCD with 1999 counts.
- Measurement Range: Wide range from 200pF up to 20mF.
- Units: Four measuring units: pF, nF, µF, mF.
- Backlight: Automatic shutdown after 10 seconds to conserve battery.
- Data Hold: Function to freeze the displayed reading.
- Zero Adjustment: Knob for precise zero adjustment across all ranges.
- Low Battery Indication: Alerts when battery replacement is needed.
- Fuse Protection: Ensures safety and protects the internal circuitry.
- Power Supply: Operates on a single 9V battery.

This image provides a clear view of the meter's front panel, including the LCD display, rotary function switch, 'LIGHT' and 'HOLD' buttons, and the 'ADJ' knob for zero adjustment.
4. Setup
4.1 Battery Installation
- Ensure the meter is turned OFF by rotating the function switch to the 'OFF' position.
- Locate the battery compartment on the back of the meter.
- Open the battery cover by sliding or unscrewing it (refer to Figure 2).
- Insert one 9V battery, observing the correct polarity (+ and - terminals).
- Close the battery cover securely.
4.2 Connecting Test Leads
- Insert the red test lead plug into the 'CX+' input terminal.
- Insert the black test lead plug into the 'COM' input terminal.

This image shows the MEXTECH DT1503 meter with the red test lead connected to the 'CX+' terminal and the black test lead connected to the 'COM' terminal, ready for measurement.
5. Operating Instructions
5.1 Power On/Off
To turn the meter ON, rotate the rotary function switch from the 'OFF' position to any desired measurement range. To turn the meter OFF, rotate the switch back to the 'OFF' position.
5.2 Zero Adjustment
Before performing any capacitance measurement, especially on lower ranges, it is crucial to perform a zero adjustment to eliminate stray capacitance from the test leads and internal circuitry.
- Ensure the test leads are connected to the meter.
- Short the tips of the red and black test leads together.
- Rotate the 'ADJ' knob (located on the left side of the meter) until the display reads '000'.
- This adjustment should be performed for each range if significant deviation from zero is observed.
5.3 Capacitance Measurement
- Discharge Capacitor: Always ensure the capacitor to be measured is fully discharged before connecting it to the meter. Failure to do so can damage the meter or cause injury.
- Select Range: Rotate the function switch to the appropriate measurement range. If the capacitance value is unknown, start with the highest range (20mF) and work downwards until a stable and accurate reading is obtained.
- Connect Capacitor: Connect the test leads to the capacitor terminals. For polarized capacitors (e.g., electrolytic), connect the red lead to the positive terminal and the black lead to the negative terminal. For non-polarized capacitors, the connection order does not matter.
- Read Value: The capacitance value will be displayed on the LCD screen in the selected unit (pF, nF, µF, or mF).
5.4 Data Hold Function
To freeze the current reading on the display, press the 'HOLD' button. The 'HOLD' indicator will appear on the screen. Press the 'HOLD' button again to release the reading and resume live measurement.
5.5 Backlight
Press the 'LIGHT' button to activate the display backlight. This feature is useful for reading measurements in low-light conditions. The backlight will automatically turn off after approximately 10 seconds to conserve battery power.
6. Measurement Ranges and Accuracy
The MEXTECH DT1503 offers the following measurement ranges and typical accuracy specifications:
| Range | Accuracy | Resolution |
|---|---|---|
| 200pF | ±0.5% + 20 digits | 0.1pF |
| 2nF | ±0.5% + 20 digits | 1pF |
| 20nF | ±0.5% + 20 digits | 10pF |
| 200nF | ±0.5% + 20 digits | 100pF |
| 2µF | ±0.5% + 20 digits | 1nF |
| 20µF | ±0.5% + 20 digits | 10nF |
| 200µF | ±0.5% + 20 digits | 100nF |
| 2mF | ±2% + 20 digits | 1µF |
| 20mF | ±2% + 20 digits | 10µF |
7. Maintenance
7.1 Cleaning
To clean the meter, wipe the casing with a dry, soft cloth. Do not use abrasive cleaners, solvents, or harsh chemicals, as these may damage the plastic components or electronic circuits.
7.2 Battery Replacement
When the low battery indicator appears on the display, the 9V battery needs to be replaced. Follow the steps outlined in Section 4.1 'Battery Installation'. Ensure the meter is OFF before replacing the battery.
7.3 Fuse Replacement
If the meter fails to function or provides incorrect readings consistently, the internal fuse may need replacement. Fuse replacement should only be performed by a qualified technician to ensure the correct fuse type and rating are used. Opening the meter by unauthorized personnel may void the warranty.
8. Troubleshooting
This section addresses common issues you might encounter with your MEXTECH DT1503 meter.
- No Display or Faint Display:
Solution: Check the 9V battery. Ensure it is correctly installed and has sufficient charge. Replace the battery if necessary. Also, ensure the rotary switch is not in the 'OFF' position. - Incorrect or Unstable Readings:
Solution: Perform a zero adjustment as described in Section 5.2. Ensure the test leads are properly connected and not damaged. Verify that the capacitor under test is fully discharged. Select the correct measurement range; if the range is too high for a small capacitor, the reading may be unstable or show '000'. - Low Battery Indicator Appears:
Solution: Replace the 9V battery immediately to ensure accurate measurements and proper operation. - Meter Does Not Respond:
Solution: Check the battery. If the battery is good, the internal fuse might be blown. Refer to Section 7.3 for fuse replacement. If the issue persists, contact customer support.
9. Specifications
| Parameter | Specification |
|---|---|
| Display | 3½ Digit LCD, 1999 counts |
| Power Supply | 9V battery (NEDA 1604 or 6F22 type) |
| Operating Temperature | 0°C to 40°C (32°F to 104°F) |
| Storage Temperature | -10°C to 50°C (14°F to 122°F) |
| Dimensions (L x W x H) | 185 x 90 x 53 mm |
| Weight | Approximately 380g (including battery) |
| Model Number | MEX105 (also known as DT1503) |
| Safety Rating | IEC61010-1, CAT II 1000V, CAT III 600V, Pollution Degree 2 |
10. Warranty and Support
For warranty information, technical assistance, or service inquiries regarding your MEXTECH DT1503 Digital Capacitance Meter, please refer to the warranty card included with your product or visit the official MEXTECH website for contact details and support resources.


