
1. Introduction
Thank you for choosing the MotorGuide R3 Transom Mount Trolling Motor. This manual provides essential information for the safe and efficient operation, installation, and maintenance of your new trolling motor. Please read this manual thoroughly before using the product to ensure proper function and longevity.
Key Features:
- Classic Twist-Tiller Operation: Equipped with a 3-blade Machete propeller for intuitive control.
- Digital Power Management: Extends battery life up to 5 times for longer running between charges.
- Durable Construction: Tough aluminum 7-position mount and a lower unit constructed of solid steel and aluminum with a powder coat finish for harsh conditions.
- Freshwater Use: Designed specifically for freshwater environments.

2. Safety Information
WARNING: Failure to follow these safety instructions could result in serious injury or death.
- Always disconnect the motor from the battery before performing any maintenance, propeller changes, or when the motor is not in use.
- Ensure all electrical connections are secure and properly insulated to prevent short circuits and electrical hazards.
- Keep hands, feet, and clothing clear of the propeller, especially when the motor is operating.
- Do not operate the motor if the propeller is damaged or obstructed.
- Use only 12-volt deep cycle marine batteries with this trolling motor.
- Always wear a personal flotation device (PFD) when operating a boat.
- Be aware of your surroundings and other watercraft.
3. Product Components
Your MotorGuide R3 trolling motor consists of several key components:
- Tiller Handle: Provides hand-control for steering and speed adjustment.
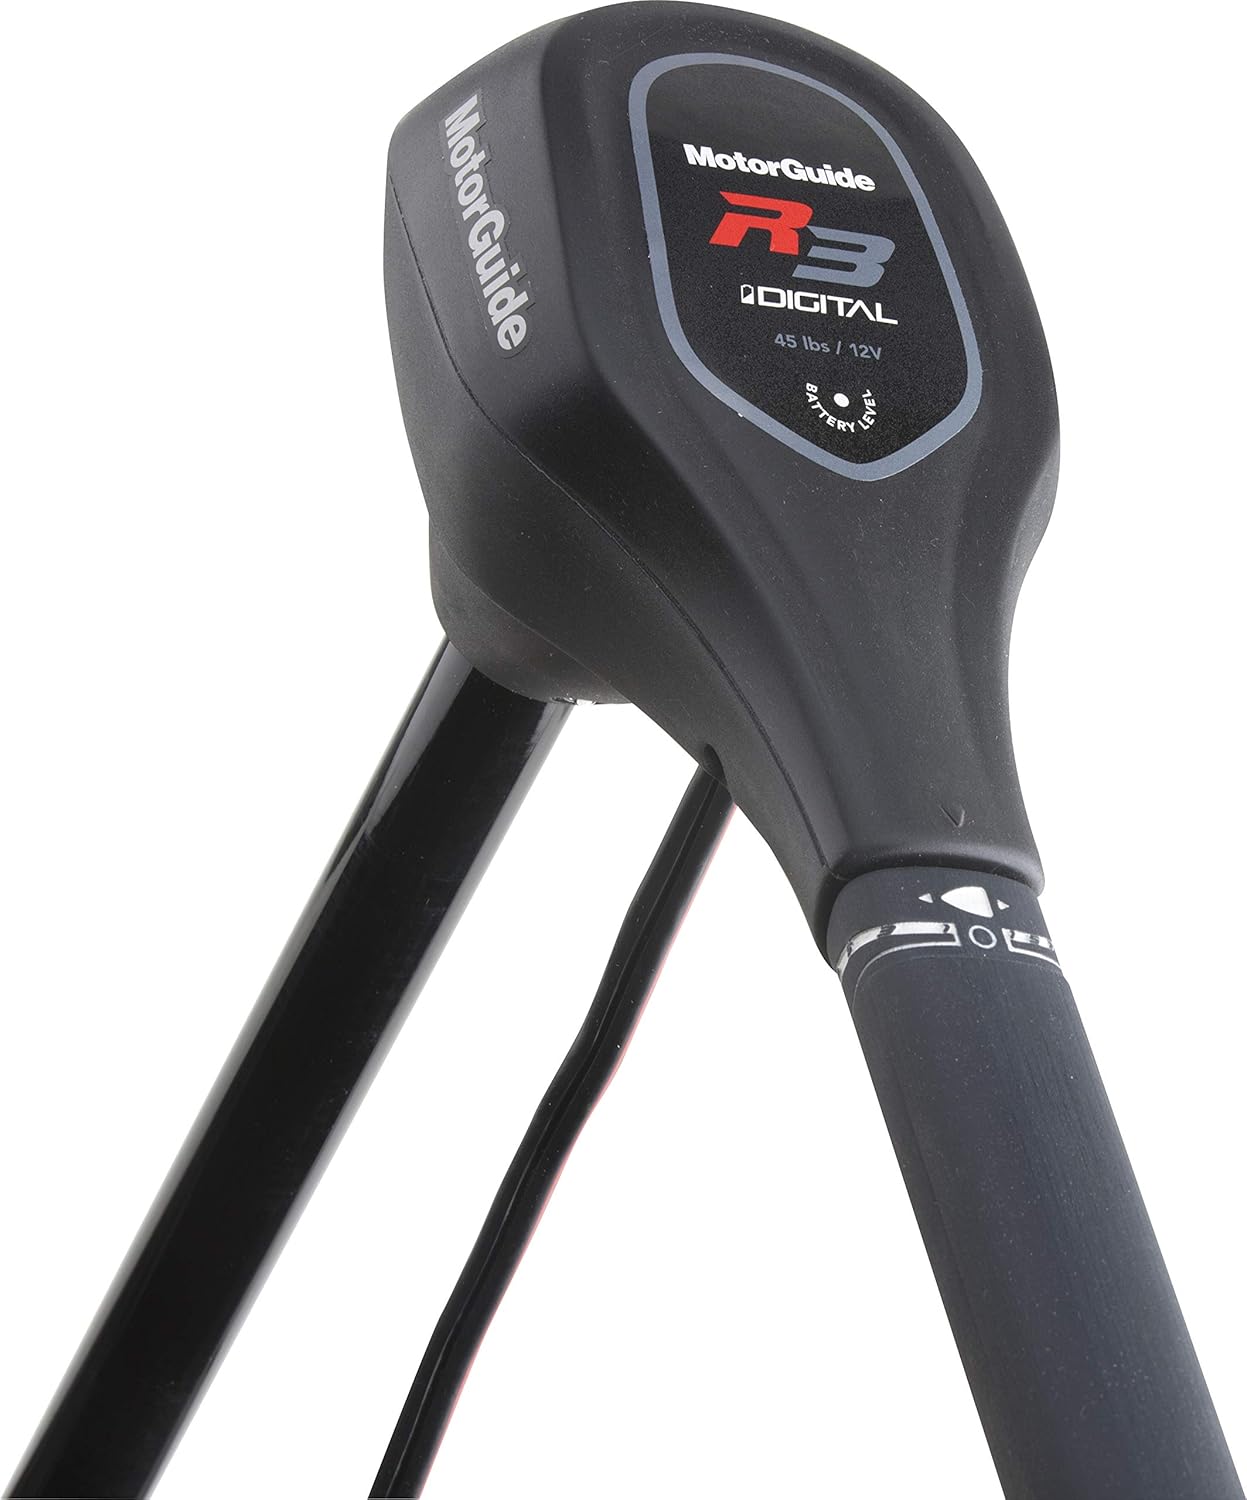
- Control Head: Houses the motor's electronics and speed controls, including the battery level indicator (on Digital models).
- Shaft: The main support structure connecting the control head to the lower unit.
- Transom Mount: A robust aluminum bracket for securing the motor to the boat's transom. Features a 7-position adjustment.
- Lower Unit (Motor Housing): Contains the electric motor and propeller assembly.
- Propeller: A 3-blade Machete propeller designed for efficient thrust.
- Battery Cables: Heavy-gauge wires (10 AWG) for connecting to a 12V marine battery.


4. Setup and Installation
Follow these steps to set up your MotorGuide R3 trolling motor:
- Unboxing: Carefully remove all components from the packaging. Ensure all parts listed in the "Product Components" section are present.
- Mounting to Transom:
- Position the transom mount on the boat's transom. Ensure the mount is securely seated and the motor shaft is vertical.
- Tighten the transom clamp screws firmly by hand. Do not overtighten.
- Adjust the motor depth using the depth collar on the shaft. The propeller should be submerged at least 6 inches below the water surface to prevent cavitation.
- Propeller Installation:
- Ensure the motor is disconnected from the battery.
- Align the propeller with the shear pin hole on the motor shaft.
- Insert the shear pin through the propeller and shaft.
- Thread the propeller nut onto the shaft and tighten it securely.
- Battery Connection:
- Connect the red (positive) battery cable from the motor to the positive (+) terminal of your 12V deep cycle marine battery.
- Connect the black (negative) battery cable from the motor to the negative (-) terminal of your 12V deep cycle marine battery.
- Ensure connections are clean, tight, and corrosion-free.
5. Operating Instructions
Operating your MotorGuide R3 is straightforward:
- Power On: Once connected to the battery, the motor is ready for operation.
- Steering: Use the tiller handle to steer the boat. Turning the handle left or right will change the direction of thrust.
- Speed Control:
- The twist-tiller allows for variable speed control. Twist the handle forward for forward speeds and backward for reverse speeds.
- The R3-45fw model features 5 forward speeds and 2 reverse speeds.
- Digital Power Management models offer infinitely variable speed control for precise adjustments and extended battery life.
- Tilting and Stowing:
- To tilt the motor out of the water, locate the tilt release lever on the transom mount. Depress the lever and lift the motor.
- The 7-position mount allows for various tilt angles, including a fully stowed position for transport or shallow water.
- Battery Indicator (Digital Models): Monitor the battery level indicator on the control head to avoid running out of power unexpectedly.

6. Maintenance
Regular maintenance ensures optimal performance and extends the life of your trolling motor:
- After Each Use:
- Rinse the motor, especially the lower unit and propeller, with fresh water to remove any debris or residue.
- Wipe down the entire unit with a clean cloth.
- Propeller Inspection: Periodically check the propeller for fishing line, weeds, or other obstructions. Remove any debris to prevent damage to the motor shaft seal. Inspect for chips or cracks and replace if necessary.
- Battery Care:
- Keep battery terminals clean and free of corrosion. Apply a thin layer of dielectric grease to prevent corrosion.
- Ensure your deep cycle battery is properly charged after each use and before long-term storage.
- Mounting Hardware: Regularly check all bolts and screws on the transom mount and other adjustable parts to ensure they are tight.
- Shaft Lubrication: Occasionally apply a marine-grade lubricant to the shaft where it passes through the mount to ensure smooth depth adjustment.
7. Troubleshooting
| Problem | Possible Cause | Solution |
|---|---|---|
| Motor does not run or runs intermittently. | Loose or corroded battery connections; low battery charge; blown fuse (if applicable); damaged wiring. | Check and tighten all battery connections. Clean terminals. Recharge battery. Inspect wiring for damage. Consult a qualified technician if issues persist. |
| Low thrust or excessive vibration. | Propeller fouled with weeds/fishing line; damaged propeller; bent shaft. | Clear propeller of any obstructions. Inspect propeller for damage and replace if necessary. Check shaft for bends. |
| Motor makes noise but propeller does not turn. | Shear pin broken or missing. | Replace the shear pin. Ensure propeller nut is tightened. |
| Battery drains quickly. | Old or weak battery; continuous high-speed operation; excessive propeller fouling. | Test battery health and replace if needed. Operate at lower speeds when possible. Keep propeller clear of debris. |
8. Specifications
| Attribute | Detail |
|---|---|
| Brand | MotorGuide |
| Model Name | Motorguide Electric Trolling Motors (R3-45fw) |
| Model Number | 940100150 |
| Item Weight | 9.98 Kilograms |
| Color | Black |
| Engine Type | Electric |
| Operation Mode | Battery |
| Recommended Uses | For Fresh Water |
| Voltage | 12 Volts |
| Mounting Type | Transom Mount |
| Shaft Length | 36-inch |
| Propeller | 3-blade Machete |
| Control | Twist Tiller (5 Fwd / 2 Rev or Digital Variable) |
9. Warranty Information
MotorGuide products are manufactured to the highest quality standards. For specific warranty details, including coverage period and terms, please refer to the warranty card included with your product or visit the official MotorGuide website. Keep your proof of purchase for warranty claims.
10. Customer Support
If you have any questions, require technical assistance, or need to order replacement parts, please contact MotorGuide customer support. Visit the official MotorGuide website for the most up-to-date contact information and support resources.
Note: Product specifications and features are subject to change without notice.


