Introduction
The PetSafe Wire Break Locator is designed to help you easily find complete breaks in the boundary wire of any in-ground pet fence system. This device utilizes advanced technology with dual tone and light indicators to pinpoint the exact location of a wire break, allowing for quick and efficient repairs. It is important to note that this locator is specifically designed for complete wire breaks and may not detect partial breaks.
Components Included
Your PetSafe Wire Break Locator kit includes the following items:
- Locator Transmitter and Adaptor
- Expandable Locator (Wand)
- 50 ft. of Boundary Wire
- 2 Grounding Stakes
- 2 Gel-filled Capsules
- 2 Wire Nuts
- Product Manual

Figure 1: Overview of all components included in the PetSafe Wire Break Locator kit. This includes the locator wand, transmitter, power adapter, grounding stakes, boundary wire, wire nuts, and gel-filled capsules.
Setup Instructions
Prepare the Transmitter:
Connect the locator transmitter to a power outlet using the provided adaptor. Ensure the transmitter is placed near the boundary wire connection point of your in-ground fence system.
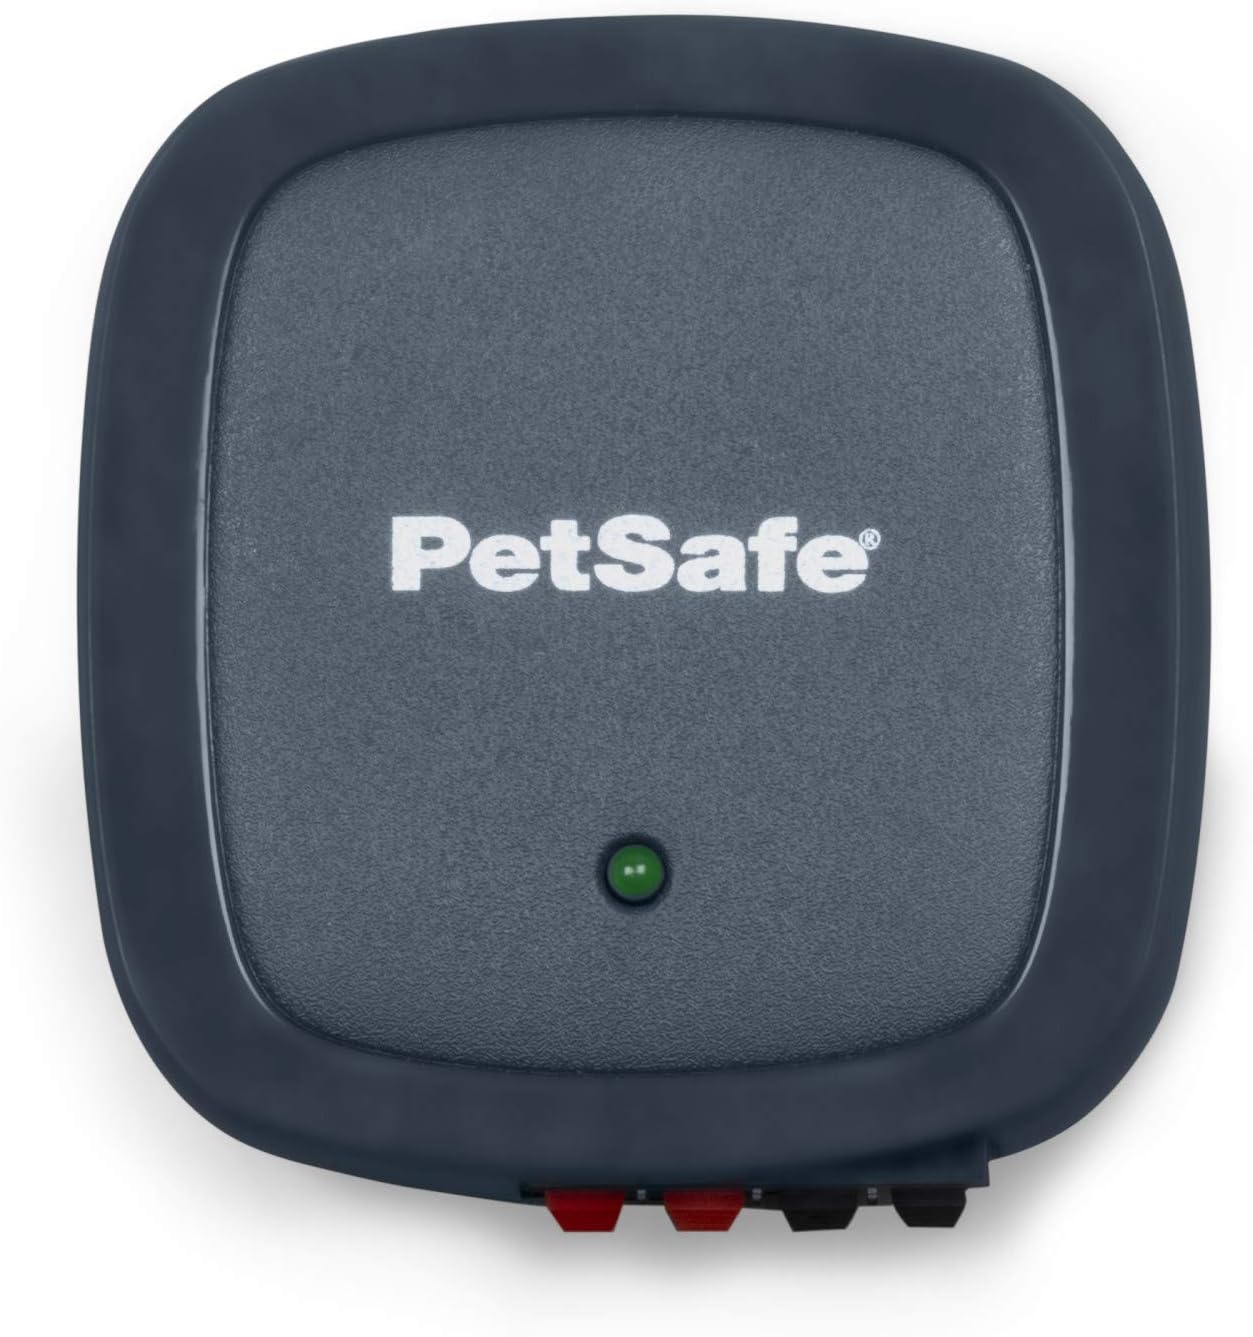
Figure 2: The PetSafe Wire Break Locator Transmitter, which sends the signal through the boundary wire.
Install Grounding Stakes:
Insert both grounding stakes into the ground approximately 10 feet apart. For optimal performance, especially in dry conditions, pour several gallons of water around each grounding stake to ensure good conductivity. Both stakes must be used to hear the two tones separately.

Figure 3: The two grounding stakes, essential for the proper functioning of the locator system.
Connect to Boundary Wire:
Connect the transmitter to your existing in-ground fence boundary wire according to the instructions in your fence system's manual. The transmitter sends two unique tones down each side of your boundary wire.
Prepare the Locator Wand:
Insert 2 AAA batteries (not included) into the expandable locator wand. Extend the wand to a comfortable length for use.

Figure 4: The expandable locator wand, used to detect the signal along the wire.
Operating Instructions
Follow these steps to locate a wire break in your in-ground fence system:
Activate the System:
Ensure the transmitter is powered on and connected to your boundary wire. Turn on the locator wand using its power button.
Adjust Volume:
Use the adjustable volume dial on the locator wand to set a comfortable listening level for the tones.
Trace the Wire:
Walk along your boundary wire path, holding the locator wand near the ground. The locator will provide both audible tones and visual light indicators:
- A green light indicates a continuous tone, signifying an intact wire segment.
- A red light indicates an intermittent tone, signifying a break in the wire.
Locate the Break:
As you approach a wire break, the tone and light indicators will change. The point where the continuous tone (green light) switches to an intermittent tone (red light) is the location of the wire break. Common areas for breaks include where the wire exits the house, crosses sidewalks or driveways, or is near landscaping.
Repairing Wire Breaks
Once a wire break is located, use the included repair components to fix it:
Expose the Break:
Carefully dig up the wire at the identified break point.
Prepare Wires:
Trim any damaged sections of the wire. If necessary, use the included 50 ft. of boundary wire to bridge larger gaps.

Figure 5: The included 50 ft. of yellow boundary wire for making repairs or extending the fence.
Connect Wires:
Use the included wire nuts to securely connect the broken wire ends. Ensure a tight connection to prevent future issues.
Seal Connection:
Place the wire nut connection inside one of the gel-filled capsules. The gel will provide a waterproof seal, protecting the connection from moisture and corrosion. Close the capsule securely.
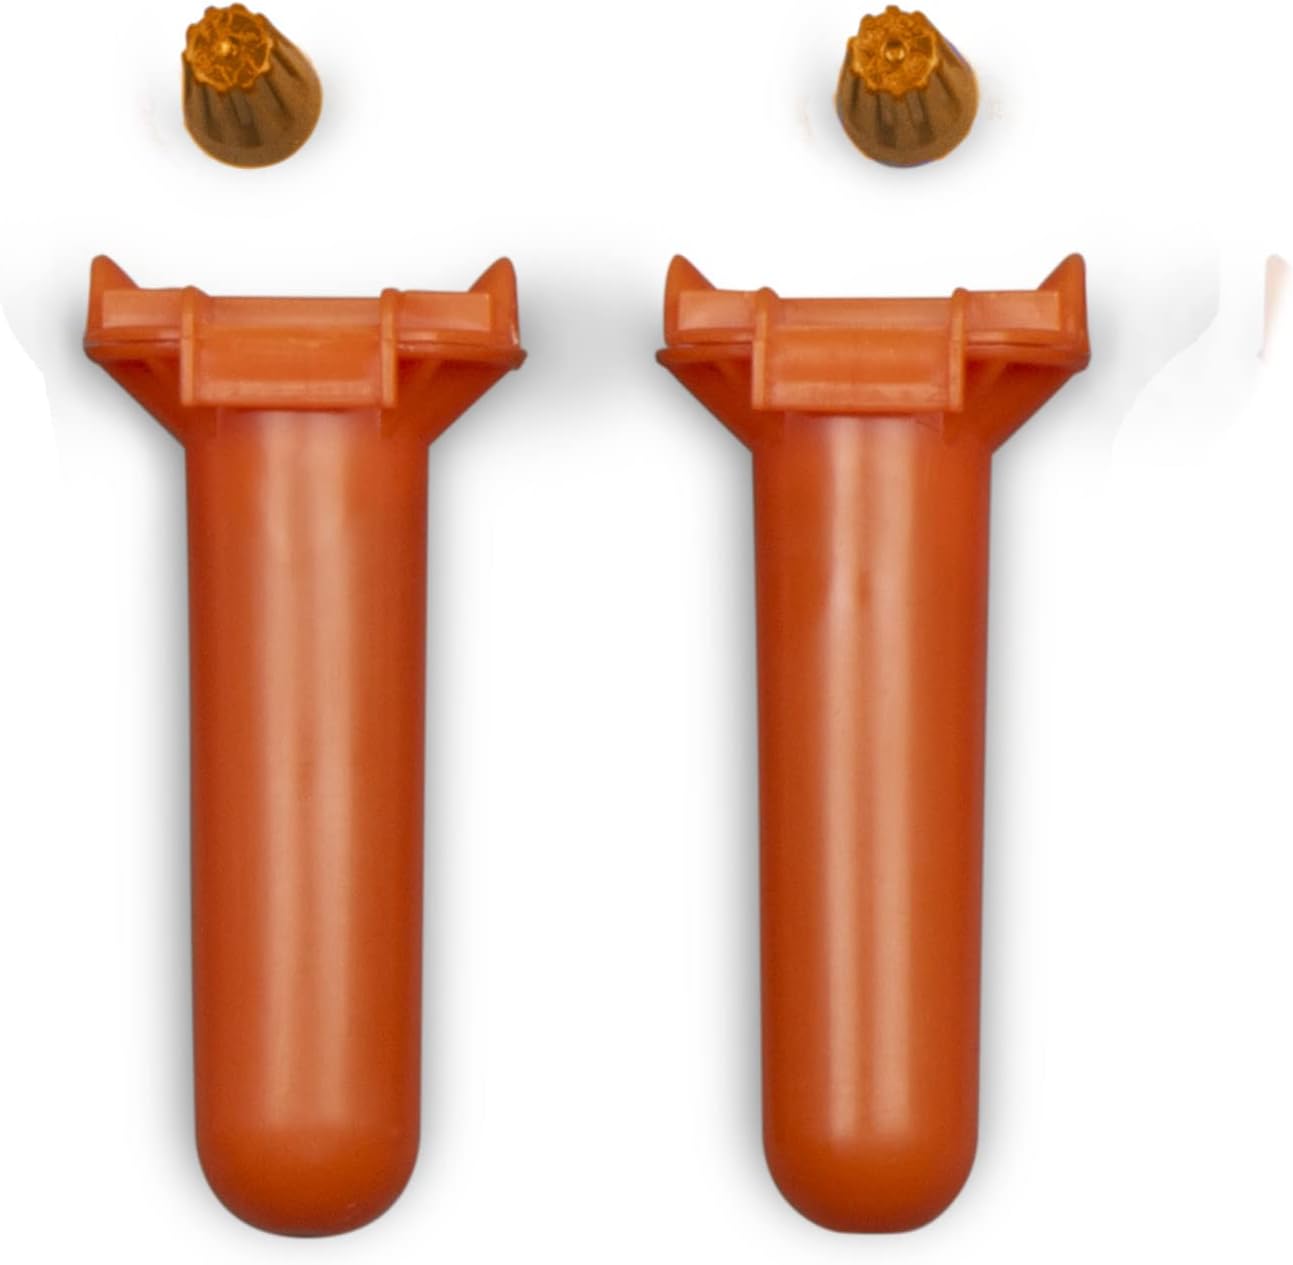
Figure 6: Wire nuts and gel-filled capsules used for creating waterproof and secure wire connections.
Test and Bury:
After repairing, re-test the boundary wire with the locator to confirm the break is fixed. Once confirmed, bury the repaired section of the wire.
Maintenance
- Battery Replacement: Replace the 2 AAA batteries in the locator wand when the audio signal becomes weak or the lights dim.
- Cleaning: Wipe the locator and transmitter with a damp cloth as needed. Do not submerge any components in water.
- Storage: Store the unit in a dry, cool place when not in use.
Troubleshooting
| Problem | Possible Cause | Solution |
|---|---|---|
| No tone or light from locator. |
|
|
| Inconsistent or weak signal. |
|
|
| Locator shows red light/intermittent tone everywhere. |
|
|
Specifications
| Feature | Detail |
|---|---|
| Model Number | RFA-590 |
| Item Weight | 3.41 pounds |
| Product Dimensions | 19 x 6 x 3 inches |
| Material | Plastic (Acrylonitrile Butadiene Styrene (ABS) or Polycarbonate) |
| Power Source (Transmitter) | AC Adaptor (Included) |
| Batteries (Locator) | 2 AAA batteries (Not Included) |
| Compatible Devices | In-ground Fence Systems |
Warranty Information
The PetSafe Wire Break Locator comes with a 1 Year Limited Warranty from the date of purchase. This warranty covers defects in materials and workmanship under normal use. Please retain your proof of purchase for warranty claims. For full warranty terms and conditions, please refer to the official PetSafe website or contact customer support.
Customer Support
For any questions, assistance, or troubleshooting not covered in this manual, our U.S.-based customer care experts are available to help. You can reach them by phone, email, or chat. Please visit the official PetSafe website for contact details and support hours.
Website: www.petsafe.com


