
Acer V277U
Acer V277U 27" QHD Wide 1440p LED LCD Monitor User Manual
Model: V277U
1. Introduction
This manual provides essential information for the safe and efficient use of your Acer V277U 27" QHD Wide 1440p LED LCD Monitor. Please read it thoroughly before operating the device and retain it for future reference. The Acer V7 Series monitors are designed to deliver professional performance and reliability.
2. Safety Information
Observe the following safety guidelines to prevent damage to the monitor and ensure user safety:
- Power Source: Use only the power adapter and cable supplied with the monitor. Ensure the power outlet is properly grounded.
- Ventilation: Do not block ventilation openings. Allow adequate space around the monitor for proper airflow.
- Moisture: Keep the monitor away from water, rain, or excessive humidity. Do not operate with wet hands.
- Heat: Avoid placing the monitor near heat sources such as radiators, heat registers, stoves, or other heat-producing appliances.
- Cleaning: Disconnect the power cord before cleaning. Use a soft, dry cloth. Do not use liquid or aerosol cleaners.
- Placement: Place the monitor on a stable, flat surface. Avoid placing it in direct sunlight or areas with strong vibrations.
- Servicing: Do not attempt to service this product yourself. Refer all servicing to qualified service personnel.
3. Package Contents
Verify that all items are present in your package:
- Acer V277U Monitor Unit
- Monitor Stand Base
- Monitor Stand Neck
- Power Cord
- DisplayPort Cable
- HDMI Cable
- Quick Start Guide
4. Setup
4.1. Assembling the Monitor Stand
- Carefully remove the monitor from its packaging, keeping it protected on a soft surface.
- Attach the stand neck to the back of the monitor until it clicks into place or is secured with screws (refer to the Quick Start Guide for specific screw details).
- Connect the stand base to the stand neck and tighten the captive screw from underneath the base.
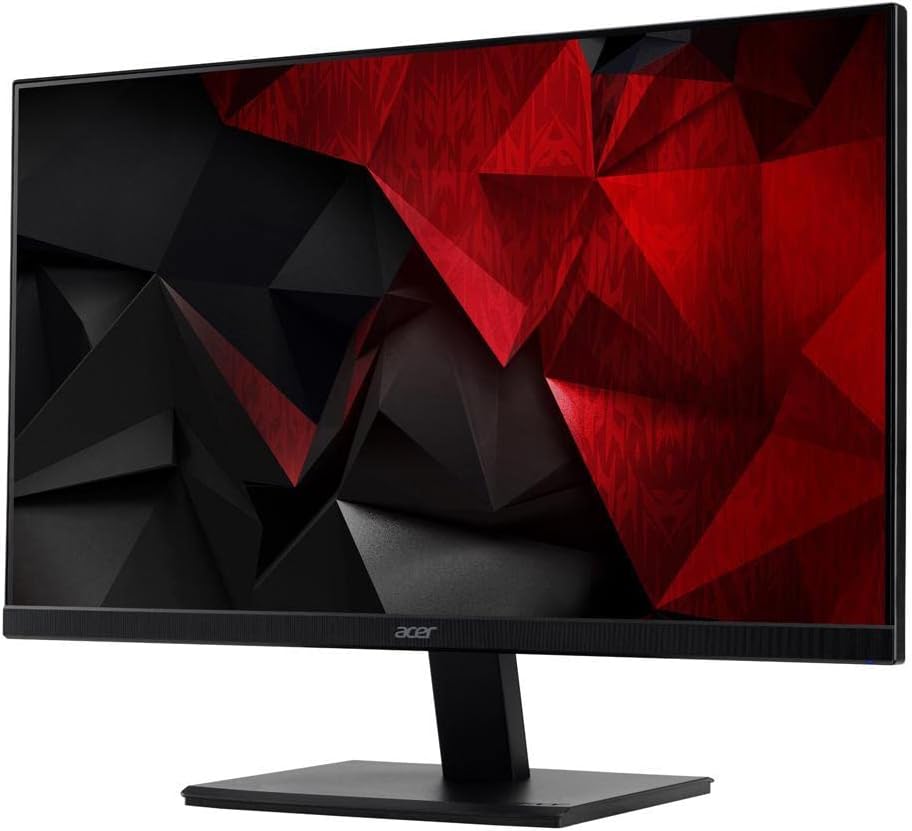
Image: Acer V277U monitor assembled on its stand, viewed from an angle.
4.2. Connecting Cables
Ensure the monitor and your computer are powered off before making connections.
- Power Connection: Connect the power cord to the monitor's power input and then to a grounded electrical outlet.
- Video Connection:
- For optimal performance, connect the supplied DisplayPort cable from your computer's DisplayPort output to the monitor's DisplayPort input.
- Alternatively, connect an HDMI cable from your computer's HDMI output to the monitor's HDMI input.
- Audio Connection (Optional): If using external speakers or headphones, connect them to the monitor's audio output jack. The monitor also has built-in speakers.

Image: Front view of the Acer V277U monitor.
4.3. Initial Power On
- Plug the power cord into an electrical outlet.
- Press the power button located on the monitor (typically on the bottom right or rear).
- Turn on your computer. The monitor should automatically detect the input signal. If not, you may need to manually select the input source using the OSD menu.
5. Operating the Monitor
5.1. On-Screen Display (OSD) Menu
The OSD menu allows you to adjust various monitor settings. Controls are typically located on the rear or bottom right of the monitor and may include buttons or a mini-joystick.
- Press the OSD button/joystick to activate the menu.
- Use the navigation controls to move through menu options.
- Press the select button/joystick to confirm a selection or enter a sub-menu.
- Press the exit button/joystick to go back or close the OSD.

Image: Side view of the Acer V277U monitor, indicating the location of control buttons.
5.2. Adjusting Settings
Key settings you can adjust include:
- Brightness/Contrast: Adjust the overall luminance and difference between light and dark areas.
- Color Settings: Modify color temperature, gamma, and individual RGB levels.
- Input Source: Manually select between DisplayPort and HDMI inputs.
- Audio: Control volume for built-in speakers or connected audio devices.
- Adaptive Sync: Enable or disable Adaptive Sync (FreeSync) for smoother gaming experiences, if supported by your graphics card.
- Picture Mode: Select from preset display modes (e.g., Standard, Graphics, Movie, User).
5.3. Using Built-in Speakers
The Acer V277U monitor includes integrated speakers. Audio will be routed through the DisplayPort or HDMI cable from your computer. Adjust the volume via the OSD menu or your computer's sound settings.
6. Maintenance
6.1. Cleaning the Monitor
To maintain optimal display quality and extend the life of your monitor:
- Always unplug the monitor from the power outlet before cleaning.
- Use a soft, lint-free cloth slightly dampened with water or a specialized screen cleaner for the display panel. Do not spray liquid directly onto the screen.
- For the casing, use a soft, dry cloth. Avoid abrasive cleaners or solvents.
6.2. Storage
If storing the monitor for an extended period, ensure it is powered off, unplugged, and stored in a cool, dry place, preferably in its original packaging to protect it from dust and physical damage.
7. Troubleshooting
If you encounter issues with your monitor, refer to the following common problems and solutions:
| Problem | Possible Solution |
|---|---|
| No power | Ensure the power cord is securely connected to both the monitor and a working electrical outlet. Check the power button on the monitor. |
| No signal / Blank screen | Verify the video cable (DisplayPort/HDMI) is securely connected to both the monitor and the computer. Ensure the correct input source is selected in the OSD menu. Check if the computer is powered on and not in sleep mode. |
| Image is blurry or distorted | Check the display resolution settings on your computer; ensure it is set to the monitor's native resolution (2560x1440). Adjust brightness, contrast, and sharpness settings in the OSD. |
| Colors are incorrect | Adjust color settings (color temperature, gamma) in the OSD menu. Reset color settings to factory defaults if necessary. |
| No sound from speakers | Check the volume level in the OSD menu and on your computer. Ensure the audio output is correctly configured on your computer to send sound via DisplayPort or HDMI. |
If the problem persists after trying these solutions, please contact Acer customer support.
8. Specifications
Key technical specifications for the Acer V277U monitor:
| Feature | Specification |
|---|---|
| Model Number | V277U |
| Screen Size | 27 Inches |
| Panel Type | IPS |
| Native Resolution | 2560 x 1440 (QHD Wide 1440p) |
| Aspect Ratio | 16:9 |
| Refresh Rate | 75Hz (via DisplayPort) |
| Response Time | 4ms |
| Brightness | 350 nit |
| Color Gamut | 100% sRGB |
| Connectivity | HDMI, DisplayPort |
| Features | Adaptive Sync, Built-in Speakers |
| VESA Mount Compatible | Yes (100 x 100 mm) |
| Dimensions (LxWxH) | 2.6 x 24.2 x 14.4 inches (without stand) |
| Weight | 6.88 pounds (without stand) |
9. Warranty and Support
Your Acer V277U monitor is covered by a limited warranty. Please refer to the warranty card included in your package or visit the official Acer website for detailed warranty terms and conditions specific to your region.
For technical assistance, driver downloads, or further support, please visit the official Acer support website or contact their customer service department. Have your monitor's serial number and model information ready when seeking support.
Acer Support Website: www.acer.com/support
Ask a question about this manual
Ask about setup, troubleshooting, compatibility, parts, safety, or missing instructions. Manuals+ will review the question and use this page’s manual context to help answer it.