1. Safety Instructions
- Read all instructions before use.
- Keep the charger away from water and moisture.
- Do not disassemble the unit. Refer servicing to qualified personnel.
- Use only with compatible batteries (Sony NP-FW50).
- Avoid extreme temperatures and direct sunlight.
- Unplug the charger when not in use.
2. Package Contents
Verify that all items are present in your package:
- 1 x Baxxtar Mini Dual LCD Charger (Model 18592)
- 1 x Micro USB Cable
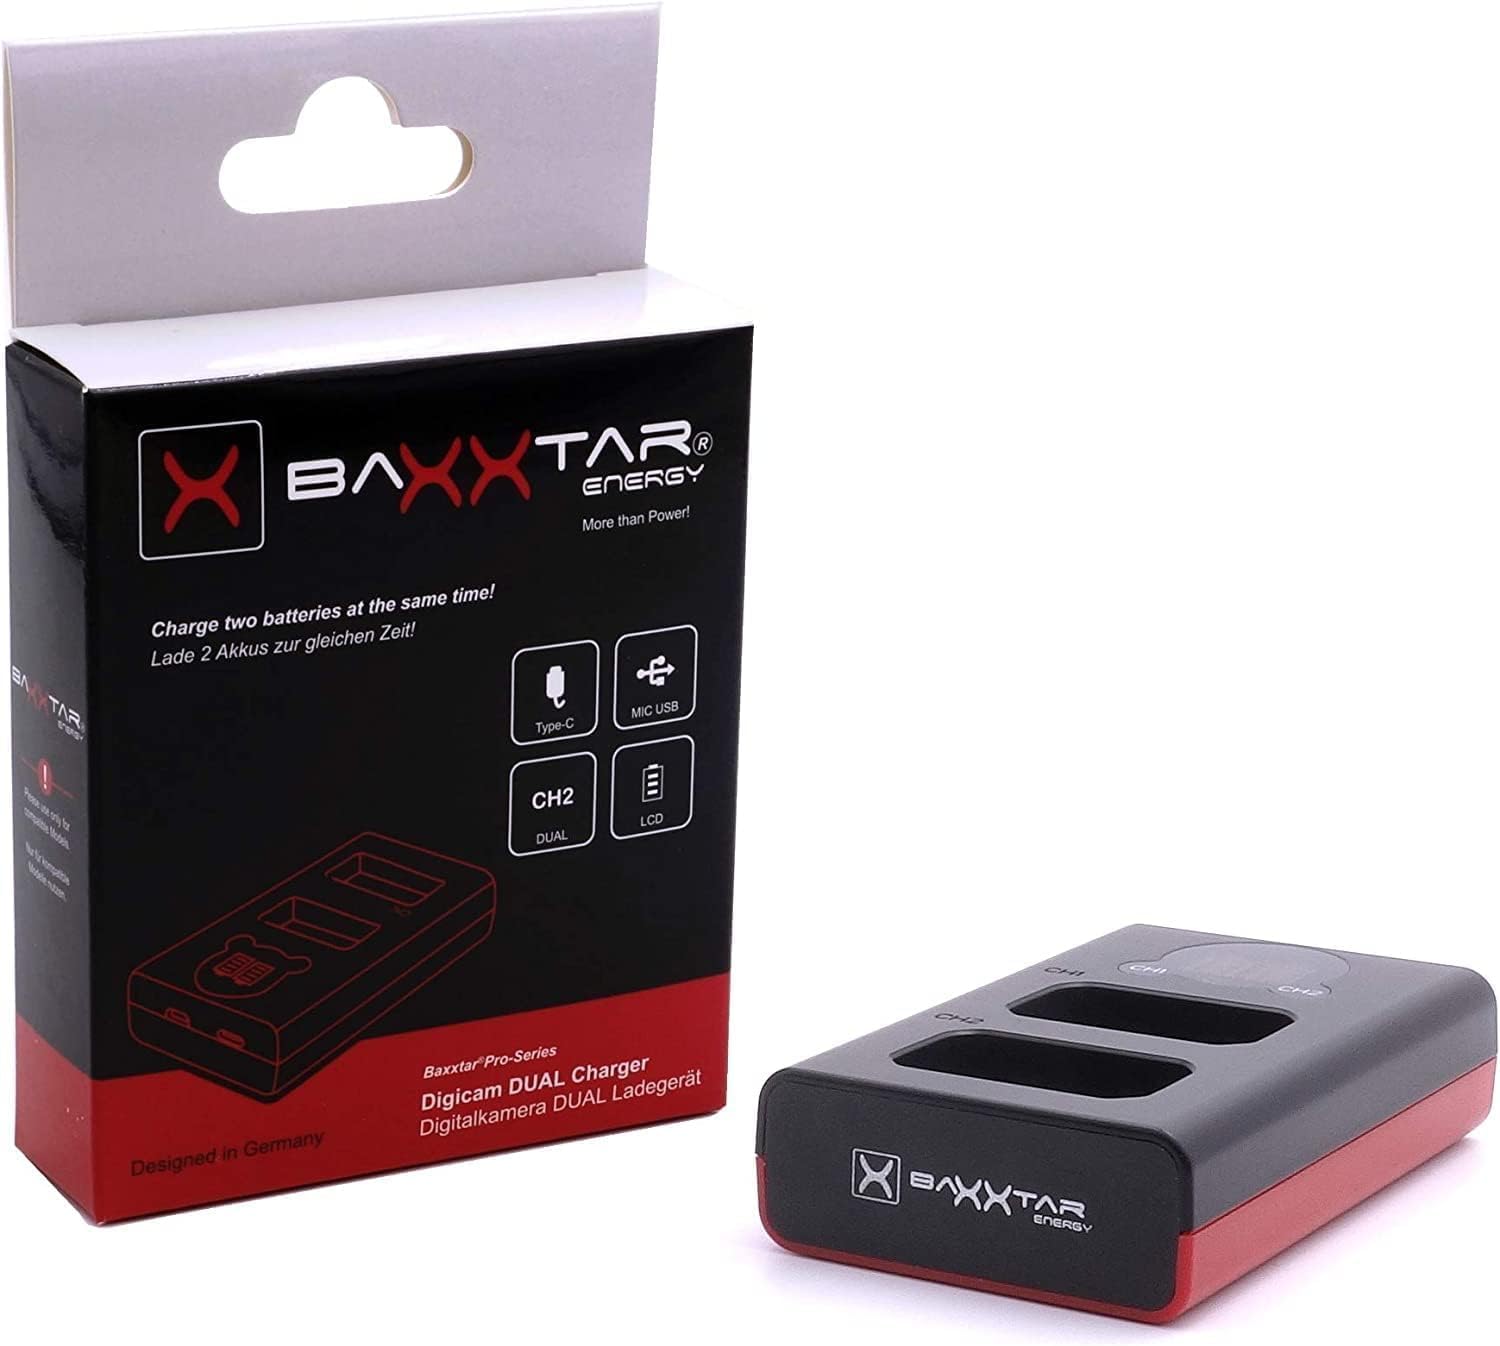
Image 2.1: Baxxtar Mini Dual LCD Charger and its retail packaging.
3. Product Overview
The Baxxtar 18592 is a compact dual-slot charger designed for Sony NP-FW50 camera batteries. It features two independent charging channels with individual LCD displays to show charging status. The charger supports both USB-C and Micro USB input for versatile power options.

Image 3.1: Front view of the Baxxtar Mini Dual LCD Charger, showing the two battery slots and LCD screens.
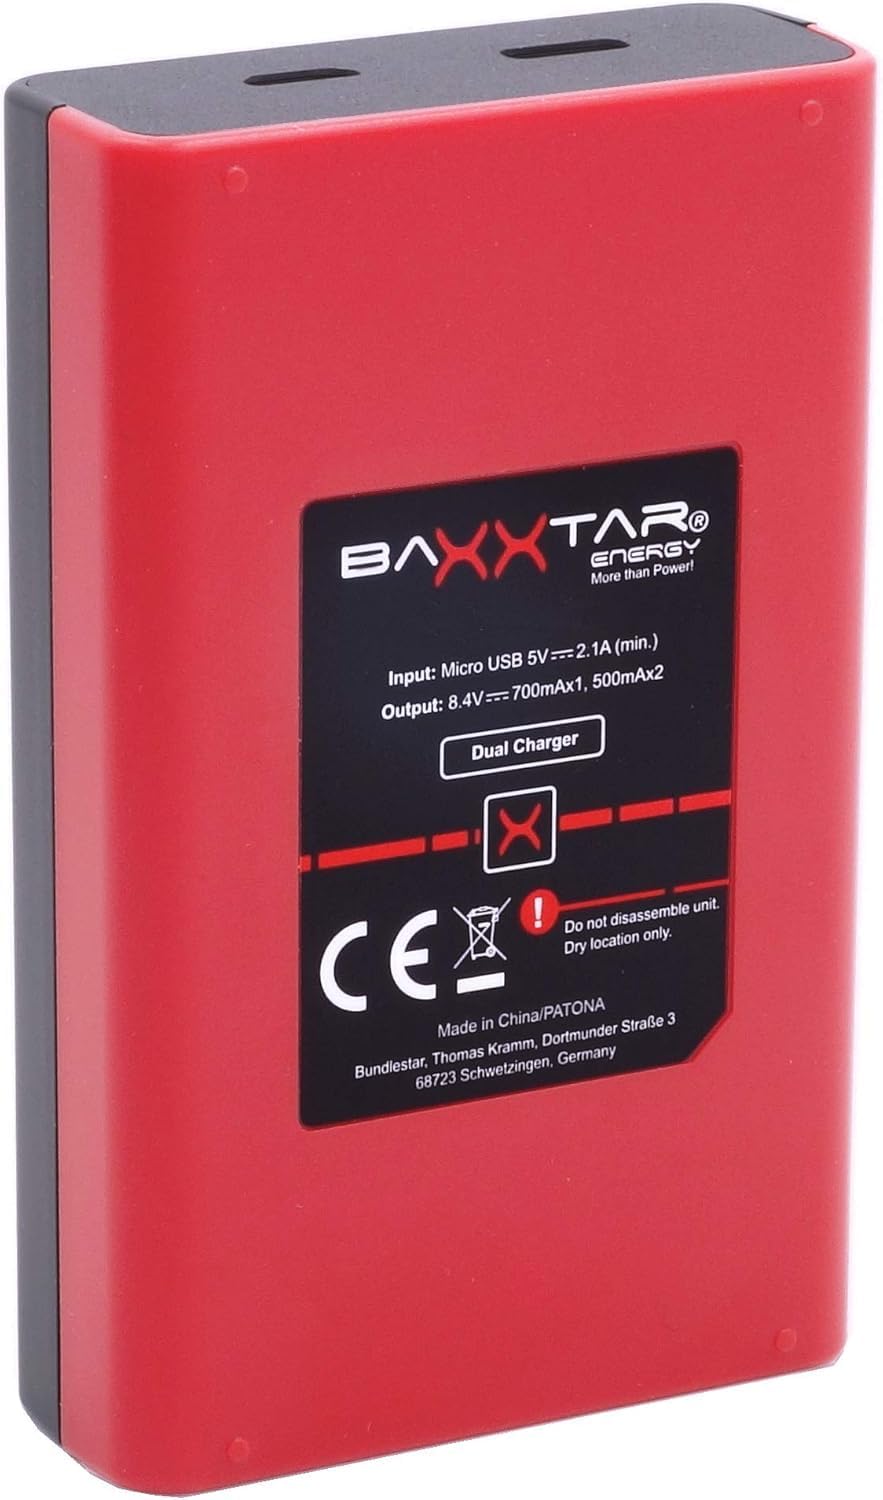
Image 3.2: Back view of the charger, displaying technical specifications and safety markings.

Image 3.3: Various views of the charger, illustrating its compact dimensions and USB-C/Micro USB input ports.
4. Setup
- Connect Power: Connect the charger to a USB power source (e.g., USB wall adapter, power bank, computer USB port) using either the provided Micro USB cable or a USB-C cable (not included). The charger's LCD screens will illuminate.
- Insert Batteries: Carefully insert one or two compatible Sony NP-FW50 batteries into the charging slots. Ensure the battery contacts align correctly with the charger's pins. The batteries should click firmly into place.

Image 4.1: The charger connected to a USB power source, ready for battery insertion.
5. Operating Instructions
5.1 Charging Process
- Once batteries are inserted, the individual LCD screens for each channel (CH1 and CH2) will display a 4-level bar indicator, showing the current charge status of each battery.
- The charging current is 700mA when one battery is inserted and 500mA per slot when both slots are occupied.
- The charger automatically switches to trickle charge mode once the batteries are fully charged to prevent overcharging.
5.2 LCD Display Indicators
Each LCD screen provides a visual representation of the battery's charge level:
- Empty bars: Battery is discharged.
- Partially filled bars: Battery is charging, indicating the current charge level.
- All bars filled: Battery is fully charged.
6. Compatibility
This charger is compatible with Sony NP-FW50 batteries and the following camera models:
- Sony ILCE XQ1
- Sony CyberShot DSC RX10 Mark II, III, IV
- Sony Alpha 3000, 5000, 5100, 6000, 6100, 6300, 6400, 6500
- Sony Alpha A33, A35, A37, A55, 7, 7II, 7R, 7RII, 7S, 7SII, 7SIII
- Sony NEX-C3, NEX-F3, NEX-3, NEX-3N, NEX-5, NEX-5N, NEX-5K, NEX-5R, NEX-5T, NEX-6, NEX-7, NEX-7B, NEX-7C, NEX-7K
- Sony ZV-E10
7. Specifications
| Feature | Specification |
|---|---|
| Model | 18592 |
| Input | Micro USB 5V 2100mA (min) / USB-C 5V 2100mA (min) |
| Output (1 Battery) | 8.4V 700mA |
| Output (2 Batteries) | 8.4V 500mA x 2 |
| Dimensions (L x W x H) | 8.9 x 5.5 x 2.3 cm |
| Weight | 45 Grams |
| Connectivity | Micro USB, USB-C |
| Display | Dual LCD (4-level bar indicator) |
| Color | Red |
8. Troubleshooting
- Charger not turning on: Ensure the USB cable is securely connected to both the charger and a working power source. Try a different USB cable or power source.
- Battery not charging: Verify that the battery is correctly inserted into the slot and its contacts are clean. Ensure the battery is compatible with the charger. If the battery is severely depleted, it may take a few minutes for the charger to register it.
- Slow charging: Ensure your USB power source provides sufficient current (at least 2100mA). Using a lower-power USB port may result in slower charging times.
- LCD display not showing: If the charger is powered but the LCD is blank, try re-inserting the battery or connecting to a different power source.
9. Maintenance
- Cleaning: Use a soft, dry cloth to clean the charger's exterior. Do not use liquid cleaners or solvents.
- Storage: Store the charger in a cool, dry place away from direct sunlight and extreme temperatures when not in use.
- Battery Contacts: Periodically check the battery contacts on both the charger and your batteries for dirt or corrosion. Clean gently with a cotton swab if necessary.
10. Warranty and Support
Baxxtar products are designed for reliability and performance. For warranty information, technical support, or service inquiries, please refer to the documentation provided with your purchase or visit the official Baxxtar website. Keep your proof of purchase for warranty claims.


