1. Introduction
The SCUBAPRO Galileo HUD is an innovative, mask-mounted, hands-free diving computer designed to provide essential dive information directly in your line of sight. This manual provides detailed instructions for the proper setup, operation, and maintenance of your Galileo HUD to ensure safe and effective use during your dives.
2. Safety Information
- Read this manual completely: Before using the Galileo HUD, thoroughly read and understand all instructions and warnings.
- Diving Certification: This device is intended for use by certified divers only. Do not attempt to dive without proper training and certification.
- Pre-Dive Checks: Always perform all necessary pre-dive checks, including battery levels, transmitter pairing, and proper mask mounting.
- Environmental Factors: Be aware of ambient light conditions and potential mask fogging, which may affect display readability.
- Battery Care: Ensure the device is fully charged before dives. Avoid complete battery depletion to prevent deep sleep mode issues that may require factory service.
- Transmitter Reliability: Regularly check transmitter pairing and air integration functionality. Address any issues before diving.
- Compass Accuracy: Calibrate the digital compass regularly, especially when changing global regions.
3. Features Overview
The SCUBAPRO Galileo HUD offers advanced features for an enhanced diving experience:
- Mask-Mounted Micro OLED Display: A “floating” display presents dive data at a virtual distance of 1 meter (3 feet), allowing continuous eye contact with surroundings.
- Intuitive Single-Knob Push Wheel: Easily navigate customizable menus and access dive control functions.
- Full-Color OLED Display: Ensures maximum readability in various ambient light conditions. The display conveniently tilts out of the way when not needed.
- Multiple Diving Modes: Choose from SCUBA, Gauge, Apnea, and CCR modes to personalize your dive.
- Dual Dive Algorithms: Select between Predictive Multi-Gas Bühlmann ZH-L16 ADT MB PMG or ZH-L16 GF.
- Predictive Multi-Gas Dive Algorithm: Supports up to 8 selectable gases (Nitrox and Trimix in SCUBA mode) and 2 set points for CCR diving. Includes Microbubble levels and Profile Dependent Intermediate Stops (PDIS).
- Hoseless Air Integration: Monitors tank pressure and provides true remaining bottom time (RBT) based on breathing workload.
- 3D Full-Tilt Digital Compass: Allows storage of 3 pre-programmed headings.

Figure 3.1: SCUBAPRO Galileo HUD mounted on a dive mask with the air transmitter.

Figure 3.2: Various display screens of the Galileo HUD, illustrating dive data, navigation, and settings.
4. Setup
4.1 Initial Charging
Before first use, fully charge your Galileo HUD. The device may be in a deep sleep mode upon arrival. Connect the provided USB cable to the device and a power source. The device must be turned on to charge. If the device only flashes the SCUBAPRO logo and does not turn on or charge, it may be in a deep sleep state requiring factory service. Regular charging is recommended to prevent this.

Figure 4.1: USB charging cable.
4.2 Mask Mounting
The Galileo HUD is designed to be mounted on a compatible dual-lens dive mask. Ensure the mask is clean and dry before attachment. Securely fasten the HUD unit to the mask strap using the provided mask holder and zip ties. Adjust the position for optimal viewing without obstructing your field of vision.

Figure 4.2: Galileo HUD unit with mask mount.
4.3 Transmitter Pairing
The Galileo HUD comes with an LED smart transmitter for hoseless air integration. Follow these steps to pair the transmitter with your HUD:
- Attach the transmitter to your first stage regulator.
- Turn on your Galileo HUD.
- Navigate to the 'Air Integration' or 'Transmitter' menu in the HUD settings.
- Follow the on-screen prompts to initiate pairing. The HUD will search for available transmitters.
- Once detected, confirm the pairing. Ensure the transmitter is within range and active.
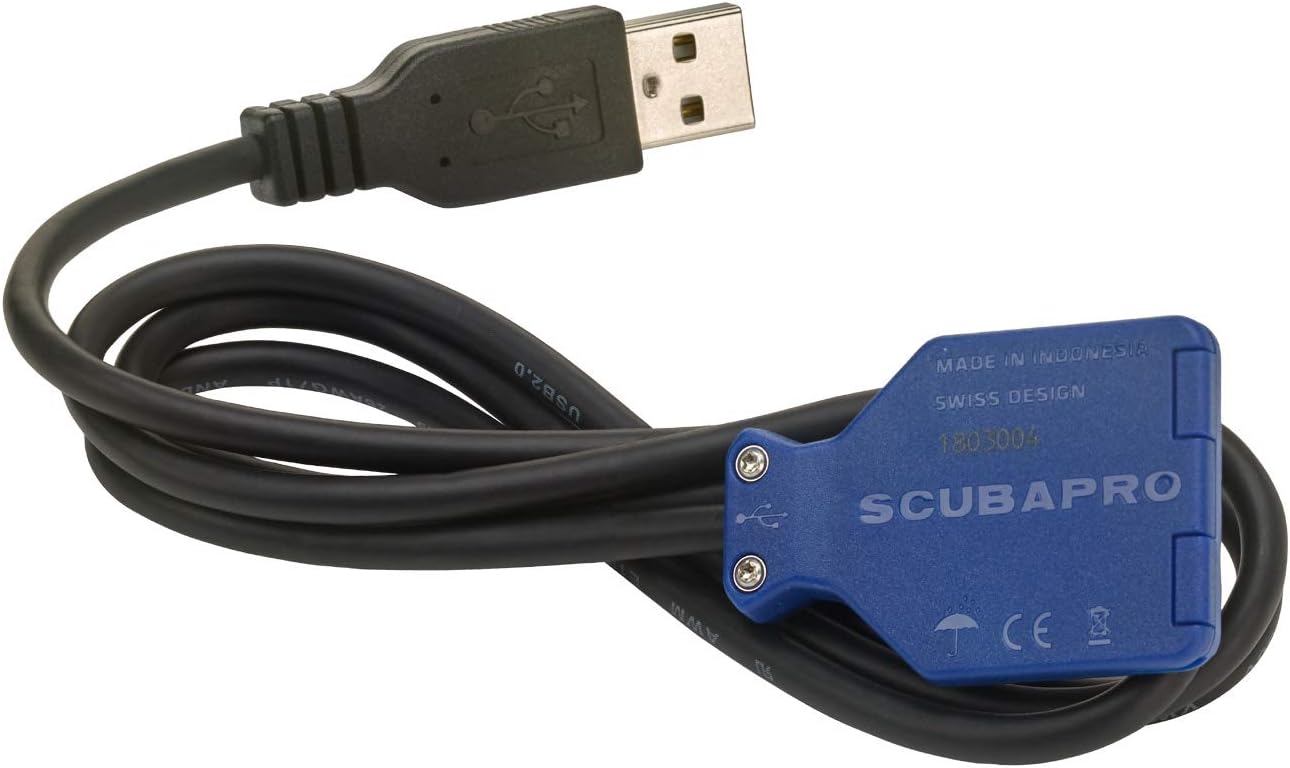
Figure 4.3: SCUBAPRO Galileo HUD air transmitter.
5. Operating Instructions
5.1 Menu Navigation
The Galileo HUD features an intuitive single-knob push wheel for menu navigation. Rotate the wheel to scroll through options and press it to select. A long press may return to the main menu or activate specific functions depending on the context.
5.2 Dive Modes
Select the appropriate dive mode for your activity:
- SCUBA Mode: Standard recreational and technical diving with gas management.
- Gauge Mode: Functions as a bottom timer with depth and time, without decompression calculations.
- Apnea Mode: Optimized for freediving, tracking dive time, depth, and surface intervals.
- CCR Mode: For closed-circuit rebreather diving, supporting specific set points.
5.3 Dive Algorithms
The Galileo HUD offers two advanced dive algorithms:
- Predictive Multi-Gas Bühlmann ZH-L16 ADT MB PMG: A widely recognized algorithm with microbubble management and Profile Dependent Intermediate Stops (PDIS).
- ZH-L16 GF: Gradient Factor algorithm for advanced decompression planning.
You can select and customize these algorithms based on your diving preferences and training.
5.4 Digital Compass
The integrated 3D full-tilt digital compass allows for accurate underwater navigation. It can store up to 3 pre-programmed headings. Calibrate the compass regularly, especially after significant travel or battery changes, to ensure accuracy.
6. Maintenance
6.1 Charging and Battery Care
To maximize battery life and prevent issues:
- Charge the device fully before each dive trip.
- Avoid letting the battery completely drain, as this can lead to a deep sleep mode that may require professional service.
- Charge the device at least once a week during periods of non-use.
6.2 Cleaning and Storage
After each dive, rinse the Galileo HUD thoroughly with fresh water to remove salt, sand, and other debris. Allow it to air dry completely before storing. Store the device in a cool, dry place, away from direct sunlight and extreme temperatures.
7. Troubleshooting
7.1 Device Will Not Turn On or Charge
- Check Charging Connection: Ensure the USB cable is securely connected to both the device and a working power source.
- Deep Sleep Mode: If the device only flashes the SCUBAPRO logo and does not fully power on or charge, it might be in a deep sleep mode. Try charging it for an extended period (several hours). If the issue persists, contact SCUBAPRO customer service for potential factory service.
- Charging Sequence: Ensure the device is turned on before connecting it to the charger, as some users report this helps initiate charging from a low battery state.
7.2 Transmitter Pairing Issues
- Re-pair Transmitter: If the HUD loses connection with the transmitter, try re-pairing it through the device's settings menu.
- Check Transmitter Battery: Ensure the transmitter has sufficient battery life.
- Proximity: Ensure the transmitter is close enough to the HUD during the pairing process.
7.3 Inaccurate Compass Readings
- Calibrate Compass: Perform a compass calibration as described in the operating section or the device's on-screen instructions. This is especially important when traveling to new locations.
- Magnetic Interference: Ensure no strong magnetic fields are nearby during calibration or use.
8. Specifications
| Item Package Dimensions L x W x H | 10.4 x 8.1 x 4.2 inches |
| Package Weight | 0.37 Kilograms |
| Item Dimensions LxWxH | 10 x 8 x 3.5 inches |
| Item Weight | 295 Grams |
| Brand Name | Scubapro |
| Model Name | Galileo HUD Hands-Free Computer, with Transmitter |
| Color | Black |
| Material | Plastic, Electronic Components |
| Manufacturer | SCUBAPRO |
| Part Number | 05.110.100 |
| Included Components | Galileo HUD SPORT CPL; Transmitter; Mask holder; Zip Ties (2); USB Cable G2; Quick Card (2); Registration; Manual (2); Plastic Ball 6mm; Sticker Warning; Screen Protector Foil; Lanyard with Clip |
| Maximum Operating Depth | 394 feet / 120m |
| Battery Life | Up to 20 hours of dive time per charge |
9. Warranty and Support
9.1 Warranty Information
The SCUBAPRO Galileo HUD comes with a 2-year warranty. Please retain your proof of purchase for warranty claims. The warranty covers manufacturing defects under normal use conditions.
9.2 Customer Support
For technical assistance, troubleshooting beyond this manual, or warranty service, please contact SCUBAPRO customer support. Refer to the official SCUBAPRO website or your product registration card for contact details.
Online resources, including a full PDF manual, may be available on the SCUBAPRO website for additional information.


