
1. Introduction
This manual provides comprehensive instructions for the operation and maintenance of the LAUNCH U400 OBD2 Automotive Scanner. The U400 is a professional diagnostic tool designed to assist in identifying and resolving issues in various vehicle systems, including engine, transmission, and performing specific reset functions.
Please read this manual thoroughly before operating the device to ensure correct usage and to prevent damage.
2. Package Contents
Verify that all items listed below are present in your package:
- 1 x LAUNCH Creader U400 Scanner
- 1 x OBDII Connector Cable
- 1 x USB Cable
- 1 x Quick Start Guide
3. Device Overview
The LAUNCH U400 scanner features a user-friendly interface with a clear display and intuitive button layout for easy navigation and operation.

Figure 3.1: LAUNCH U400 Device Layout
This image displays the front of the LAUNCH U400 scanner, highlighting its key components. The LCD Screen indicates test results. Buttons include DTC (F1) for reading diagnostic trouble codes, ER (F2) for clearing codes, I/M (F3) for I/M Readiness, and a Help Button (F4). Navigation is managed by a Selection Button (directional arrows), and actions are confirmed with the OK Button. A Return Button (ESC) allows navigation to the previous screen.
The device is designed for durability with a thick, flexible insulator casing.

Figure 3.2: LAUNCH U400 Durability and Ports
This image shows various views of the LAUNCH U400 scanner, emphasizing its robust construction. The top view reveals a USB port for connectivity, while the side view illustrates the device's ergonomic design. The bottom view displays the OBDII connector port, which is used to connect the scanner to the vehicle's diagnostic port.
4. Specifications
| Feature | Detail |
|---|---|
| Screen | 4.0" TFT, 320*480 dpi |
| Voltage Range | 9-18V |
| Operating Temperature | 0°C to 50°C (32°F to 122°F) |
| Storage Temperature | -20°C to 70°C (-4°F to 158°F) |
| Dimensions | 195mm x 86mm x 32mm (7.6" x 3.4" x 1.2") |
| Weight | 839 g |
| Power Source | Vehicle Powered |
| Operating System for Updates | Windows XP (or newer compatible versions) |
| Supported Protocols | ISO9141-2, ISO14230-4, SAEJ1850, ISO15765-4 |
5. Setup
- Locate the OBDII Port: The OBDII port is typically located under the dashboard on the driver's side of the vehicle. Refer to your vehicle's owner's manual if you cannot locate it.
- Connect the Scanner: Plug the OBDII connector cable into the vehicle's OBDII port. Ensure a secure connection.
- Power On: Once connected, the scanner will automatically power on, drawing power from the vehicle's battery. The main menu will appear on the screen.
- Vehicle Ignition: For most diagnostic functions, the vehicle's ignition should be in the "ON" position (engine off) or the engine running, depending on the specific test.
6. Operating Instructions
6.1. General OBDII Functions
The LAUNCH U400 supports all standard OBDII diagnostic modes. Navigate through the menu using the directional buttons and press OK to select an option.

Figure 6.1: OBD-II Diagnostic Modes
This diagram illustrates the various OBD-II service modes supported by the LAUNCH U400 scanner. These include: Read Codes (retrieving Diagnostic Trouble Codes), Erase Codes (clearing DTCs), Freeze Frame (snapshot of engine conditions when a fault occurred), I/M Readiness (emissions system status), Data Stream (live sensor data), O2 Sensor Test, On-Board Monitoring, EVAP System Test (Mode $8), and VIN Information (vehicle identification number).
- Read Codes: Select this option to retrieve current, pending, and permanent Diagnostic Trouble Codes (DTCs) from the vehicle's Engine Control Unit (ECU).
- Clear Codes: After repairs are made, select this to erase DTCs and turn off the Malfunction Indicator Lamp (MIL). Ensure the issue is resolved before clearing codes.
- I/M Readiness: Checks the status of the vehicle's emission-related monitoring systems. This is useful for emissions testing.
- Data Stream: Displays live data parameters from the vehicle's sensors in numerical or graphical format. Up to 4 data streams can be graphically displayed simultaneously. Data stream storage and playback are also supported.
- Freeze Frame: Captures a snapshot of operating conditions at the moment a fault code was set.
- O2 Sensor Test: Retrieves O2 sensor monitoring test results.
- On-Board Monitoring: Retrieves test results for emission-related powertrain components and systems that are not continuously monitored.
- EVAP System Test: Initiates a test of the Evaporative Emission Control System.
- Vehicle Information: Displays the vehicle identification number (VIN), calibration ID, and calibration verification number (CVN).
6.2. Special Functions
The U400 offers specific reset functions for common maintenance tasks.
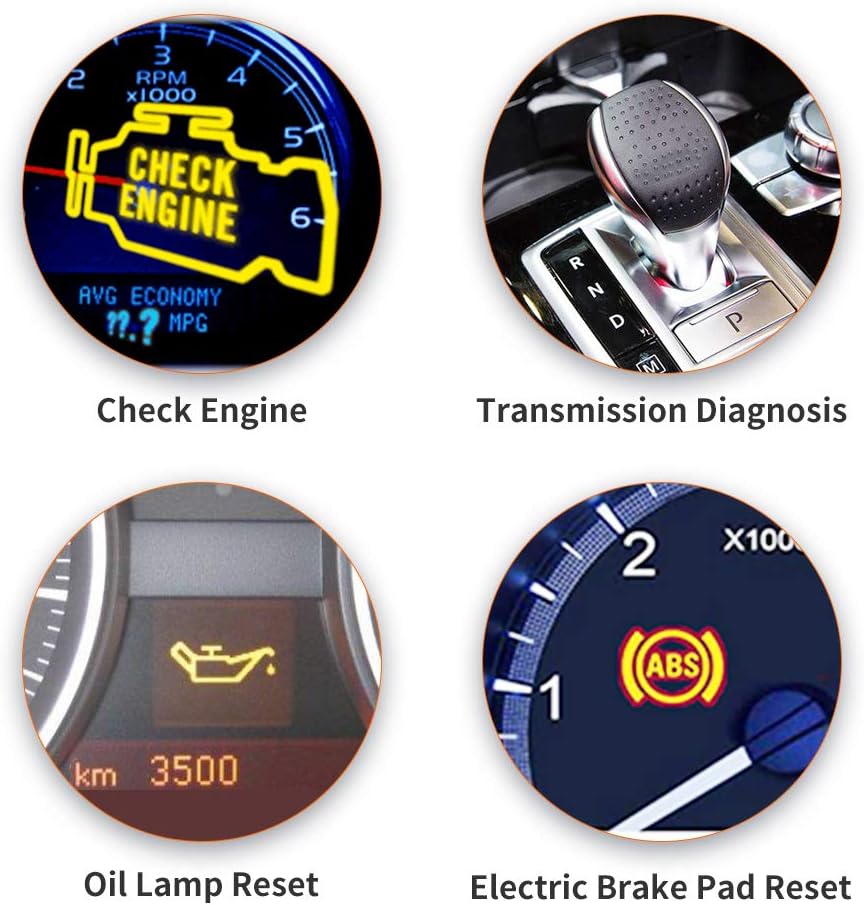
Figure 6.2: Special Diagnostic and Reset Functions
This image illustrates key diagnostic and reset capabilities of the LAUNCH U400. These include diagnosing issues related to the Check Engine light, performing Transmission Diagnosis, executing an Oil Lamp Reset after an oil change, and performing an Electric Brake Pad Reset for vehicles equipped with electronic parking brakes.
- Oil Lamp Reset: Used to reset the oil service light after an oil change. Follow the on-screen prompts for your specific vehicle model.
- Electronic Brake Pad Reset (EPB Reset): Essential when replacing brake pads on vehicles with an electronic parking brake system. This function allows the brake calipers to be safely retracted and then reset after new pads are installed. Follow the on-screen prompts carefully.
6.3. Vehicle Coverage
The LAUNCH U400 is compatible with a wide range of vehicles manufactured from 1996 onwards, supporting over 40 global car brands.

Figure 6.3: Wide Vehicle Compatibility
This image shows the LAUNCH U400 scanner's screen displaying a partial list of supported car brands, including Acura, VW, Audi, Ford, Benz, BMW, Chrysler, and Citroen. This demonstrates the device's extensive compatibility with various global vehicle manufacturers.
Supported brands include, but are not limited to: GM, Ford, Chrysler, BMW, Mercedes, Toyota, Honda, Nissan, Hyundai, Kia, Subaru, Mitsubishi, Acura, Audi, VW, Benz, Citroen, and more.
7. Maintenance
7.1. Software Updates
The LAUNCH U400 offers lifetime free software updates to ensure compatibility with new vehicle models and diagnostic protocols. Updates are performed via a USB connection to a Windows PC.

Figure 7.1: Software Update Process
This image illustrates the process of updating the LAUNCH U400 scanner. The device is connected to a Windows PC via a USB cable, indicating that software updates are performed by downloading and installing the latest firmware from the manufacturer's website onto the scanner through the computer.
- Download Update Tool: Visit the official LAUNCH website to download the update tool software for your PC.
- Connect Scanner: Connect the U400 scanner to your PC using the provided USB cable.
- Run Update Tool: Launch the update tool on your PC and follow the on-screen instructions to download and install the latest software onto your scanner.
7.2. Cleaning and Storage
- Clean the device with a soft, damp cloth. Do not use abrasive cleaners or solvents.
- Store the scanner in a dry, cool place, away from direct sunlight and extreme temperatures.
- Keep the OBDII connector free from dirt and debris.
8. Troubleshooting
If you encounter issues with your LAUNCH U400 scanner, consider the following common troubleshooting steps:
- No Power: Ensure the OBDII cable is securely connected to both the scanner and the vehicle's OBDII port. Verify the vehicle's ignition is in the "ON" position.
- Communication Error: Check that the vehicle's ignition is on. Ensure the OBDII cable is not damaged. Try connecting to a different compatible vehicle to rule out a vehicle-specific issue.
- Incorrect Readings/Functions: Ensure the scanner's software is up to date. Verify that the vehicle is compatible with the specific function you are attempting to perform.
- Screen Issues: If the screen is unresponsive or displays errors, try restarting the device by disconnecting and reconnecting it.
For persistent issues, refer to the official LAUNCH support resources or contact customer service.
9. Warranty and Support
For information regarding the product warranty, please refer to the warranty card included in your package or visit the official LAUNCH website. Warranty terms and conditions may vary by region.
For technical support, software updates, or further assistance, please visit the LAUNCH Official Store on Amazon or the manufacturer's official website.


