Introduction
Thank you for choosing the Fire Sense Baker Woven Aluminum Convertible Gas Fire Pit Table. This manual provides essential information for the safe assembly, operation, and maintenance of your new outdoor fire pit. Please read all instructions carefully before use and retain this manual for future reference.
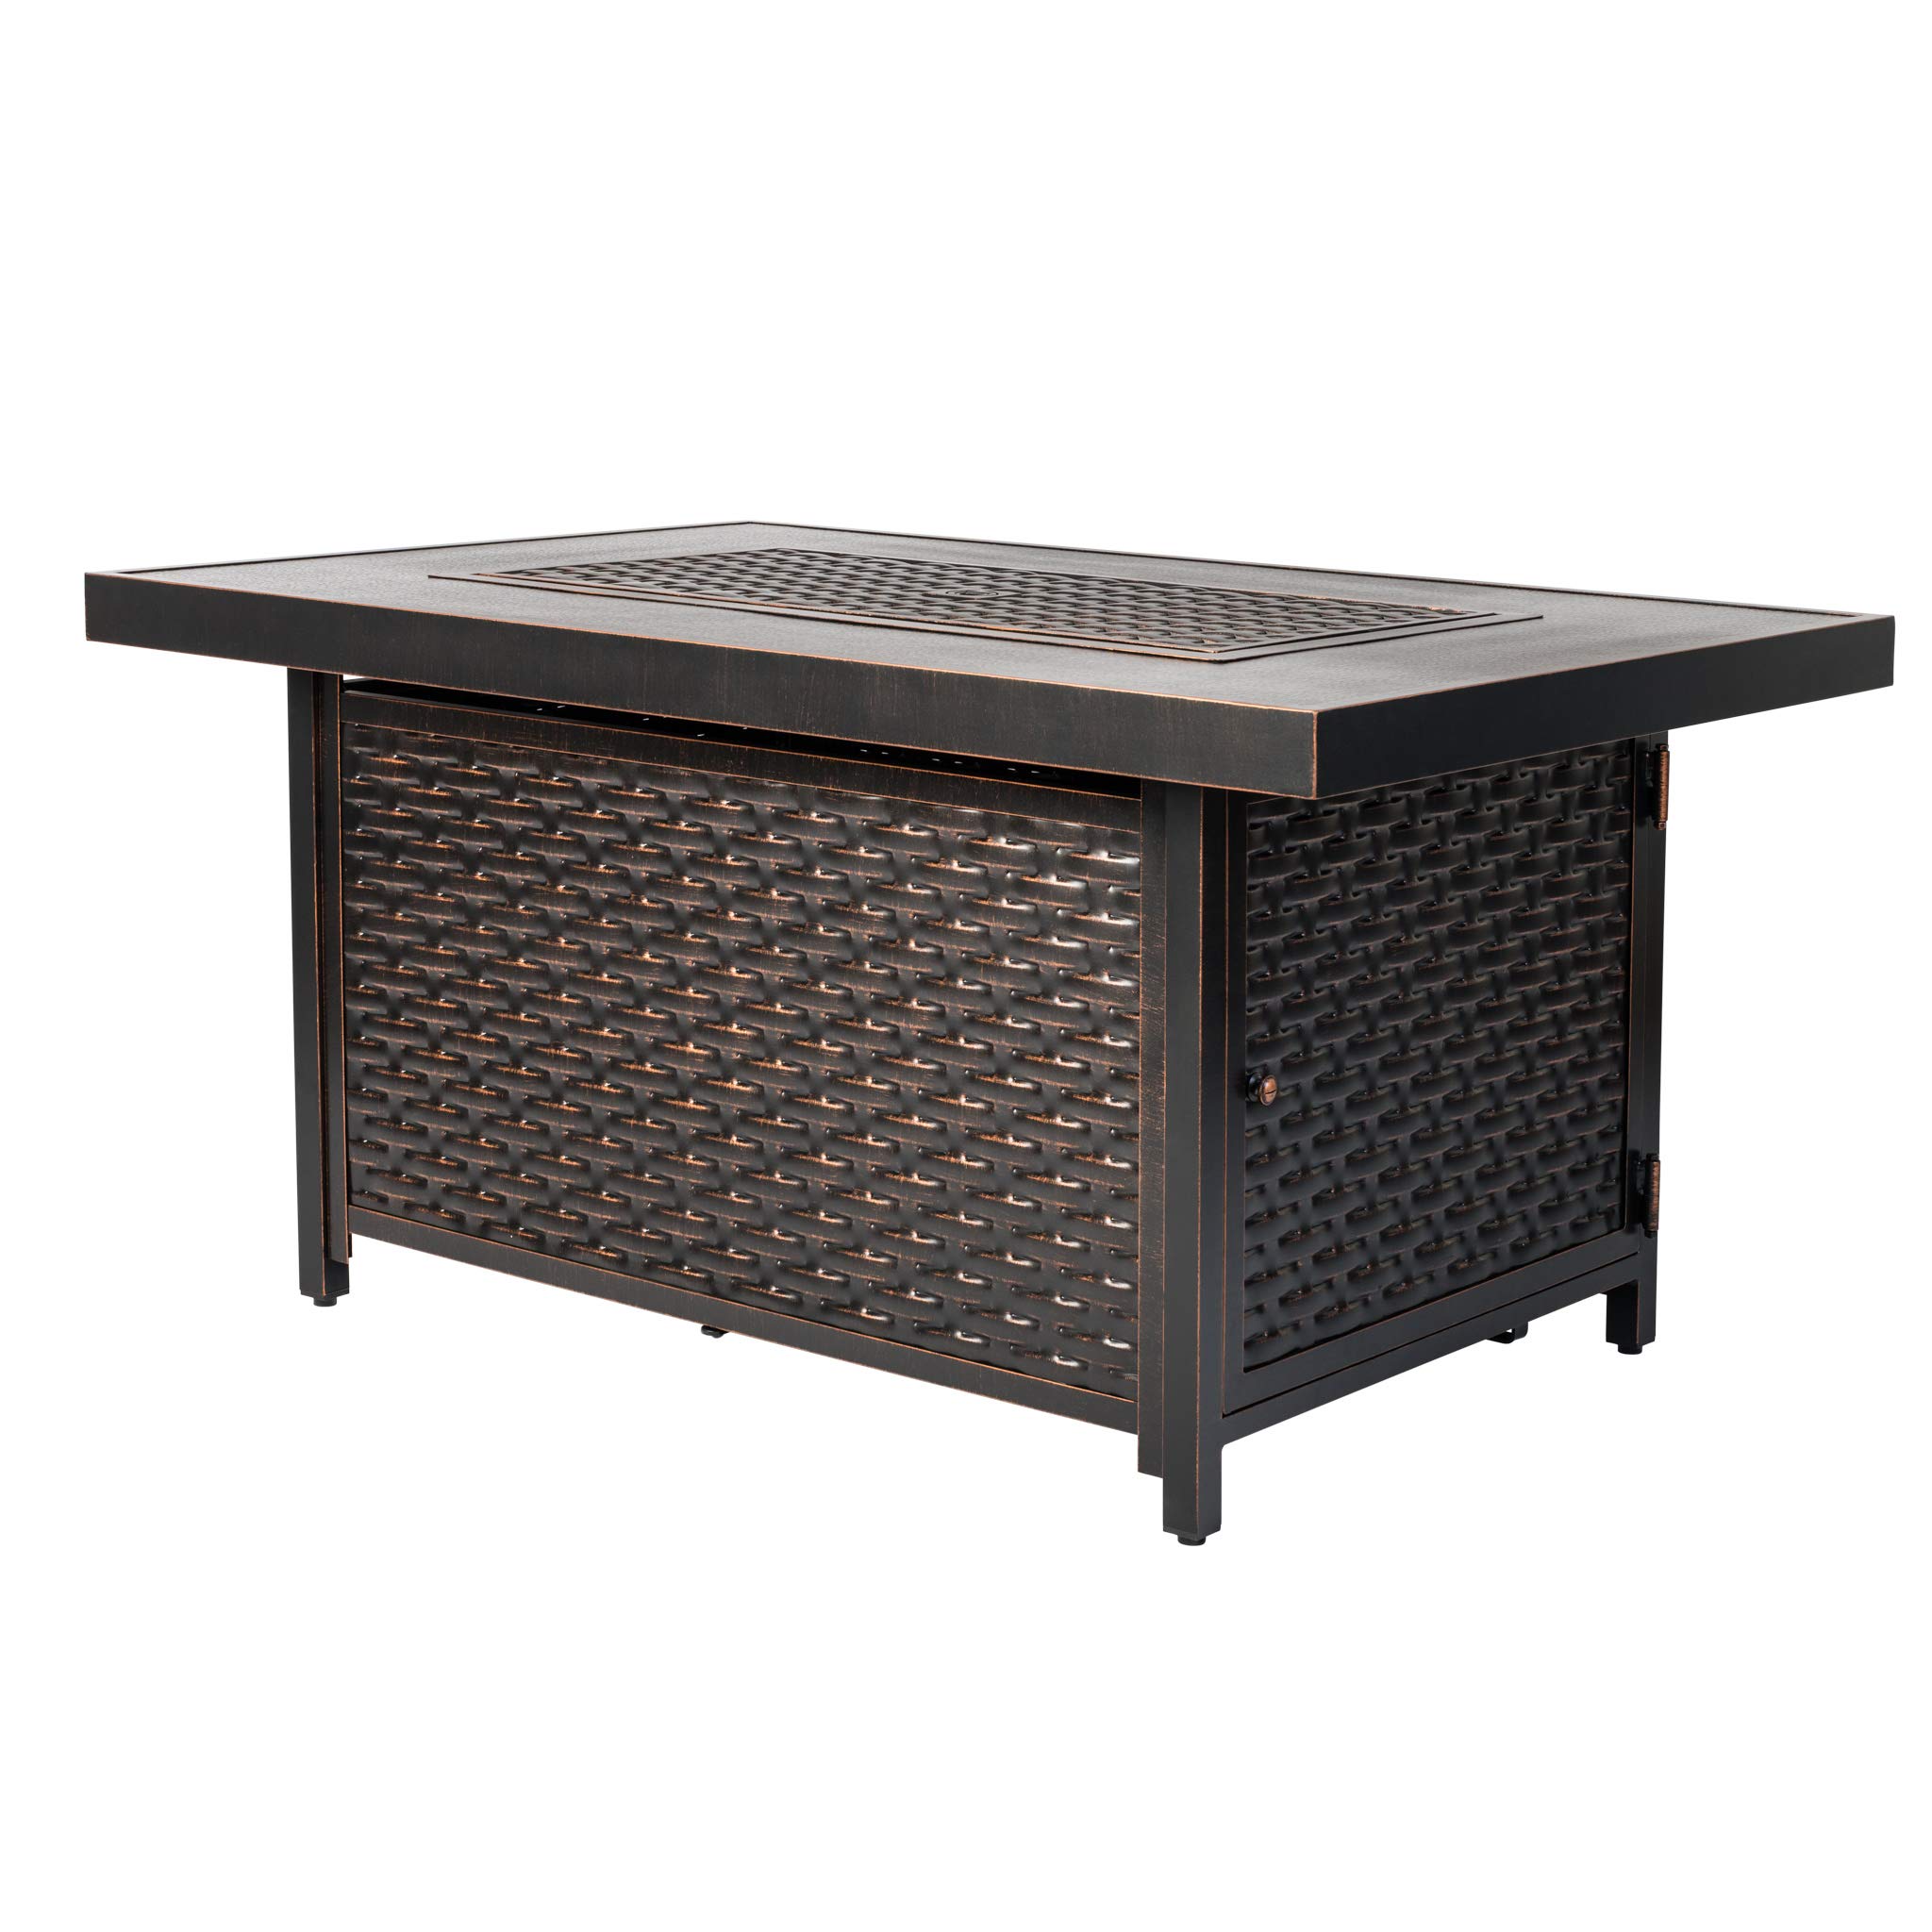
Figure 1: Fire Sense Baker Woven Aluminum Convertible Gas Fire Pit Table.
Safety Information
WARNING: For outdoor use only. Improper installation, adjustment, alteration, service or maintenance can cause injury or property damage. Read the installation, operating and maintenance instructions thoroughly before installing or servicing this equipment.
- Keep out of reach of children and pets.
- Maintain a safe distance from flammable materials.
- Use and store propane tanks properly.
- Always supervise the fire pit when in use.
- Never leave a burning fire pit unattended.
- Ensure adequate ventilation.
- Do not use gasoline or other flammable liquids or vapors in the vicinity of this or any other appliance.
- Do not store a spare liquid propane cylinder under or near this appliance.
Package Contents
Verify that all components are present before assembly:
- Baker 48" Rectangular Woven Aluminum Convertible Gas Fire Pit Table
- Clear Fire Glass
- Fire Bowl Lid with flush-mounted handle
- Nylon Cover
- Stainless Steel Burner
- Integrated Electronic Igniter
- Hose and Regulator Assembly
Setup and Assembly
Follow these general steps for setting up your fire pit. Refer to the detailed assembly diagram for specific part identification.
- Unpack Components: Carefully remove all parts from the packaging. Ensure no components are missing or damaged.
- Assemble Base: Follow the provided diagrams to assemble the main body and frame of the fire pit table.
- Install Burner: Secure the stainless steel burner into the designated opening on the table surface.
- Connect Propane Tank: Open the hinged door on the side of the fire pit to access the propane tank compartment. Place a standard 20lb LPG tank (not included) inside. Connect the hose and regulator assembly to the propane tank valve. Ensure all connections are tight and secure.
- Add Fire Glass: Distribute the clear fire glass evenly over the burner area. Do not cover the igniter or pilot light opening.
- Leak Test: Before first use, perform a leak test on all gas connections using a soapy water solution. Bubbles indicate a leak. Do not operate if a leak is detected.

Figure 2: Propane tank stored within the fire pit base.

Figure 3: Connecting the propane tank regulator.

Figure 4: Burner with clear fire glass in place.
Operating Instructions
- Prepare for Ignition: Ensure the fire bowl lid is removed. Open the valve on the propane tank.
- Ignite the Fire Pit: Locate the control panel, typically on the side of the fire pit. Push and turn the control knob to the 'LOW' position while simultaneously pressing and holding the electronic igniter button. Hold for a few seconds until the flame ignites. Release the igniter button once the flame is established.
- Adjust Flame: Rotate the control knob to adjust the flame height from 'LOW' to 'HIGH' as desired.
- Turn Off: To extinguish the flame, turn the control knob to the 'OFF' position. Close the valve on the propane tank when not in use.
- Convert to Table: Once the fire pit has completely cooled, place the fire bowl lid over the burner area to convert it into a functional patio table.

Figure 5: Electronic igniter and flame control knob.

Figure 6: Fire pit operating with a beautiful full flame.

Figure 7: Fire pit converted into a table with the lid in place.
Maintenance
Regular maintenance ensures the longevity and safe operation of your fire pit.
- Cleaning: Allow the fire pit to cool completely before cleaning. Wipe exterior surfaces with a soft, damp cloth. Do not use abrasive cleaners. Periodically clean the burner and fire glass to remove debris.
- Covering: Use the included nylon cover to protect the fire pit from weather elements when not in use.
- Storage: If storing for extended periods, disconnect the propane tank and store it in a well-ventilated outdoor area. Cover the fire pit.
- Inspection: Regularly inspect the hose and connections for any signs of wear, cuts, or leaks. Replace damaged parts immediately.

Figure 8: Fire pit protected with its nylon cover.
Troubleshooting
If you encounter issues, refer to the following common solutions:
- No Ignition: Check if the propane tank valve is fully open. Ensure the igniter battery (if applicable) is functional. Verify gas flow and check for blockages in the burner.
- Low Flame: Ensure the propane tank is not empty. Check for kinks in the gas hose or obstructions in the burner.
- Unusual Odor: Immediately turn off the gas supply at the tank. Evacuate the area and contact a qualified service technician.
Specifications
| Feature | Detail |
|---|---|
| Model Number | 62747 |
| Dimensions (L x W x H) | 48"D x 36"W x 23.9"H |
| Weight | 80 Pounds |
| Material | Aluminum, Metal |
| Finish Type | Antique Bronze Finish |
| Fuel Type | Liquefied Petroleum Gas (LPG) |
| BTU Output | 55,000 BTU |
| Ignition System | Integrated Electronic Igniter |
| Included Components | Fire Pit Table, Clear Fire Glass, Fire Bowl Lid, Nylon Cover |

Figure 9: Product dimensions.
Official Product Videos
Fire Sense Product Highlights
Video 1: An overview of Fire Sense outdoor heating products, including fire pits and patio heaters.
Fire Sense Product Video
Video 2: A brief demonstration of Fire Sense products, showcasing their design and functionality.
Warranty and Support
Manufacturer's Warranty: This product comes with a 1 Year Limited Manufacturer's Warranty.
For warranty claims, technical support, or replacement parts, please contact Fire Sense customer service. Refer to the contact information provided with your purchase or visit the official Fire Sense website.


