1. Product Overview
The AMT 1994 Ford F-150 Lightning Pickup 2T 1:25 Scale Model Kit offers enthusiasts the opportunity to build a detailed replica of the iconic 1994 Ford F-150 Lightning. This kit is designed for model builders with a skill level of 2, featuring over 100 parts and requiring paint and glue for assembly. It includes custom front and rear fascias, gleaming chrome Lightning wheels, and an expanded decal sheet for authentic detailing.

Image 1: Rendered view of the completed 1994 Ford F-150 Lightning Pickup model.
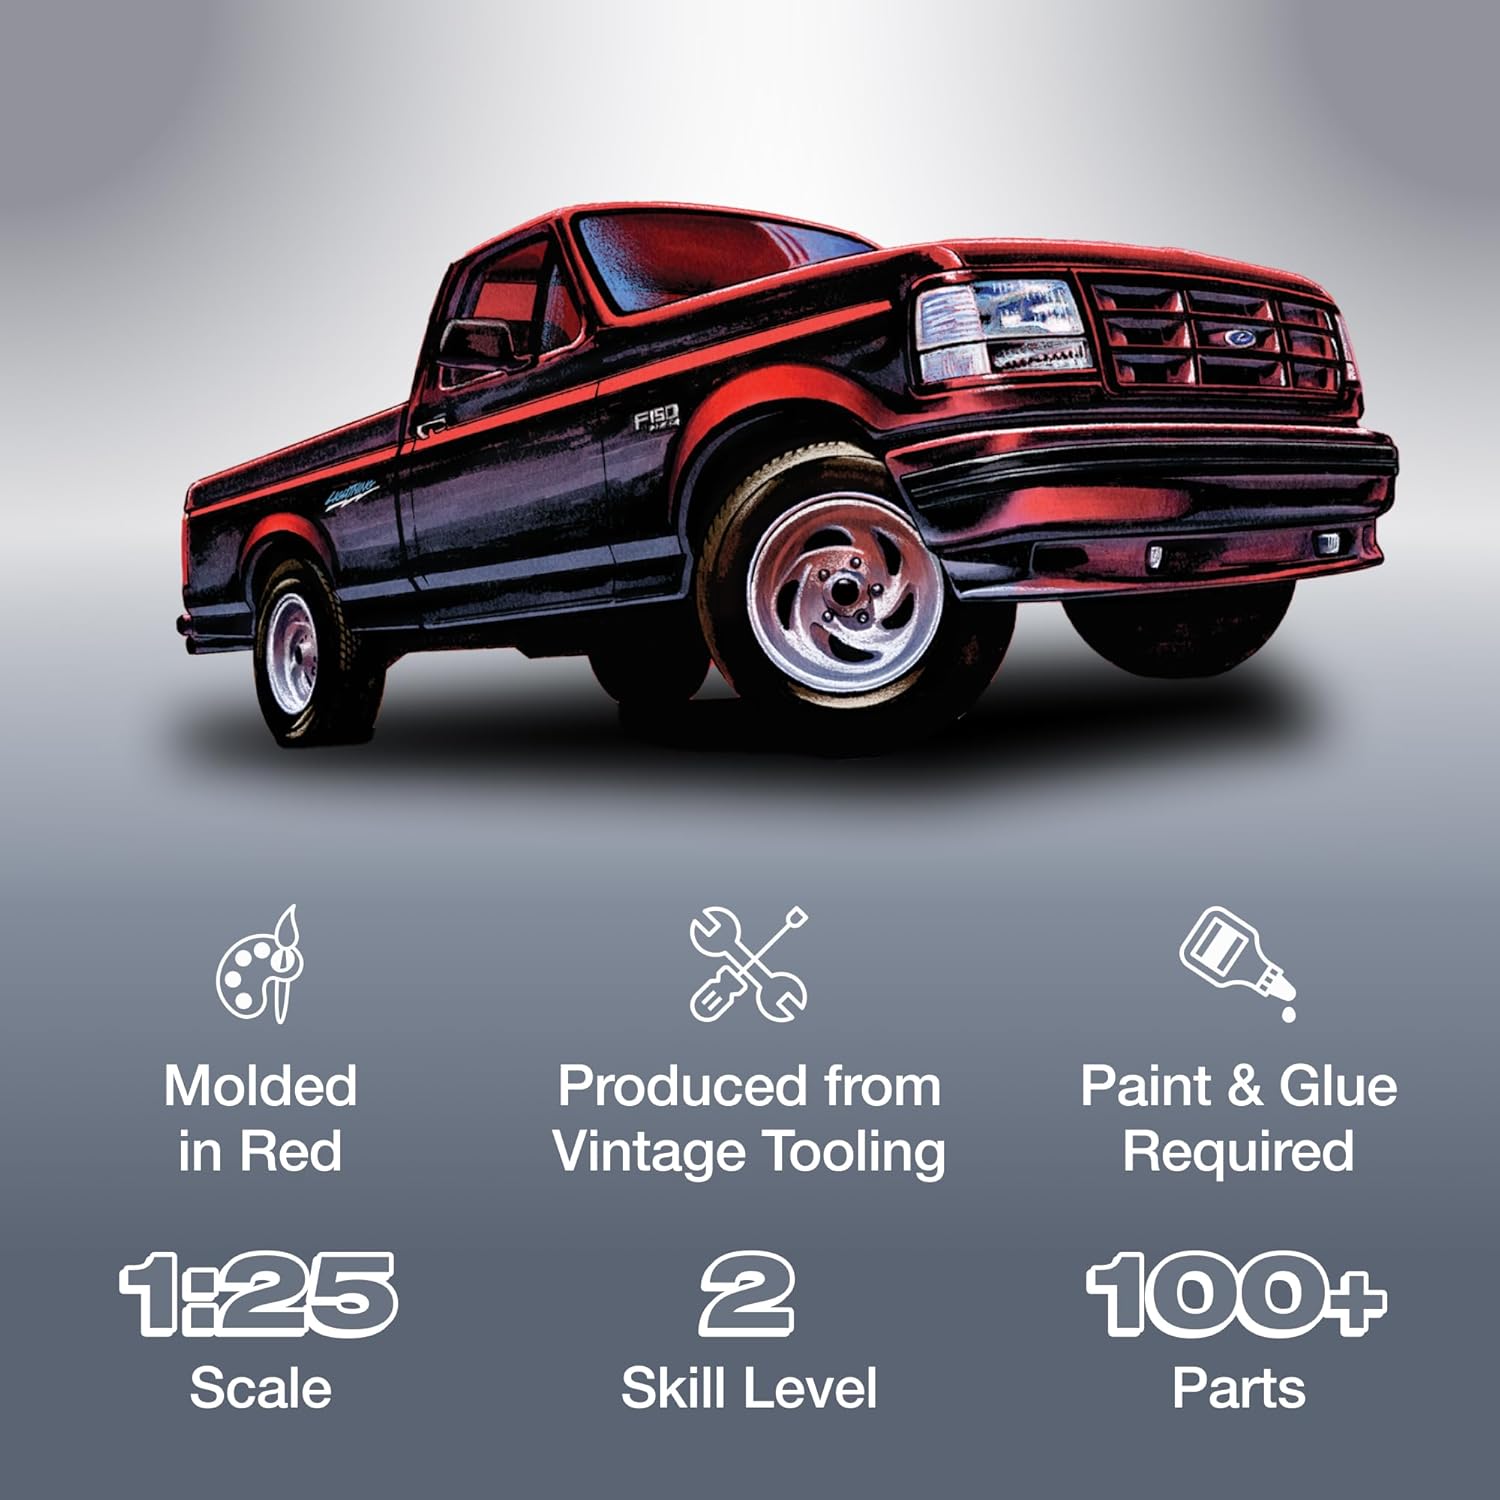
Image 2: Overview of kit characteristics: Molded in Red, Produced from Vintage Tooling, Paint & Glue Required, 1:25 Scale, Skill Level 2, 100+ Parts.

Image 3: Specific features of the model: Opening Hood, Custom Front and Rear Fascias, Gleaming Chrome Lightning Wheels, and Expanded Decal Sheet.
2. Safety Information
For External Use Only. This product contains small parts and requires the use of sharp tools, adhesives, and paints. Adult supervision is recommended, especially for users under the recommended age. Keep all components and chemicals out of reach of small children and pets. Ensure adequate ventilation when using paints and glues. Refer to the safety data sheets for all chemical products used during assembly.
3. What's in the Box
Your AMT 1994 Ford F-150 Lightning Pickup Model Kit includes:
- Product Manual
- Plastic model parts (molded in red)
- Chrome-plated parts
- Clear parts for windows
- Rubber tires
- Decal sheet
- Assembly instructions
4. Setup and Assembly
Before beginning assembly, ensure you have a clean, well-lit workspace and the necessary tools, including plastic cement, hobby knife, small files, sandpaper, and model paints. Carefully read through all instructions before starting.
4.1. Preparation
- Carefully remove all parts from the sprues using a hobby knife or sprue cutters.
- Clean any flash or mold lines from the parts using a hobby knife or fine-grit sandpaper.
- Test fit parts before applying glue to ensure proper alignment.
4.2. Main Assembly Steps
- Chassis and Engine Assembly: Begin by assembling the chassis frame. Attach suspension components and the engine block. The kit features an opening hood, so ensure engine components are securely fitted and detailed as desired.
- Interior Assembly: Assemble the dashboard, seats, and steering wheel. Paint interior components according to your preference or reference images.
- Body Assembly: Attach the custom front and rear fascias to the main body. Ensure all body panels align correctly.
- Painting: Apply primer, then paint the body and other components. Allow sufficient drying time between coats.
- Wheel and Tire Assembly: Mount the rubber tires onto the gleaming chrome Lightning wheels. Attach the wheel assemblies to the chassis.
- Final Details: Apply the expanded decal sheet for authentic markings and badging. Attach clear parts for windows and lights.
5. Operating and Display
This model kit is designed for static display. Once assembled, handle the model with care to prevent damage to delicate parts or paintwork. Avoid exposing the model to direct sunlight, extreme temperatures, or high humidity, as these can cause warping, fading, or decal degradation.
The opening hood feature allows for display of the detailed engine bay. Position the model on a stable, flat surface to prevent accidental falls.
6. Maintenance
To maintain the appearance of your model, periodically dust it gently with a soft, dry brush or a microfiber cloth. Avoid using harsh chemicals or abrasive cleaners, as these can damage the paint and plastic. For stubborn dust, a very lightly dampened cloth can be used, followed immediately by a dry cloth.
7. Troubleshooting
Common issues encountered during model kit assembly and their solutions:
- Parts not fitting: Ensure all flash and mold lines are removed. Lightly sand or file mating surfaces. Do not force parts; excessive pressure can cause breakage.
- Decals not adhering: Ensure the surface is clean and smooth. Use a decal setting solution to help the decal conform to irregular surfaces and adhere better.
- Paint issues (e.g., bubbling, uneven finish): Ensure surfaces are clean and dry before painting. Apply paint in thin, even coats, allowing adequate drying time between coats. Ensure proper ventilation and temperature.
- Missing parts: Double-check the sprues and packaging. If a critical part is genuinely missing, contact AMT customer support (see Section 9).
8. Specifications

Image 4: Assembled model dimensions: 7.5" Width, 3" Depth, 2.25" Height.

Image 5: Product packaging dimensions: 9.25" Width, 3.75" Depth, 6.5" Height.
| Feature | Detail |
|---|---|
| Product Dimensions | 1 x 1 x 1 inches (Assembled model dimensions are approximate and may vary) |
| Item Weight | 13 ounces |
| ASIN | B07L12PGWR |
| Item Model Number | AMT1110 |
| Manufacturer Recommended Age | 18 months - 3 years (Note: This age range is typically for toys, model kits usually require older users due to small parts and tools.) |
| Is Discontinued By Manufacturer | No |
| Release Date | July 20, 2017 |
| Manufacturer | AMT |
9. Warranty and Support
For any inquiries regarding missing parts, product defects, or general support, please contact AMT directly. While specific warranty details are not provided in this manual, AMT stands by the quality of its products.
You can find more information and contact details by visiting the official AMT store on Amazon: AMT Store


