1. Introduction
This manual provides essential instructions for the safe and effective operation, maintenance, and troubleshooting of your Makita DLW140Z Cordless Cut-Off Saw. The DLW140Z is a powerful 36V tool, powered by two 18V Li-ion LXT slide-type batteries (not included), designed for precise cutting of various materials, particularly steel. Please read this manual thoroughly before using the tool to ensure proper handling and to prevent injury or damage.
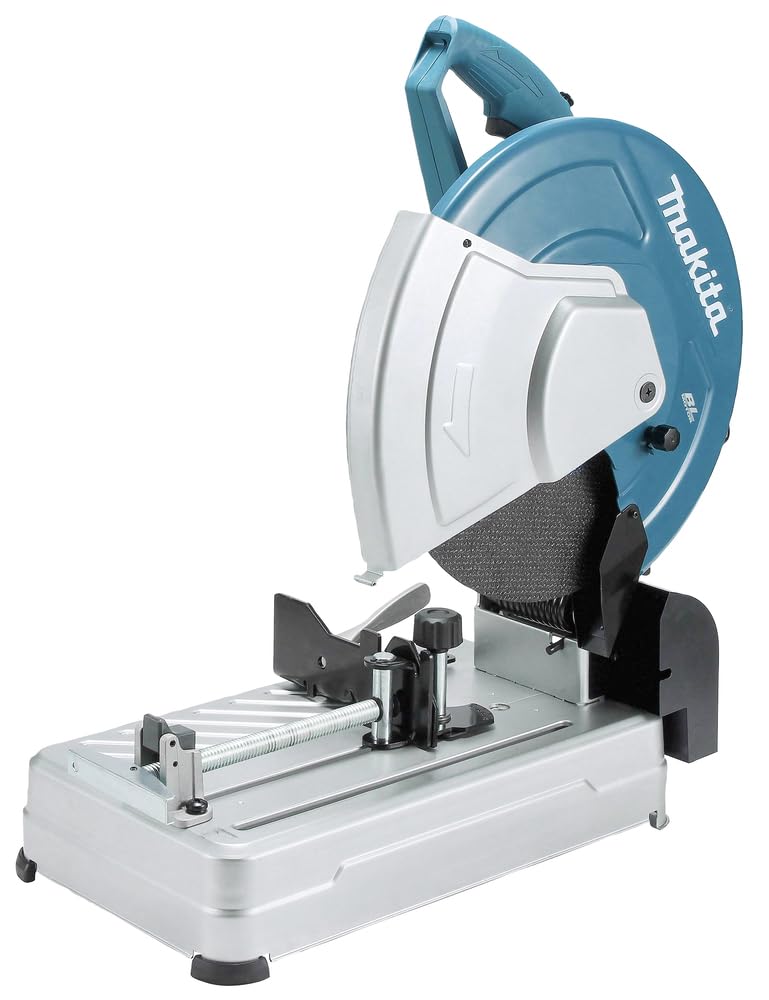
Figure 1: Makita DLW140Z Cordless Cut-Off Saw, front view.
2. General Safety Information
Always observe basic safety precautions to reduce the risk of fire, electric shock, and personal injury. Keep this instruction manual for future reference.
2.1 Work Area Safety
- Keep the work area clean and well-lit. Cluttered or dark areas invite accidents.
- Do not operate power tools in explosive atmospheres, such as in the presence of flammable liquids, gases, or dust. Power tools create sparks which may ignite the dust or fumes.
- Keep children and bystanders away while operating a power tool. Distractions can cause you to lose control.
2.2 Electrical Safety
- Power tool plugs must match the outlet. Never modify the plug in any way.
- Avoid body contact with earthed or grounded surfaces such as pipes, radiators, ranges, and refrigerators. There is an increased risk of electric shock if your body is earthed or grounded.
- Do not expose power tools to rain or wet conditions. Water entering a power tool will increase the risk of electric shock.
2.3 Personal Safety
- Always wear eye protection. Use safety glasses, goggles, or a face shield.
- Wear appropriate hearing protection.
- Dress properly. Do not wear loose clothing or jewelry. Keep your hair, clothing, and gloves away from moving parts.
- Stay alert, watch what you are doing, and use common sense when operating a power tool.
- Do not overreach. Keep proper footing and balance at all times.
2.4 Power Tool Use and Care
- Do not force the power tool. Use the correct power tool for your application.
- Disconnect the battery pack from the power tool before making any adjustments, changing accessories, or storing power tools.
- Store idle power tools out of the reach of children and do not allow persons unfamiliar with the power tool or these instructions to operate the power tool.
- Maintain power tools. Check for misalignment or binding of moving parts, breakage of parts, and any other condition that may affect the power tool’s operation.
3. Product Components
Familiarize yourself with the key components of your Makita DLW140Z cut-off saw for safe and efficient operation.

Figure 2: Front view of the DLW140Z, highlighting the blade guard, cutting wheel, and sturdy base.

Figure 3: Side view of the DLW140Z, illustrating the ergonomic handle and motor housing.

Figure 4: Detail of the tool's base, featuring the quick-release vice for securing workpieces.

Figure 5: Close-up of the main handle, showing the trigger switch and safety lock-off button.
4. Setup
4.1 Battery Installation
The DLW140Z requires two 18V Li-ion LXT slide-type batteries for operation. Ensure batteries are fully charged before use. Note: Batteries and charger are not included with the tool.
- Align the battery with the battery port on the tool.
- Slide the battery into the port until it clicks into place. Ensure both batteries are securely installed.
- To remove, press the release button on the battery and slide it out.

Figure 6: The DLW140Z with two 18V batteries correctly inserted into their respective slots.
4.2 Abrasive Wheel Installation/Change
The DLW140Z features a tool-less wheel change mechanism.
- Ensure the tool is switched off and batteries are removed.
- Locate the wheel locking mechanism.
- Follow the instructions on the tool for releasing the current wheel.
- Install the new 355mm abrasive wheel, ensuring it is properly seated and secured. The maximum wheel thickness is 3.0mm with a 25.4mm bore.
4.3 Guide Plate Adjustment
The guide plate can be adjusted without tools for various cutting angles (up to 45 degrees).
- Loosen the guide plate adjustment lever.
- Slide the guide plate to the desired angle or position.
- Securely tighten the adjustment lever.
4.4 Securing the Saw Head
Use the pin lock for the saw head to secure it for safe storage and transport.
5. Operating Instructions
5.1 Powering On/Off
- To start the tool, press the lock-off button and then pull the trigger switch.
- To stop the tool, release the trigger switch. The electric brake will quickly stop the blade rotation.
5.2 Securing the Workpiece
Always secure the workpiece firmly using the quick-release vice before cutting to prevent movement and ensure accuracy.
5.3 Cutting Procedure
- Ensure the workpiece is properly secured and the cutting angle is set.
- Lower the cutting wheel slowly into the workpiece, applying steady, even pressure.
- Allow the tool to reach full speed before engaging the material.
- Maintain a firm grip on the handle throughout the cutting process.
- After the cut is complete, release the trigger and allow the blade to stop completely before raising the saw head.

Figure 7: Proper operation of the DLW140Z, demonstrating safe cutting practices with appropriate personal protective equipment.
5.4 Load Status Indicator
The DLW140Z features a load status indicator. As the load on the motor increases, the number of illuminated LEDs will increase. If the motor is operated with excessive load, all LEDs on the load status indicator will blink, indicating that the tool is being overworked. Reduce pressure or adjust your cutting technique if this occurs.
6. Maintenance
Regular maintenance ensures the longevity and safe operation of your tool.
6.1 Cleaning
- Always remove batteries before cleaning.
- Clean the tool regularly with a soft cloth to remove dust and debris.
- Keep ventilation openings clear to prevent overheating.
6.2 Abrasive Wheel Inspection
- Inspect the abrasive wheel before each use for cracks, chips, or excessive wear. Replace damaged wheels immediately.
- Ensure the wheel is securely mounted.
6.3 General Inspection
- Check all screws and fasteners for tightness.
- Inspect the power cord (if applicable, though this is a cordless model, check battery contacts) for damage.
- Ensure all moving parts operate smoothly.
7. Troubleshooting
7.1 Tool Does Not Start
- Possible Cause: Batteries not inserted correctly or not charged.
Solution: Ensure both 18V batteries are fully charged and securely clicked into place. - Possible Cause: Lock-off button not pressed.
Solution: Press the lock-off button before pulling the trigger switch.
7.2 Load Status Indicator Blinks
- Possible Cause: Excessive load on the motor.
Solution: Reduce the pressure applied during cutting. Allow the tool to work at its own pace.
7.3 Poor Cutting Performance
- Possible Cause: Worn or damaged abrasive wheel.
Solution: Inspect the wheel and replace if necessary. - Possible Cause: Workpiece not securely clamped.
Solution: Ensure the workpiece is firmly held by the quick-release vice.
8. Specifications
| Feature | Specification |
|---|---|
| Model Number | DLW140Z |
| Power Source | Battery Powered (Twin 18V Li-ion LXT) |
| Voltage | 36 Volts |
| Wattage | 1300 watts |
| Speed | 3800 RPM |
| Wheel Diameter | 355mm (14 inches) |
| Bore Diameter | 25.4mm |
| Maximum Wheel Thickness | 3.0mm |
| Cutting Angle | Up to 45 Degrees |
| Blade Material | Aluminum Oxide (Abrasive wheel) |
| Item Weight | 32.9 Pounds |
| Item Dimensions (L x W x H) | 22.05"L x 14.17"W x 18.19"H |
| Included Components | 1 x Abrasive wheel, 1 x Makita DLW140Z (Batteries and Charger Not Included) |
9. Warranty Information
Your Makita DLW140Z comes with a 1-year manufacturer warranty. This warranty can be extended by a further 2 years when the product is registered within 30 days of purchase.
Important Warranty Conditions:
- The guarantee does not apply where non-genuine or non-recommended parts or accessories are fitted to the tool.
- The use of non-genuine or incompatible batteries and chargers with Makita Tools will invalidate the Makita guarantee for our tools.
Please retain your proof of purchase for warranty claims.
10. Support
For further assistance, technical support, or to inquire about genuine Makita parts and accessories, please visit the official Makita website or contact your local authorized Makita service center. Always refer to the model number DLW140Z when seeking support.
You can find more information and contact details on the Makita Store on Amazon or the official Makita corporate website.


