Introduction
This manual provides essential information for the safe and efficient operation, maintenance, and troubleshooting of your Yard Force 130 Bar 1800W High-Pressure Washer, model EW U13A. Please read these instructions carefully before using the appliance and retain them for future reference. This high-pressure washer is designed for heavy-duty cleaning tasks, including patios, driveways, cars, caravans, and boats.

Image: The Yard Force 130 Bar 1800W High-Pressure Washer, model EW U13A, shown in its upright position.
Safety Information
Always observe basic safety precautions when using electrical appliances to reduce the risk of fire, electric shock, and personal injury.
- Read all instructions: Familiarize yourself with the controls and proper use of the pressure washer.
- Wear appropriate safety gear: Always wear eye protection, hearing protection, and protective clothing.
- Electrical safety: Ensure the power supply matches the rating plate. Use a residual current device (RCD) for added protection. Do not operate with damaged cords or plugs.
- Water supply: Connect the pressure washer to a cold water supply only. Ensure the water inlet filter is clean and correctly fitted.
- High pressure hazard: The high-pressure jet can be dangerous if misused. Never direct the jet at people, pets, electrical equipment, or the appliance itself.
- Keep children and bystanders away: Do not allow children or untrained persons to operate the pressure washer.
- Stable surface: Operate the pressure washer on a stable, level surface to prevent tipping.
- Chemicals: Use only detergents recommended for pressure washers. Follow detergent manufacturer's instructions.
Package Contents
Verify that all components are present and undamaged upon unpacking. If any parts are missing or damaged, contact customer support.
- Yard Force 130 Bar 1800W High-Pressure Washer unit
- 0.7L Super Foamer (detergent tank)
- Power Gun
- Lance
- Turbo Nozzle
- Vario Nozzle
- 6-meter High-Pressure Hose
- 5-meter Power Cable

Image: The Yard Force pressure washer unit displayed with its included accessories: power gun, lance, turbo nozzle, vario nozzle, and foam sprayer.
Setup
Follow these steps to prepare your pressure washer for operation.
- Assemble the Handle: Extend the aluminum handle to its operating position. Ensure it locks securely.
- Connect the High-Pressure Hose: Attach one end of the 6-meter high-pressure hose to the outlet on the front of the pressure washer unit. Connect the other end to the power gun. Ensure all connections are tight to prevent leaks.
- Attach the Lance and Nozzle: Connect the lance to the power gun. Select the desired nozzle (Vario or Turbo) and attach it to the end of the lance. For detergent application, attach the 0.7L Super Foamer.
- Connect Water Supply: Attach a standard garden hose (not included) to the water inlet on the pressure washer. Ensure the water inlet filter is clean. Connect the other end of the garden hose to a cold water tap. Turn on the water tap fully.
- Electrical Connection: Plug the 5-meter power cable into a suitable grounded electrical outlet. Ensure the outlet is protected by an RCD.
- Prime the Pump: Before switching on the motor, squeeze the trigger on the power gun to allow water to flow through the system and expel any air. Continue until a steady stream of water emerges from the nozzle. This prevents damage to the pump.

Image: Detailed view of the water inlet and high-pressure hose outlet connections on the front of the pressure washer unit.

Image: A hand demonstrating the quick-connect mechanism for attaching the high-pressure hose to the power gun.
Operating Instructions
Proper operation ensures effective cleaning and extends the life of your appliance.
- Starting the Unit: After priming the pump, switch the pressure washer to the 'ON' position. The motor will start.
- Using the Power Gun: Hold the power gun firmly with both hands. Squeeze the trigger to begin spraying. Release the trigger to stop the water flow. The motor will temporarily shut off when the trigger is released and restart when squeezed again.
- Nozzle Selection:
- Vario Nozzle: Provides adjustable spray patterns from a concentrated jet to a wide fan spray. Rotate the nozzle head to change the pattern. Suitable for general cleaning and rinsing.
- Turbo Nozzle: Delivers a rotating pencil jet for maximum cleaning power on stubborn dirt. Use with caution on delicate surfaces.
- Detergent Application (0.7L Super Foamer): Fill the Super Foamer with appropriate pressure washer detergent. Attach it to the lance. The pressure washer will draw detergent and mix it with water at low pressure. Apply detergent to the surface, allow it to soak as per detergent instructions, then rinse with clean water using a Vario or Turbo nozzle.
- Cleaning Techniques: Always start cleaning from a distance and move closer to the surface as needed. Maintain a consistent distance and angle for even cleaning. Avoid spraying directly into electrical components or sensitive areas.
- Shutting Down:
- Switch the pressure washer to the 'OFF' position.
- Turn off the water tap.
- Squeeze the trigger on the power gun to release any remaining pressure in the system.
- Disconnect the power cable from the outlet.
- Disconnect the garden hose and high-pressure hose.

Image: A person using the pressure washer to clean a car, demonstrating a common application.
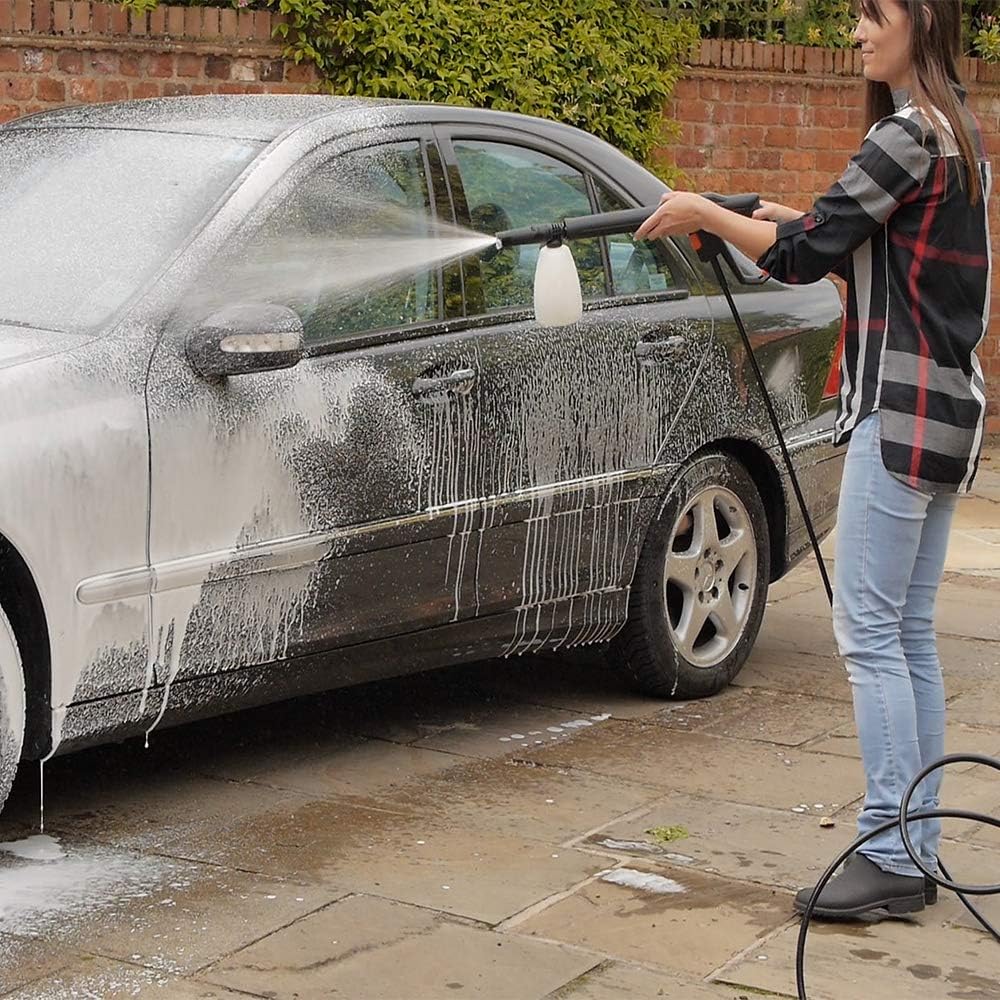
Image: A person applying cleaning foam to a car using the integrated foam sprayer attachment.
Maintenance
Regular maintenance ensures optimal performance and longevity of your pressure washer.
- Clean Nozzles: Periodically check nozzles for blockages. Use the included nozzle cleaning tool to clear any debris.
- Water Inlet Filter: Regularly inspect and clean the water inlet filter to prevent debris from entering the pump.
- Drain Water: After each use, especially before storage, ensure all water is drained from the pump and hoses to prevent freezing damage. Run the pump for a few seconds with the water supply disconnected and the trigger squeezed until no more water comes out.
- Storage: Store the pressure washer in a dry, frost-free environment. Coil the high-pressure hose and power cable neatly. Utilize the onboard storage for the gun, lance, and nozzles.

Image: Rear view of the pressure washer, illustrating its compact design with integrated storage for the hose, cable, and accessories.
Troubleshooting
Refer to this section for common issues and their solutions.
| Problem | Possible Cause | Solution |
|---|---|---|
| Motor does not start | No power supply; tripped circuit breaker; faulty switch | Check power connection; reset circuit breaker; contact service |
| No pressure or low pressure | Insufficient water supply; air in pump; clogged nozzle; kinked hose | Ensure water tap is fully open; prime pump; clean nozzle; straighten hose |
| Water leaks | Loose connections; damaged O-rings | Tighten connections; replace O-rings |
| Motor stops during operation | Overheating; thermal overload activated | Allow unit to cool down; ensure proper ventilation |
Specifications
Technical data for the Yard Force 130 Bar 1800W High-Pressure Washer EW U13A.
| Specification | Value |
|---|---|
| Model Number | EW U13A |
| Power Source | Corded Electric |
| Motor Power | 1800W |
| Maximum Pressure | 130 Bars |
| Maximum Flow Rate | 430 Liters Per Hour |
| Hose Length | 6 Meters |
| Power Cable Length | 5 Meters |
| Detergent Tank Volume | 0.7 Liters |
| Item Weight | 10 Kilograms |
| Product Dimensions (L x W x H) | 32L x 28W x 54H centimetres |
Warranty and Support
Your Yard Force 130 Bar 1800W High-Pressure Washer EW U13A comes with a manufacturer's warranty.
- Warranty Period: Yard Force offers a 2+1 year manufacturer's warranty. Please refer to your purchase documentation for specific terms and conditions.
- Spare Part Availability: EU spare part availability duration is 5 years.
- Customer Support: For technical assistance, warranty claims, or spare parts, please contact Yard Force customer service. Refer to the contact information provided with your product packaging or visit the official Yard Force website.


