1. Introduction
This manual provides essential information for the proper setup, operation, and maintenance of your Eyeclops Digital Microscope & Camera. This device allows you to magnify objects up to 800 times, capture images, and record videos, making it suitable for exploring the microscopic world both indoors and outdoors.
What's in the Box:
- 1 EyeClops Digital Microscope & Camera with built-in color screen
- 1 USB Cable
- 1 512MB MicroSD Card
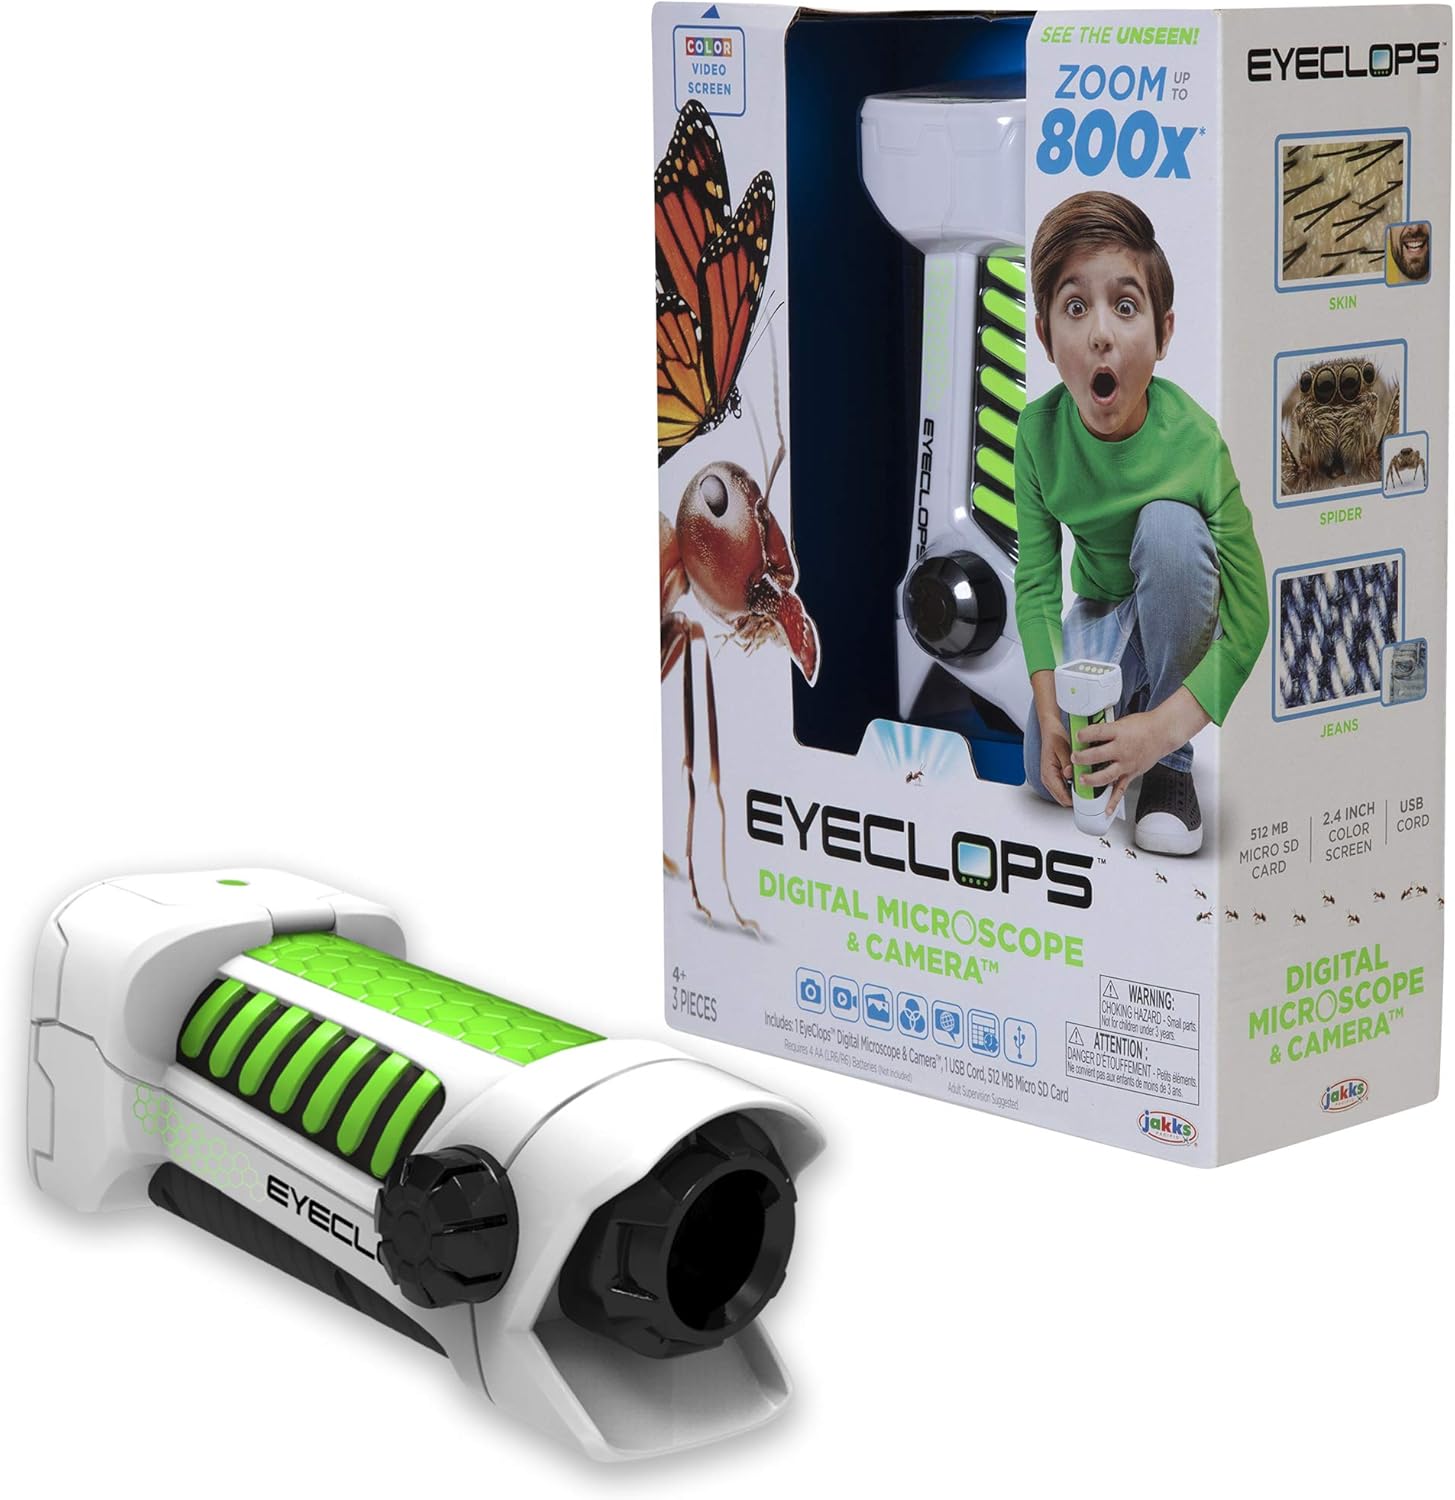
Image 1.1: The Eyeclops Digital Microscope & Camera with its retail packaging. This image displays the device alongside its box, highlighting its compact design and the included accessories like the MicroSD card and USB cable.
2. Safety Information
Please read and understand the following safety precautions before using the device:
- Choking Hazard: This product contains small parts and is not suitable for children under 3 years of age. Adult supervision is recommended for all users, especially younger children.
- Battery Safety: Use only the specified battery type (4 AA batteries). Ensure correct polarity when inserting batteries. Do not mix old and new batteries, or different types of batteries. Remove batteries if the device will not be used for an extended period.
- Environmental Conditions: Avoid exposing the device to extreme temperatures, direct sunlight, or moisture.
3. Setup
3.1 Battery Installation
- Locate the battery compartment cover on the device.
- Use a small screwdriver to open the battery compartment.
- Insert 4 AA batteries, ensuring the correct positive (+) and negative (-) polarity as indicated inside the compartment.
- Replace the battery compartment cover and secure it with the screw.
3.2 MicroSD Card Insertion
- Locate the MicroSD card slot on the side of the device.
- Gently insert the included 512MB MicroSD card into the slot until it clicks into place. Ensure the card is oriented correctly.
- To remove the card, gently push it inward until it springs out.
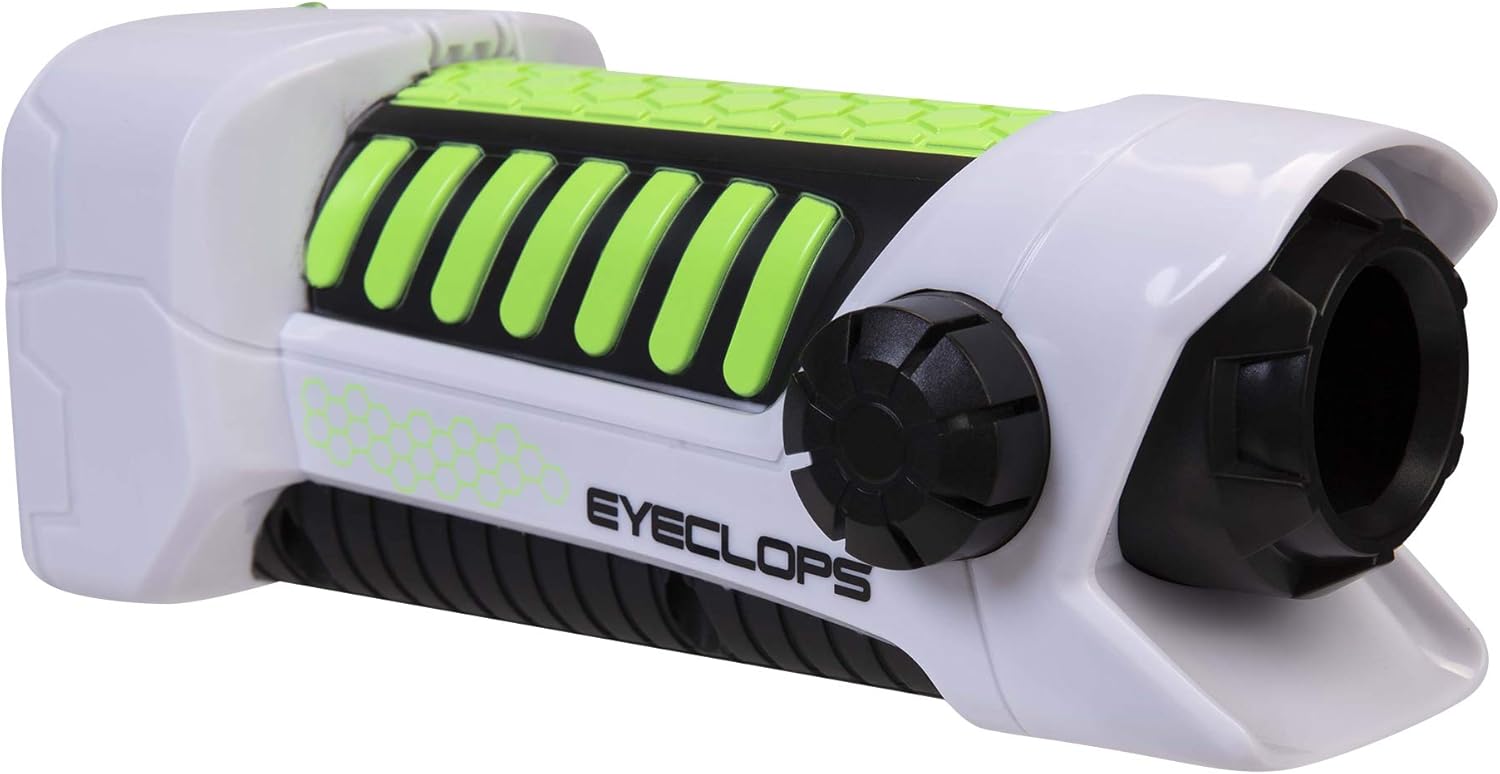
Image 3.1: A side view of the Eyeclops Digital Microscope, illustrating the general shape and location of external features such as the focus knob and lens. This view helps in identifying the MicroSD card slot and battery compartment.
4. Operating Instructions
4.1 Powering On/Off
- To power on the device, press and hold the Power button (usually located near the screen or grip).
- To power off, press and hold the Power button again until the screen turns off.
4.2 Focusing and Zoom
- Point the lens of the microscope at the object you wish to observe.
- Adjust the Focus Knob (typically located on the side of the device) until the image on the 2.4-inch color screen appears clear.
- The device offers up to 800x magnification. The zoom level can be adjusted using dedicated zoom buttons (often marked with '+' and '-' symbols) or by moving the device closer to or further from the object.
4.3 Taking Pictures and Recording Video
- Once focused, press the Camera Button (often indicated by a camera icon) to capture a still image.
- To record video, press the Video Button (often indicated by a video camera icon). Press it again to stop recording.
- All captured images and videos are saved to the inserted MicroSD card.
4.4 Using as a Regular Camera
The Eyeclops Digital Microscope can also function as a regular camera. To use this feature, turn off the zoom function or adjust the focus for standard distance photography. This allows for capturing broader scenes or objects without extreme magnification.
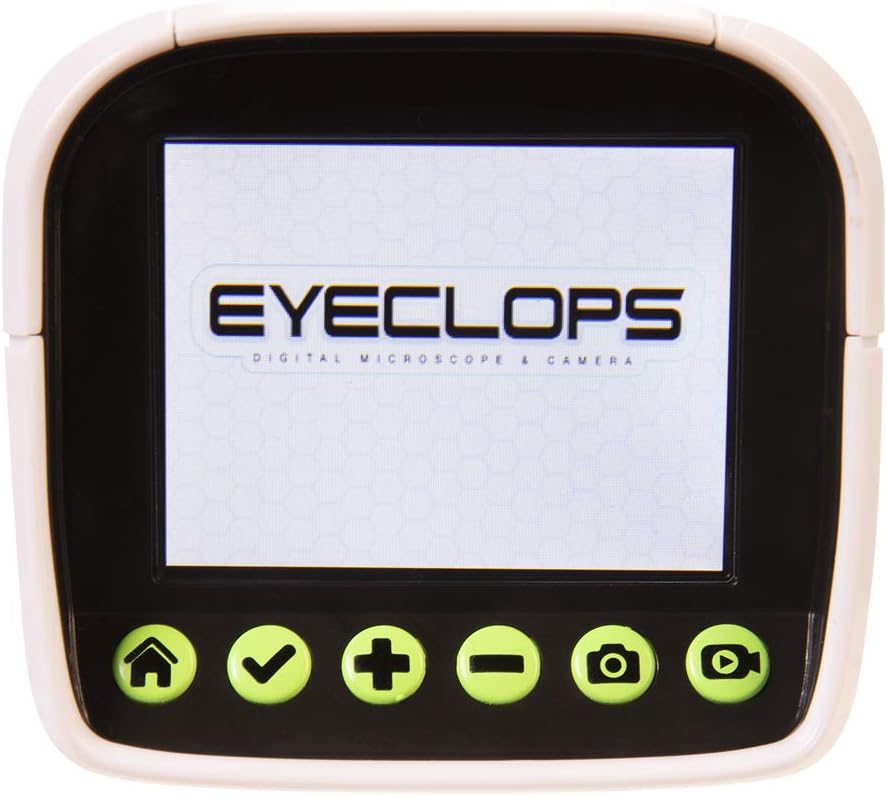
Image 4.1: A detailed view of the Eyeclops Digital Microscope's 2.4-inch color screen and its control buttons. The buttons typically include Home, Select/Confirm, Zoom In (+), Zoom Out (-), Camera, and Video functions.

Image 4.2: A child actively using the Eyeclops Digital Microscope to observe a small object, demonstrating the handheld operation and the visual engagement with the magnified view.
5. Data Transfer
5.1 Transferring Files via USB
- Connect the Eyeclops Digital Microscope to your Windows PC or Mac using the provided USB cable.
- The device should appear as a removable storage device on your computer.
- Navigate to the device's storage or the MicroSD card folder to access your pictures and videos.
- Copy the desired files to your computer.
5.2 Transferring Files via MicroSD Card Reader
Alternatively, you can remove the MicroSD card from the microscope and insert it into a compatible card reader connected to your computer to transfer files.
6. Maintenance
- Cleaning: Use a soft, dry cloth to clean the exterior of the device. For the lens and screen, use a specialized lens cleaning cloth and solution to avoid scratches. Do not use abrasive cleaners or solvents.
- Storage: Store the microscope in a cool, dry place away from direct sunlight and extreme temperatures. Remove batteries if storing for extended periods to prevent leakage.
- Lens Protection: The lens is designed to be slightly inset to prevent accidental touching. Avoid poking or scratching the lens.
7. Troubleshooting
- Device not turning on:
- Check if the batteries are inserted correctly with the right polarity.
- Replace with fresh AA batteries.
- Blurry images/difficulty focusing:
- Ensure you are adjusting the Focus Knob slowly and precisely.
- Maintain a steady hand or place the object on a stable surface to minimize movement during observation or capture.
- Clean the lens if it appears smudged or dirty.
- Cannot transfer files to computer:
- Ensure the USB cable is securely connected to both the microscope and the computer.
- Try a different USB port on your computer.
- Verify that the MicroSD card is properly inserted into the microscope.
- If issues persist, try using an external MicroSD card reader.
- MicroSD card error:
- Ensure the card is inserted correctly.
- Try reformatting the card (this will erase all data, so back up first).
- If the problem continues, the card may be faulty and require replacement.
8. Specifications
| Feature | Specification |
|---|---|
| Model Number | 652331 |
| Magnification Maximum | 800x |
| Built-in Screen | 2.4-inch Color Screen |
| Storage | 512MB MicroSD Card (included) |
| Connectivity | USB |
| Power Source | 4 AA Batteries (not included) |
| Product Dimensions | 9 x 3.5 x 11 inches (22.86 x 8.89 x 27.94 cm) |
| Item Weight | 14.8 ounces (420 grams) |
| Recommended Age | 6 - 9 years |
| Manufacturer | Jakks Pacific Inc. |
9. Warranty Information
For detailed warranty information, please refer to the documentation included with your product at the time of purchase or visit the official Eyeclops or Jakks Pacific Inc. website. Warranty terms typically cover manufacturing defects for a specified period from the date of purchase.
10. Support
If you encounter issues not covered in this manual or require further assistance, please contact the manufacturer's customer support. Contact information can usually be found on the product packaging or the official Jakks Pacific Inc. website.
