
1. Introduction
Thank you for choosing the TOPGREENER TGDMDS-120 Dimmer Switch. This manual provides essential information for the safe installation, operation, and maintenance of your new dimmer switch. Please read these instructions thoroughly before beginning installation and retain them for future reference.
2. Safety Information
WARNING: To avoid fire, shock, or death; turn off power at the circuit breaker or fuse box and test that the power is off before wiring. Installation should be performed by a qualified electrician or a person with a thorough understanding of electrical wiring and safety procedures. Use only copper wire with this device. Do not use with aluminum wire.
- Always disconnect power at the circuit breaker before installing or servicing the dimmer switch.
- Ensure all wire connections are secure and properly insulated.
- Do not exceed the maximum wattage ratings for LED (150W) or Incandescent/Halogen (600W) bulbs.
- This dimmer is designed for use with 120V AC, 60Hz circuits only.
- A wall plate is sold separately and is required for safe operation and aesthetic finish.
3. Product Features
The TOPGREENER TGDMDS-120 Dimmer Switch offers advanced lighting control with user-friendly features:
- No Neutral Wire Required: Simplifies installation in older homes without a neutral wire.
- Single Pole or 3-Way Application: Can control a single light fixture from one location (single pole) or two locations (3-way).
- Wide Compatibility: Suitable for dimmable LED bulbs up to 150W and incandescent/halogen bulbs up to 600W.
- Adjustable Dimming: Features a discrete slide dimmer for precise brightness control and a fine-tuning dial to achieve the lowest light level without flickering.
- Paddle Switch: Toggles the light on/off without altering the preset dimming level.

Image: Key features of the TOPGREENER TGDMDS-120 Dimmer Switch, highlighting the paddle switch, fine-tuning dial, and slide dimmer for intuitive control.
4. Installation Instructions
Before you begin, ensure the power is OFF at the circuit breaker. This dimmer switch is designed for easy installation, even in homes without a neutral wire.
- Turn Off Power: Locate your circuit breaker panel and turn off the power to the switch box where you will be installing the dimmer. Verify power is off using a voltage tester.
- Remove Existing Switch: Carefully remove the wall plate and unscrew the existing switch from the wall box. Disconnect the wires from the old switch, noting their connections.
- Wire the Dimmer Switch:
- Connect the green ground wire from the wall box to the green ground screw on the dimmer.
- For Single Pole installation: Connect the two black wires from the wall box to the two black wires on the dimmer.
- For 3-Way installation: Connect one black wire from the wall box (common/line) to one black wire on the dimmer. Connect the two red traveler wires from the wall box to the remaining black wire and the red wire on the dimmer. The other 3-way switch will connect to the remaining red wire and the other traveler. Refer to a 3-way wiring diagram if unsure.
- Since this dimmer does not require a neutral wire, cap off any unused neutral wires in the wall box.
- Mount the Dimmer: Carefully fold the wires into the wall box. Secure the dimmer switch to the wall box using the provided screws.
- Install Wall Plate: Attach a compatible wall plate (sold separately) over the dimmer switch.
- Restore Power: Turn the power back on at the circuit breaker.

Image: The dimmer switch installed, demonstrating its use in either a single pole or 3-way lighting setup.

Image: An installed dimmer switch, highlighting its compatibility with older electrical systems that do not have a neutral wire.
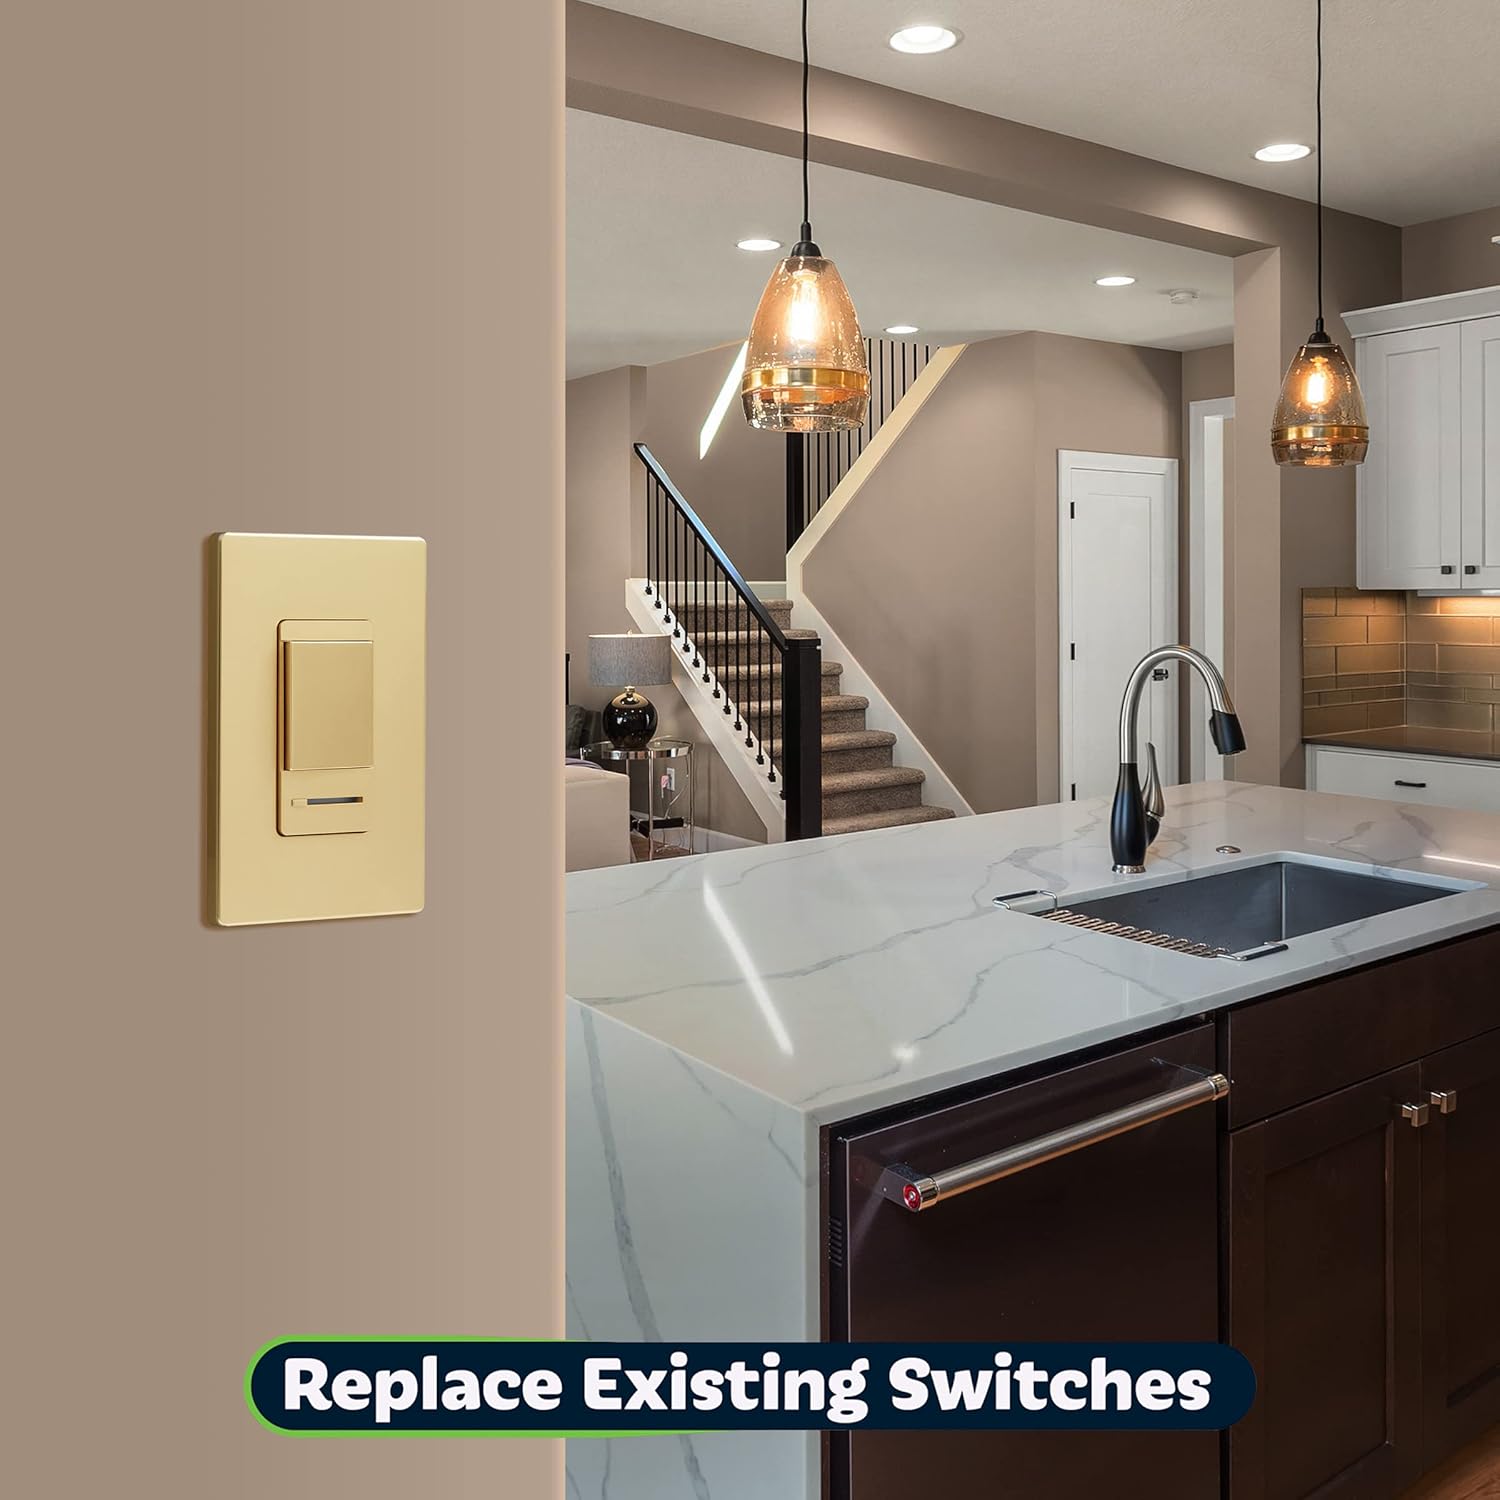
Image: The dimmer switch seamlessly integrated into a kitchen, demonstrating its ability to replace standard switches.
5. Operating Instructions
The TGDMDS-120 dimmer switch provides intuitive control over your lighting.
- Turning Lights On/Off: Press the large paddle switch to turn the lights on or off. The lights will turn on to the last dimmed level set by the slide dimmer.
- Adjusting Brightness: Use the vertical slide dimmer to adjust the light output. Slide it up to brighten the lights and down to dim them.
- Fine-Tuning Dial: A small dial located on the side of the dimmer allows you to set the minimum dimming level. This helps prevent flickering with certain LED bulbs and ensures stable low-light performance. Adjust this dial with a small screwdriver until the desired minimum brightness is achieved without flickering.
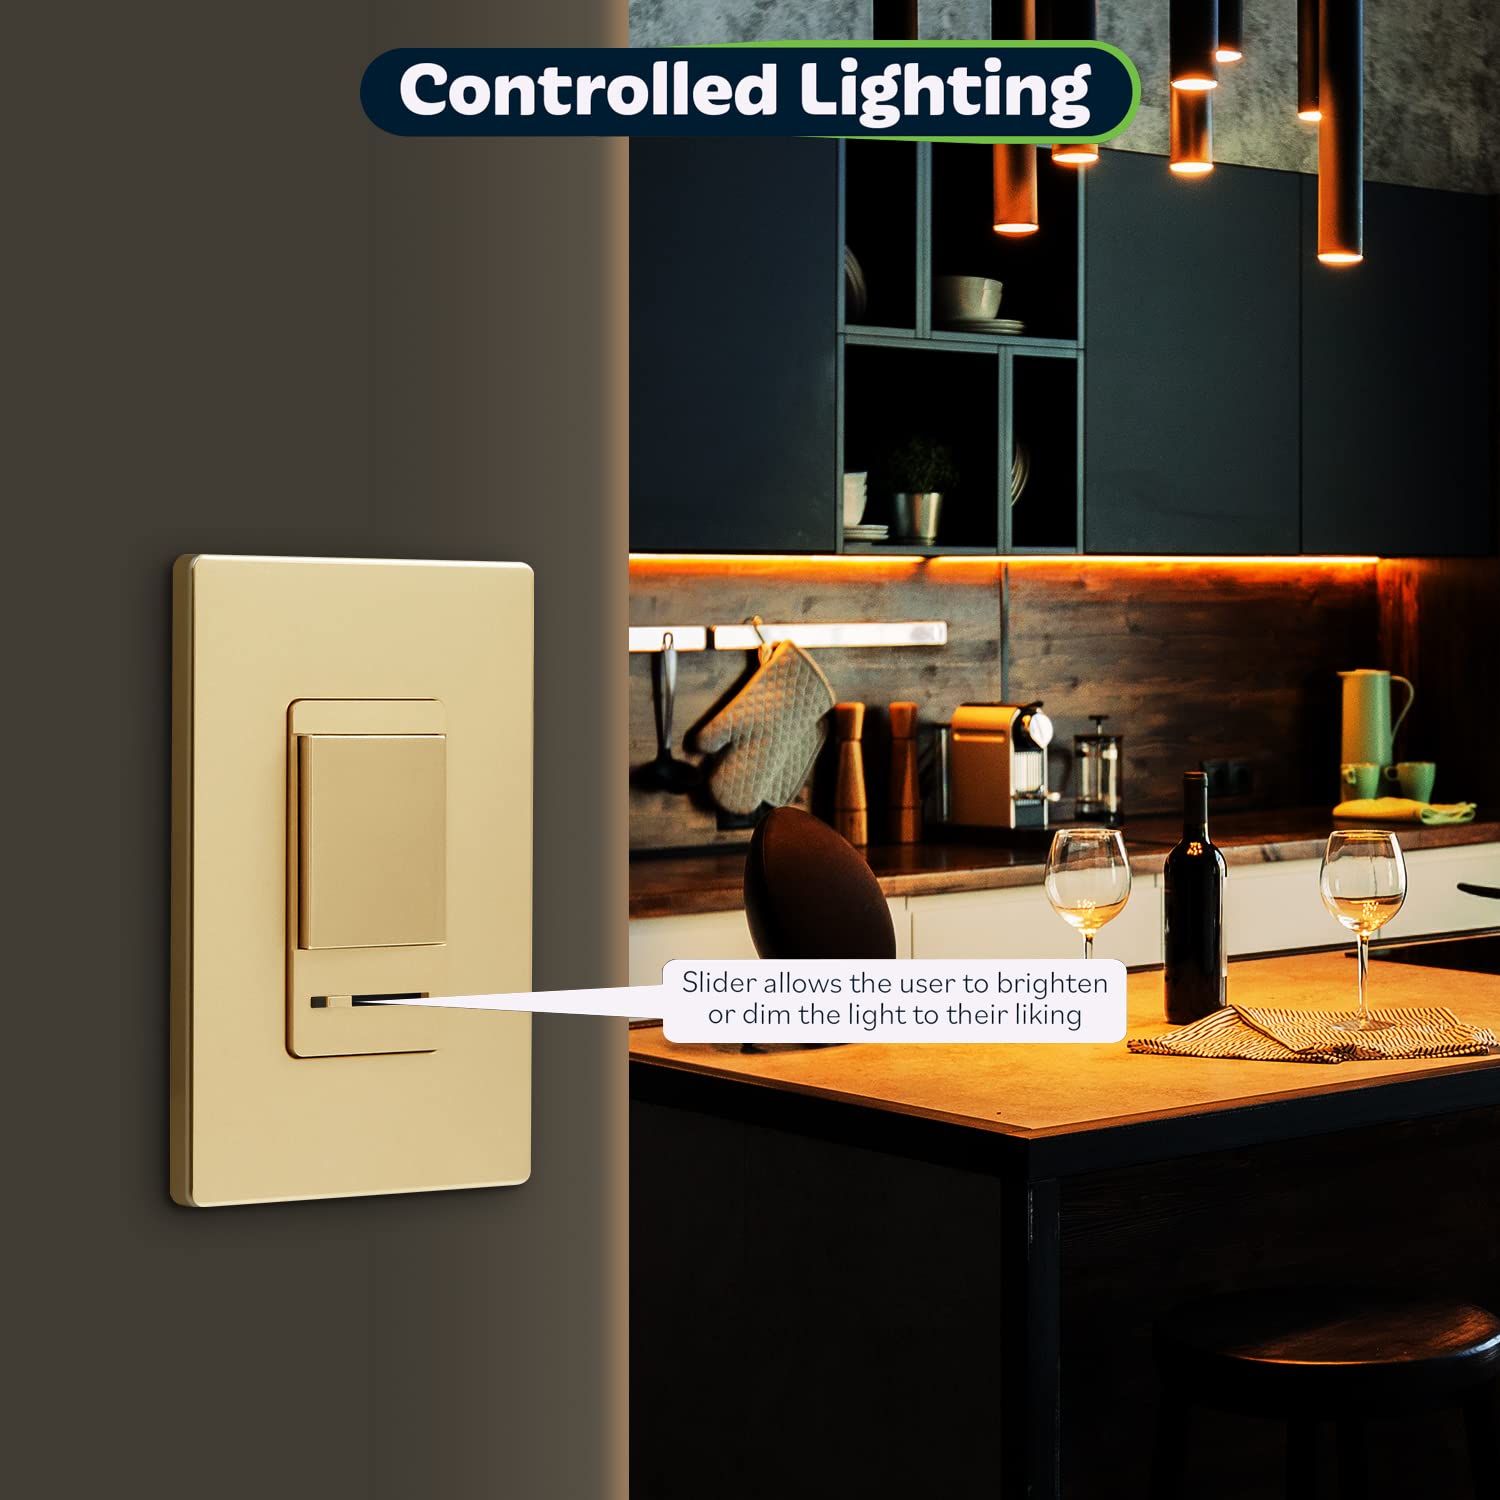
Image: The dimmer switch in a kitchen setting, illustrating how the slider allows users to brighten or dim lights to their preference.

Image: The dimmer switch enhancing the ambiance of a dining space, showcasing its ability to set the desired mood.
6. Maintenance
The TOPGREENER TGDMDS-120 Dimmer Switch requires minimal maintenance.
- Cleaning: To clean the dimmer switch, wipe it with a soft, damp cloth. Do not use abrasive cleaners, solvents, or sprays directly on the switch.
- Inspection: Periodically inspect the dimmer switch and wall plate for any signs of damage or loose connections. If any issues are found, turn off power at the circuit breaker and consult a qualified electrician.
7. Troubleshooting
| Problem | Possible Cause | Solution |
|---|---|---|
| Lights do not turn on. |
|
|
| Lights flicker or hum. |
|
|
| Dimmer does not dim properly. |
|
|
8. Specifications
| Model | TGDMDS-120 |
| Voltage | 120V AC, 60Hz |
| Max. Load (LED) | 150W |
| Max. Load (Incandescent/Halogen) | 600W |
| Application | Single Pole or 3-Way |
| Operating Temperature | 31°F to 104°F (0°C to 40°C) |
| Material | Thermoplastic Polycarbonate, Copper |
| Dimensions (L x W x H) | 12.7 x 7.6 x 5.7 cm (5 x 3 x 2.25 inches) |
| Certifications | UL Listed |
9. Warranty and Support
TOPGREENER products are designed for quality and reliability. For warranty information or technical support, please contact TOPGREENER customer service. Keep your purchase receipt as proof of purchase.
Manufacturer: Top Greener Inc
For further assistance, please visit the official TOPGREENER website or contact their support team directly.


