
1. Introduction
Thank you for choosing the Master Airbrush Model TC-96T Air Compressor Kit. This professional-grade, twin-piston airbrush compressor is designed to provide consistent, pulsation-free airflow for a wide range of airbrushing applications. Featuring a 1.5-gallon air tank, pressure regulator, water trap filter, and a 6-foot braided air hose, this unit is built for reliability and performance in studios and workshops. Please read this manual thoroughly before operation to ensure safe and efficient use of your equipment.
2. Important Safety Information
Always observe the following safety precautions to reduce the risk of injury or damage:
- Read all instructions before operating the compressor.
- Ensure the power source matches the voltage specified on the compressor (120 Volts).
- Do not operate the compressor in wet or damp conditions. Keep it away from water.
- Always wear appropriate personal protective equipment, including eye protection, when operating airbrush equipment.
- Never point an airbrush at yourself or others.
- Ensure adequate ventilation when using paints, solvents, or cleaning agents.
- Disconnect the power plug from the outlet before performing any maintenance, cleaning, or when the compressor is not in use.
- Do not modify the compressor or its components. Use only original replacement parts.
- Keep children and pets away from the operating area.
- Regularly check all connections for leaks and ensure hoses are not kinked or damaged.
- Drain the air tank regularly to prevent moisture buildup.
3. Product Overview
The Master Airbrush Model TC-96T is a high-performance air compressor designed for demanding airbrushing tasks. Its twin-piston design and 1.5-gallon air tank ensure a consistent, pulsation-free air supply, making it suitable for various artistic and hobby applications.
Key Features:
- Twin-Piston Design: Delivers 40 liters/minute (1.4 CFM) airflow, capable of operating two airbrushes simultaneously.
- 1.5 Gallon Air Tank: Provides 'air-on-demand' with constant pressure and zero pulsation.
- Integrated Cooling Fans: Ensures a longer duty cycle and prevents overheating during extended use.
- Air Pressure Regulator: Features a gauge and water trap filter for precise pressure control and moisture removal.
- Quiet Operation: Rated at approximately 62 decibels, suitable for studio environments.
- Portable Design: Equipped with two adjustable handles for easy transport.
- Automatic Shut-Off: Enhances energy efficiency and extends motor life.

Image: The Master Airbrush TC-96T compressor showing the pressure regulator, gauge, water trap filter, and adjustable carrying handles.

Image: Visual representation of the compressor's high-performance twin-piston system, 40 liters/minute airflow, built-in cooling fans, and suitability for various airbrushing tasks.
4. Setup Instructions
Follow these steps to set up your Master Airbrush TC-96T compressor:
- Unpack the Compressor: Carefully remove all components from the packaging. Inspect for any shipping damage.
- Placement: Place the compressor on a stable, level surface in a well-ventilated area. Ensure the rubber cup suction feet are securely positioned to minimize vibration.
- Connect Air Hose: Attach one end of the included 6-foot braided air hose to the air outlet port on the compressor's pressure regulator. Ensure a tight, secure connection.
- Connect Airbrush: Attach the other end of the braided air hose to your airbrush. If your airbrush has a different thread size, you may need an adapter (not included).
- Power Connection: Ensure the compressor's power switch is in the 'OFF' position. Plug the power cord into a grounded 120V AC electrical outlet.
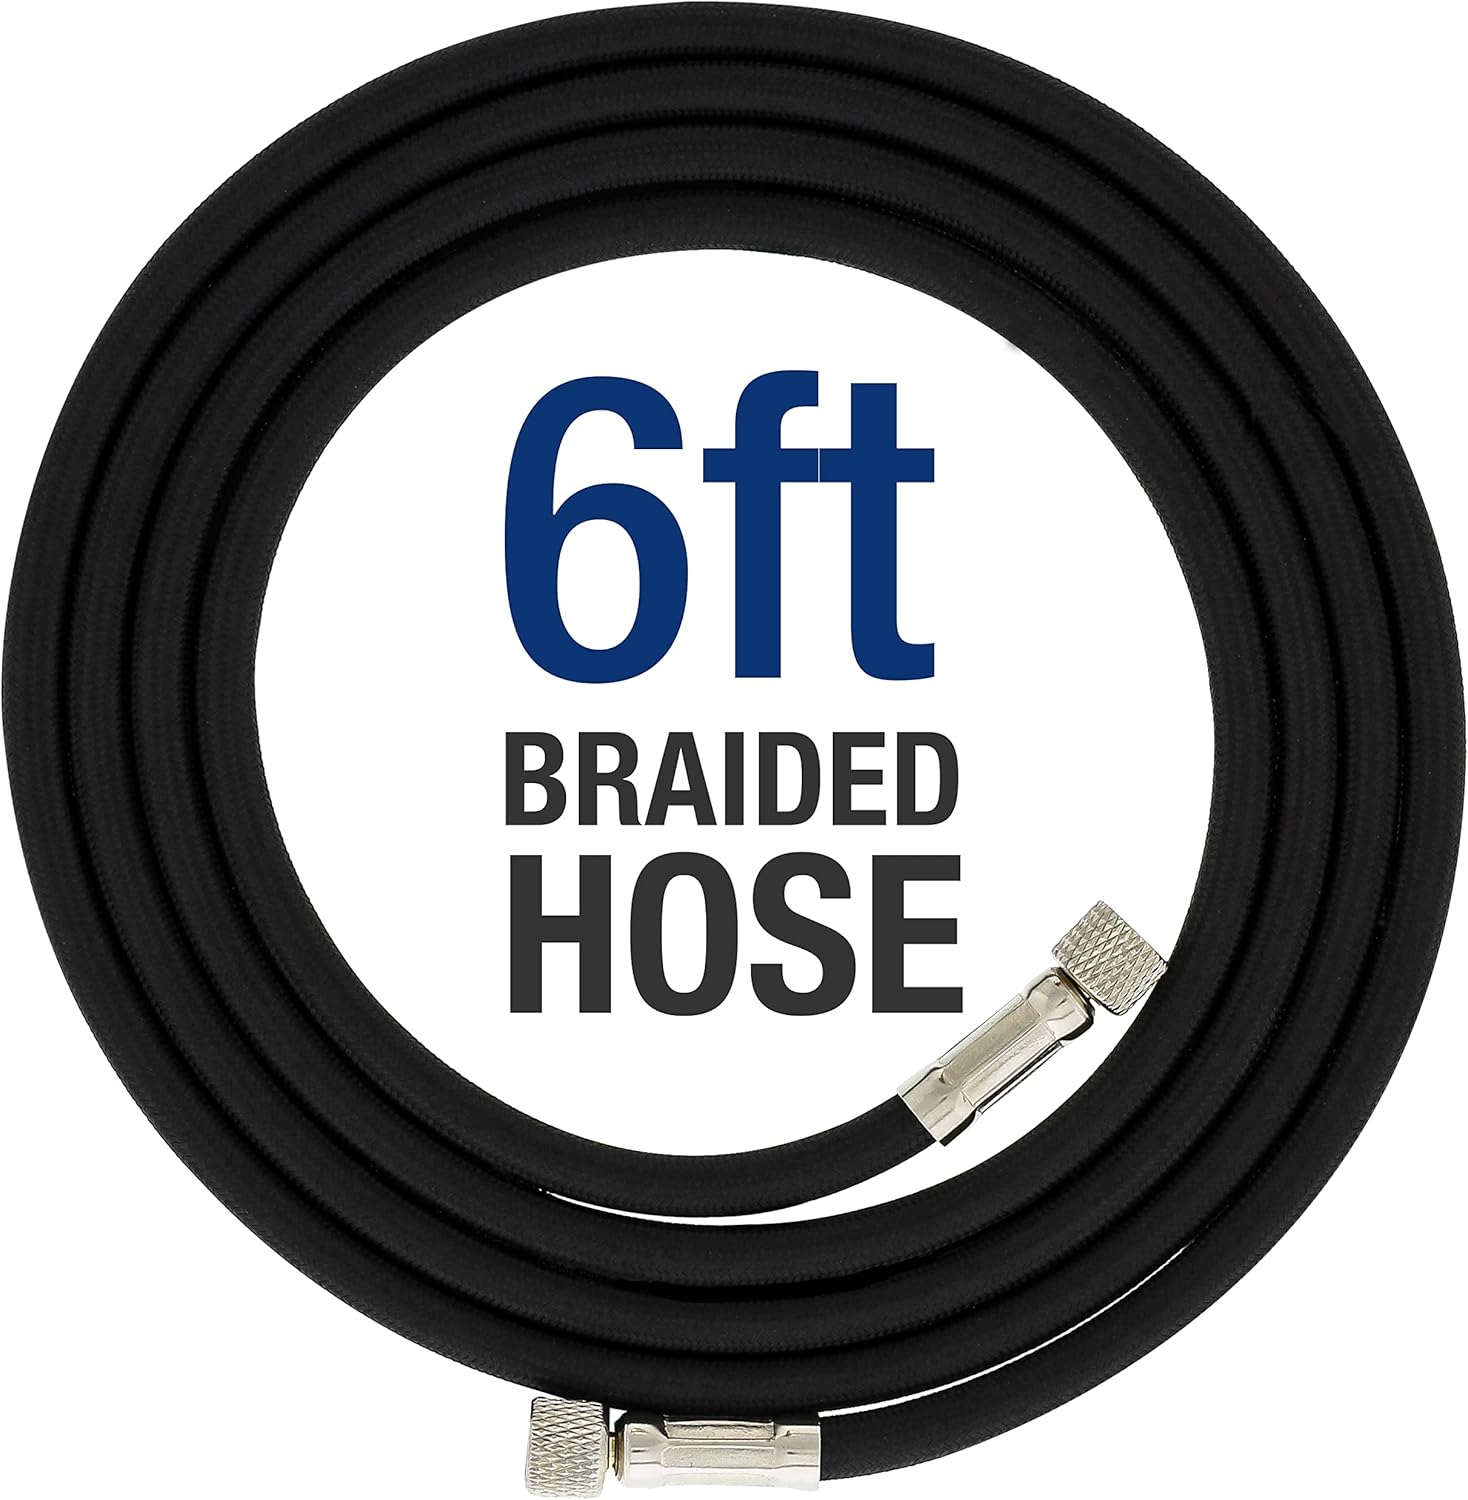
Image: The included 6-foot braided air hose, essential for connecting the compressor to your airbrush.

Image: Close-up of the compressor's base, highlighting the 1.5-gallon steel air tank and the stabilizing rubber cup suction feet.
5. Operating Instructions
Once your compressor is set up, follow these steps for operation:
- Power On: Flip the power switch to the 'ON' position. The compressor will begin to fill the air tank. The motor will automatically shut off once the tank reaches its maximum pressure.
- Adjust Air Pressure: Turn the knob on the air pressure regulator to set your desired working pressure. Observe the gauge to ensure the correct PSI/Bar.
- Check Water Trap: Before each use, check the water trap filter for accumulated moisture. Drain if necessary (refer to Maintenance section).
- Begin Airbrushing: Once the desired pressure is set and the tank is full, you can begin airbrushing. The compressor will automatically cycle on and off to maintain pressure in the tank as you use air.
- Power Off: When finished, turn the power switch to the 'OFF' position. Disconnect the power cord from the outlet.
- Depressurize: Briefly open the airbrush trigger or the tank drain valve to release any remaining air pressure from the system before storing.
6. Maintenance
Regular maintenance ensures the longevity and optimal performance of your compressor.
Daily Maintenance:
- Drain Water Trap: The water trap filter collects moisture from the air. To drain, ensure the compressor is off and depressurized. Unscrew the bottom of the water trap or press the release valve (depending on model) to release collected water.
- Drain Air Tank: After each use, especially in humid environments, drain any condensation from the air tank. Locate the drain valve at the bottom of the tank, open it to release water, then close it securely.
Periodic Maintenance:
- Clean Air Filter: Periodically check and clean the air intake filter. A clogged filter can reduce compressor efficiency. Refer to the filter's specific instructions for cleaning or replacement.
- Inspect Hoses and Connections: Regularly check the air hose for cracks, kinks, or wear. Ensure all connections are tight and free of leaks.
- General Cleaning: Wipe down the exterior of the compressor with a damp cloth to remove dust and debris. Do not use harsh chemicals or abrasive cleaners.
7. Troubleshooting
Refer to this section for common issues and their solutions.
| Problem | Possible Cause | Solution |
|---|---|---|
| Compressor does not turn on. | No power, faulty switch, thermal overload. | Check power cord connection and outlet. Ensure switch is ON. Allow compressor to cool if it has overheated. |
| Low or inconsistent air pressure. | Air leaks, clogged air filter, regulator setting too low, tank not fully pressurized. | Check all hose connections for leaks. Clean or replace air filter. Adjust pressure regulator. Allow tank to fully pressurize. |
| Excessive moisture in air output. | Water trap full, tank not drained. | Drain the water trap filter. Drain the air tank. Operate in a less humid environment if possible. |
| Compressor runs continuously. | Air leak in system, pressure switch malfunction. | Check for air leaks in hoses, connections, and airbrush. If problem persists, contact customer support. |
| Unusual noise or vibration. | Loose components, compressor not on a level surface. | Check for loose screws or parts. Ensure compressor is on a stable, level surface. |
8. Specifications
| Feature | Specification |
|---|---|
| Model Number | TC-96T |
| Brand | Master Airbrush |
| Motor Horsepower | 0.25 HP |
| Air Flow Capacity | 40 Liters Per Minute (1.4 CFM) |
| Air Tank Capacity | 1.5 Gallons |
| Maximum Pressure | 57 PSI (Pound per Square Inch) |
| Voltage | 120 Volts |
| Noise Level | 62 Decibels |
| Hose Length | 6 Feet (Braided) |
| Item Weight | 18.15 Pounds |
| Dimensions (L x W x H) | 12.2" x 5.4" x 18.2" |
| Additional Features | Automatic Shut-Off, Water Trap Filter, Pressure Gauge |
9. Warranty and Support
Master Airbrush products are backed by a commitment to customer satisfaction. For specific warranty details, please refer to the documentation included with your purchase or visit the official Master Airbrush website. In case of issues or for technical assistance, please contact Master Airbrush customer support.
This product is eligible for a 30-day return/replacement policy from the date of purchase, subject to the retailer's terms and conditions.