1. Introduction
Thank you for choosing the Jocca Portable Air Conditioner & Heater. This versatile 3-in-1 unit is designed to provide optimal comfort by cooling, heating, and humidifying your indoor environment. Please read this manual thoroughly before operation to ensure proper use, maintenance, and safety.

Figure 1: Front view of the Jocca Portable Air Conditioner and Heater.
Product Features:
- 3-in-1 Functionality: Cools, heats, and humidifies for year-round comfort.
- Wide Coverage: Suitable for rooms up to 27 m².
- Quiet Operation: Designed for minimal noise disruption.
- Adjustable Settings: 3 fan speeds and 60° auto-adjusting oscillation.
- Portability: Integrated wheels for easy movement.
- Convenient Water Tank: Removable 3-liter water tank for easy filling and cleaning.
- Energy Efficient: 80W for cooling/humidifying, 2000W for heating.
- Enhanced Cooling: Includes two ice packs for additional cooling effect.
2. Safety Instructions
To reduce the risk of fire, electric shock, or injury, always follow these basic safety precautions:
- Read all instructions before using the appliance.
- Do not operate the unit with a damaged cord or plug.
- Ensure the power supply matches the voltage specified on the rating label.
- Keep the unit away from heat sources, direct sunlight, and flammable materials.
- Do not immerse the unit, cord, or plug in water or other liquids.
- Always unplug the unit before cleaning, filling, or performing any maintenance.
- Do not block air inlets or outlets. Maintain at least 20 cm clearance from walls and furniture.
- This appliance is for indoor household use only.
- Supervise children and ensure they do not play with the appliance.
- When using the cooling function, ensure the water level is between MAX and MIN lines.
- Ensure the water tank is properly in place to avoid water leakage.
3. Product Components
Package Contents:
- Jocca Portable Air Conditioner & Heater Unit
- 2 x Ice Packs
- User Manual
Unit Overview and Dimensions:

Figure 2: Product dimensions (approx. 36 x 30 x 62 cm).

Figure 3: Top control panel with buttons.

Figure 4: Water tank with fill level indicators.
4. Setup
Unpacking:
Carefully remove the unit from its packaging. Retain the packaging for future storage or transport.
Placement:
Place the unit on a flat, stable surface. Ensure there is at least 20 cm of clear space around the unit for proper airflow. The integrated wheels allow for easy repositioning.
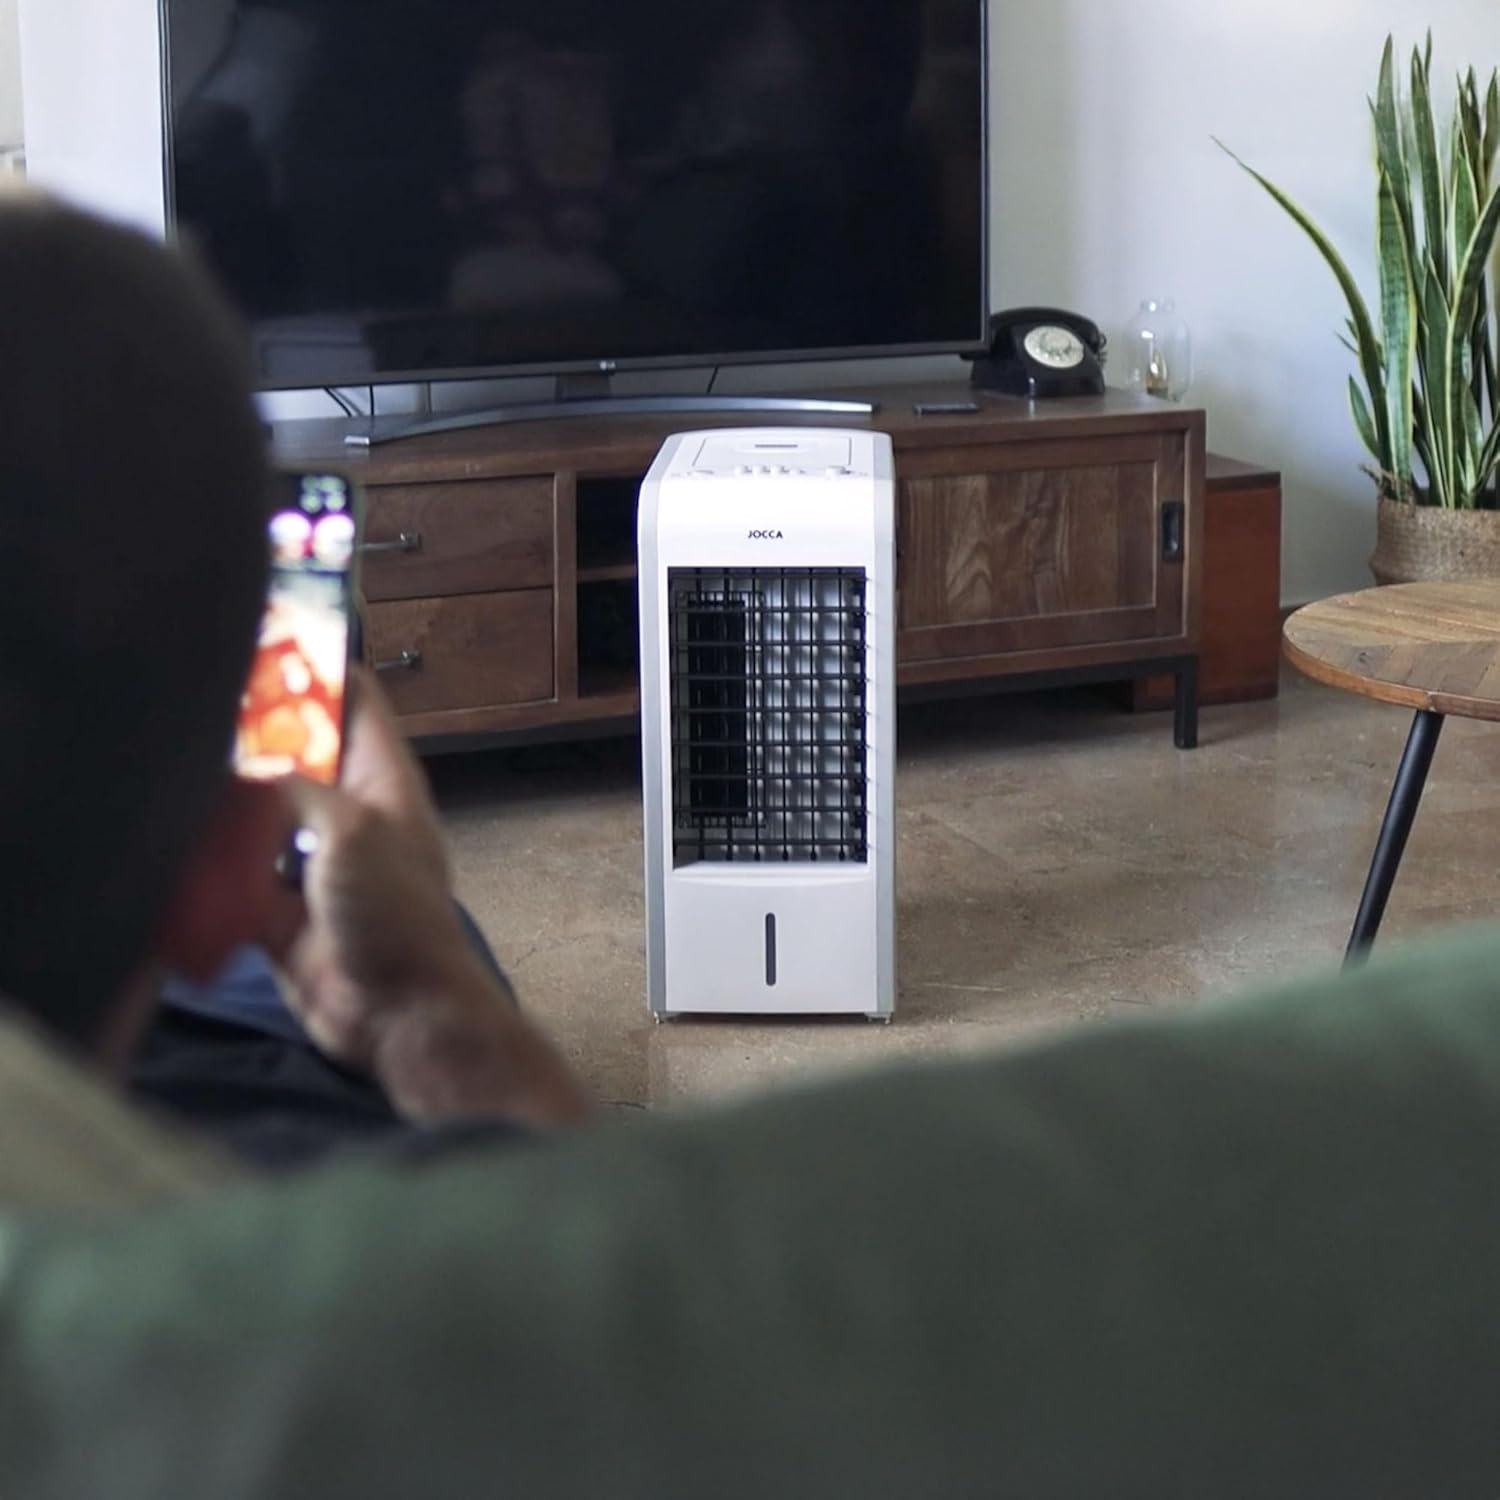
Figure 5: Example of unit placement in a room.
Filling the Water Tank (for Cooling/Humidifying):
- Pull out the removable water tank from the bottom rear of the unit.
- Fill the tank with clean, cool water. Ensure the water level is between the 'MIN' and 'MAX' indicators. Do not overfill.
- Carefully slide the water tank back into its position until it clicks securely.
Inserting Ice Packs (for Enhanced Cooling):
For an even cooler air output, you can place the provided ice packs (after freezing them) into the water tank along with the water. This will help lower the water temperature and enhance the cooling effect.
5. Operating Instructions
Powering On/Off:
- Plug the power cord into a suitable electrical outlet.
- Press the 'ON/OFF' button on the control panel to turn the unit on or off.
Adjusting Fan Speed:
Press the 'SPEED' button repeatedly to cycle through the 3 available fan speeds (Low, Medium, High).
Cooling/Heating Mode Selection:
Use the physical switch located on the side of the unit to select between cooling/humidifying (snowflake icon) and heating (sun icon) modes.

Figure 6: Cooling/Heating mode switch.
Heating Power Selection:
When in heating mode, use the power switch on the back of the unit to select between 1000W and 2000W heating power.

Figure 7: Heating power selection switch.
Oscillation Function:
Press the 'SWING' button on the control panel to activate the automatic oscillation function, which distributes air more widely across the room. Press again to stop oscillation.
6. Maintenance
Regular cleaning and maintenance will ensure optimal performance and extend the lifespan of your unit. Always unplug the unit before cleaning.
Cleaning the Exterior:
Wipe the exterior surfaces with a soft, damp cloth. Do not use abrasive cleaners or solvents.
Cleaning the Water Tank:
Remove the water tank and rinse it with clean water. For thorough cleaning, use a mild detergent and a soft brush, then rinse thoroughly. Allow it to air dry before reinserting.
Filter Maintenance:
The unit is equipped with a filter to prevent dust from entering. Periodically check and clean the filter located at the back of the unit. Gently remove the filter and rinse it under running water. Allow it to dry completely before reattaching.

Figure 8: Rear air filter.
Storage:
If the unit will not be used for an extended period, empty the water tank, clean all components, and ensure they are dry. Store the unit in a cool, dry place, preferably in its original packaging.
7. Troubleshooting
Before contacting customer support, please refer to the following table for common issues and their solutions:
| Problem | Possible Cause | Solution |
|---|---|---|
| Unit does not turn on | No power supply; Power cord not properly plugged in; Unit is damaged. | Check power outlet; Ensure cord is securely plugged in; Contact customer support if damaged. |
| Weak airflow | Air inlets/outlets blocked; Filter is dirty. | Clear obstructions; Clean the air filter. |
| No cooling effect | Water tank is empty; Water level below MIN; Cooling mode not selected. | Fill water tank; Ensure water level is adequate; Select cooling mode. |
| No heating effect | Heating mode not selected; Heating power not set. | Select heating mode; Set heating power (1000W/2000W). |
| Water leakage | Water tank not properly installed; Water tank overfilled. | Ensure tank is securely in place; Do not exceed MAX fill line. |
8. Technical Specifications
| Feature | Specification |
|---|---|
| Model Number | 1137 |
| Dimensions (L x W x H) | 36 x 30 x 62 cm |
| Weight | 6.7 kg |
| Cooling Power | 80W |
| Heating Power | 1000W / 2000W |
| Water Tank Capacity | 3 Liters |
| Airflow Capacity | 7.5 Cubic Feet per Minute |
| Recommended Area | Up to 27 square meters |
| Control Type | Manual buttons |
| Color | White |
9. Warranty and Customer Support
This product is covered by a manufacturer's warranty against defects in materials and workmanship. For specific warranty terms and conditions, please refer to the warranty card included with your purchase or contact Jocca customer support.
For technical assistance, troubleshooting beyond this manual, or spare parts, please contact Jocca customer service. You can find more information and contact details on the official Jocca website or through the retailer where you purchased the product.
Visit the Jocca store for more products: Jocca Official Store


