Introduction
This manual provides detailed instructions for the installation, use, and maintenance of your MAAX B3Round Rectangular Acrylic Alcove Shower Base. To ensure proper function and longevity of your product, please read all instructions carefully before beginning installation and retain this manual for future reference.
Safety Information
Observe the following safety precautions during installation and use:
- Professional installation is recommended to ensure compliance with local building codes and proper functionality.
- Always wear appropriate personal protective equipment (PPE), such as safety glasses and gloves, during handling and installation.
- Ensure the installation area is clean, dry, and free from obstructions.
- Verify that all plumbing connections are secure and watertight to prevent leaks.
- Do not stand or place excessive weight on the shower base before it is fully installed and supported.
Product Overview
The MAAX B3Round shower base is a durable acrylic unit designed for alcove installations. It features a rectangular shape with a smooth floor and a left-hand drain location, providing a clean and functional foundation for your shower enclosure.
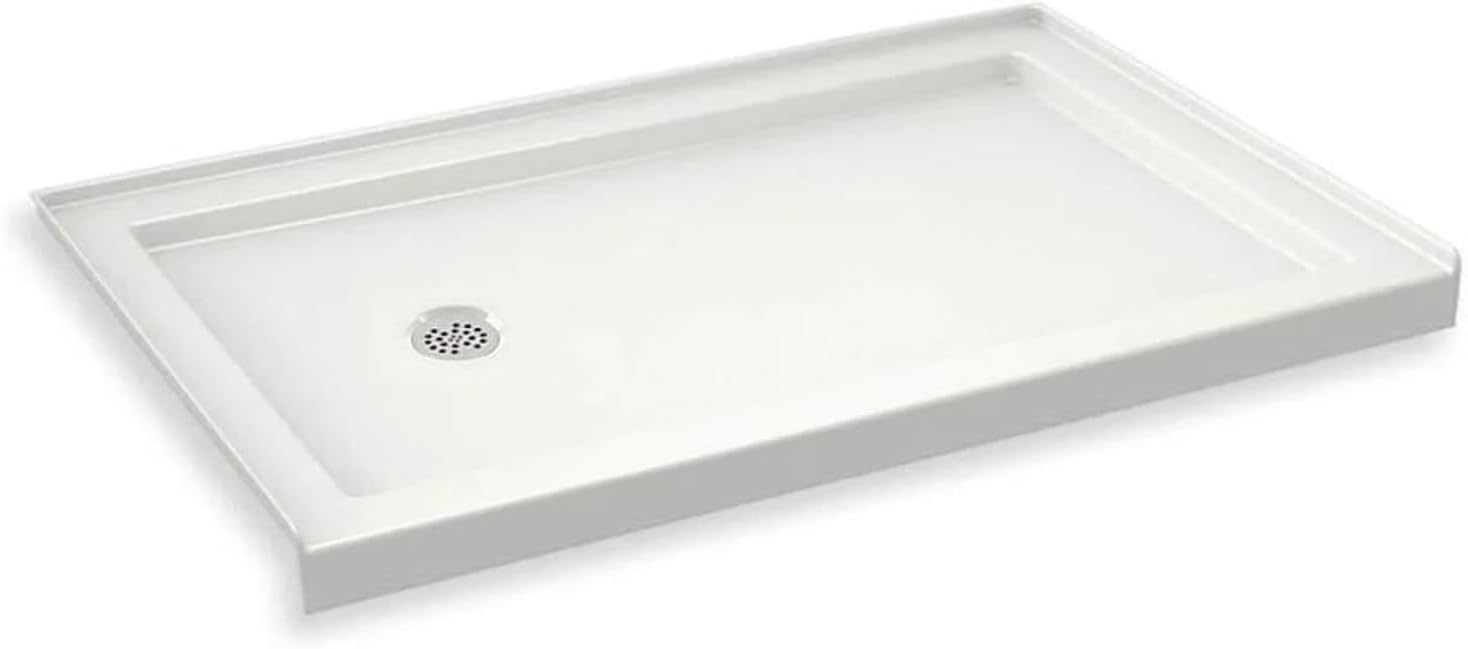
This image displays the MAAX B3Round Rectangular Acrylic Alcove Shower Base. It is white, rectangular, and features a smooth floor with a circular drain opening located on the left side when viewed from the front. The base has a low threshold design suitable for alcove installations.
Specifications
| Feature | Detail |
|---|---|
| Brand | MAAX |
| Model | B3Round |
| Material | Acrylic |
| Color | White |
| Dimensions (L x W x H) | 59.875 in x 35.875 in x 4 in |
| Installation Type | Alcove |
| Drain Location | Left-Hand, Round |
| Threshold Height | 3 inches |
| Floor Type | Smooth |
| Item Weight | 62 Pounds |
| UPC | 623163631234 |
| Part Number | 410006-L-501-001 |
Note: Drain assembly is not included with the shower base and must be purchased separately.
Installation Instructions
Follow these steps for proper installation of your MAAX B3Round shower base. Always refer to local plumbing and building codes.
- Site Preparation: Ensure the subfloor is level, clean, and structurally sound. Frame the alcove opening to the exact dimensions required for the shower base, allowing for wall finishes.
- Dry Fit: Place the shower base into the alcove without adhesive or plumbing connections to verify fit and levelness. Mark the drain location on the subfloor.
- Drain Rough-in: Install the rough plumbing for the drain according to local codes, ensuring it aligns with the marked drain opening on the base.
- Mortar Bed Preparation (Recommended): Apply a thin, even layer of mortar mix (not included) to the subfloor within the footprint of the shower base. This provides solid support and prevents flexing.
- Set the Base: Carefully place the shower base onto the mortar bed, aligning the drain opening with the rough-in plumbing. Press down firmly to ensure full contact with the mortar. Verify the base is level in all directions using a spirit level.
- Connect Drain: Install the drain assembly (not included) to the shower base and connect it to the rough-in plumbing, following the drain manufacturer's instructions. Ensure all connections are sealed properly.
- Secure the Base: Once the mortar has cured and the drain is connected, secure the flanges of the shower base to the wall studs using appropriate fasteners (e.g., screws with washers), ensuring not to overtighten.
- Water Test: Before proceeding with wall finishes, plug the drain and fill the shower base with a few inches of water. Let it sit for several hours to check for any leaks around the drain or plumbing connections.
- Finishing: Once the base is secure and leak-free, proceed with installing wall coverings (e.g., tile, panels) and apply silicone sealant along all seams where the base meets the walls.
Usage Guidelines
After installation, the MAAX B3Round shower base is ready for use. Ensure that the shower enclosure is properly sealed and waterproofed to prevent water damage to surrounding areas. Avoid dropping heavy objects onto the base, as this may cause damage to the acrylic surface.
Maintenance and Care
To maintain the appearance and integrity of your acrylic shower base, follow these care instructions:
- Regular Cleaning: Clean the shower base regularly with a soft cloth or sponge and a non-abrasive, mild household cleaner.
- Avoid Abrasives: Do not use abrasive cleaners, scouring pads, steel wool, or harsh chemicals (e.g., acetone, paint thinner, strong acids/bases) as these can scratch or damage the acrylic surface.
- Stain Removal: For stubborn stains, use a diluted solution of white vinegar and water, or a cleaner specifically designed for acrylic surfaces. Rinse thoroughly after cleaning.
- Prevent Scratches: Avoid dragging rough or sharp objects across the surface.
- Drain Maintenance: Periodically remove and clean the drain cover to prevent hair and debris buildup, which can lead to clogs.
Troubleshooting
Here are solutions for common issues you might encounter:
- Leaks Around Drain: Check the drain assembly for proper sealing. Ensure all gaskets are correctly seated and the drain nut is tightened sufficiently. Re-apply plumber's putty or silicone sealant if necessary.
- Water Pooling: Verify that the shower base was installed perfectly level. If pooling occurs, it may indicate an uneven installation. Small amounts of residual water are normal.
- Slow Drainage: This typically indicates a clog in the drain pipe. Remove the drain cover and clear any hair or debris. If the clog persists, a plumbing snake may be required.
- Surface Scratches: Minor scratches on acrylic can sometimes be buffed out using a fine-grit plastic polish or automotive rubbing compound, followed by a plastic wax. For deep scratches, professional repair may be needed.
Warranty Information
MAAX products are manufactured to high-quality standards and typically come with a manufacturer's limited warranty. For specific details regarding the warranty period, coverage, and terms for your B3Round Rectangular Acrylic Alcove Shower Base, please refer to the official MAAX website or the warranty documentation included with your purchase. Keep your proof of purchase for warranty claims.
Customer Support
If you require further assistance, have questions about installation, or need to report a product issue, please contact MAAX customer support. You can typically find contact information, including phone numbers and online support portals, on the official MAAX website (www.maax.com).


