
CRAFTSMAN CMEG100
CRAFTSMAN CMEG100 Small Angle Grinder Tool User Manual
Model: CMEG100 | Brand: CRAFTSMAN
1. Introduction
This manual provides essential information for the safe and effective operation of your CRAFTSMAN 6 Amp 4-1/2 inch Small Angle Grinder (CMEG100). Please read all instructions carefully before use and retain this manual for future reference.
Video 1.1: Product Overview. This video provides a general overview of the CRAFTSMAN CMEG100 Small Angle Grinder and its key features.
2. Important Safety Information
Always wear appropriate personal protective equipment (PPE) when operating the angle grinder. This includes, but is not limited to, eye protection, hearing protection, and heavy-duty leather gloves. Ensure proper guards are in place and securely fastened before operation. Refer to the full safety instructions in the included safety manual.
3. Package Contents
Verify that all items listed below are included in your package:
- 1 x CRAFTSMAN CMEG100 6 Amp Small Angle Grinder
- 1 x Grinding Guard
- 1 x Grinding Wheel (4-1/2 inch)
- 1 x 3-Position Handle
- 1 x Spanner Wrench

Figure 3.1: The CRAFTSMAN CMEG100 grinder shown with its included components: the grinder unit, grinding guard, grinding wheel, 3-position handle, and spanner wrench.
4. Setup and Assembly
4.1 Attaching the Side Handle
The auxiliary side handle can be installed in three different positions for optimal control and comfort during various applications. Simply thread the handle into the desired mounting hole on either side or the top of the grinder head and tighten securely.

Figure 4.1: The grinder with its 3-position handle attached, illustrating its versatility for different grip requirements.
4.2 Adjusting the Tool-Free Guard
The grinding guard features a tool-free adjustment mechanism. To adjust, lift the lever, rotate the guard to the desired position to deflect sparks and debris away from you, and then push the lever down to lock it in place. Ensure the guard is always positioned correctly for the task at hand.

Figure 4.2: A close-up view of the tool-free guard, highlighting the lever for quick and easy adjustments without additional tools.
4.3 Installing/Changing Grinding Wheels
- Ensure the grinder is unplugged from the power source.
- Press and hold the spindle lock button located on the top of the gear housing.
- Use the provided spanner wrench to loosen the outer flange nut by turning it counter-clockwise.
- Remove the outer flange nut and the old grinding wheel.
- Place the new grinding wheel onto the spindle, ensuring it sits flush against the inner flange. For standard grinding discs, ensure the raised side of the outer flange faces the disc. For thinner cutting discs, use the flat side of the outer flange against the disc.
- Replace the outer flange nut and tighten it clockwise with the spanner wrench while holding the spindle lock button. Do not overtighten.
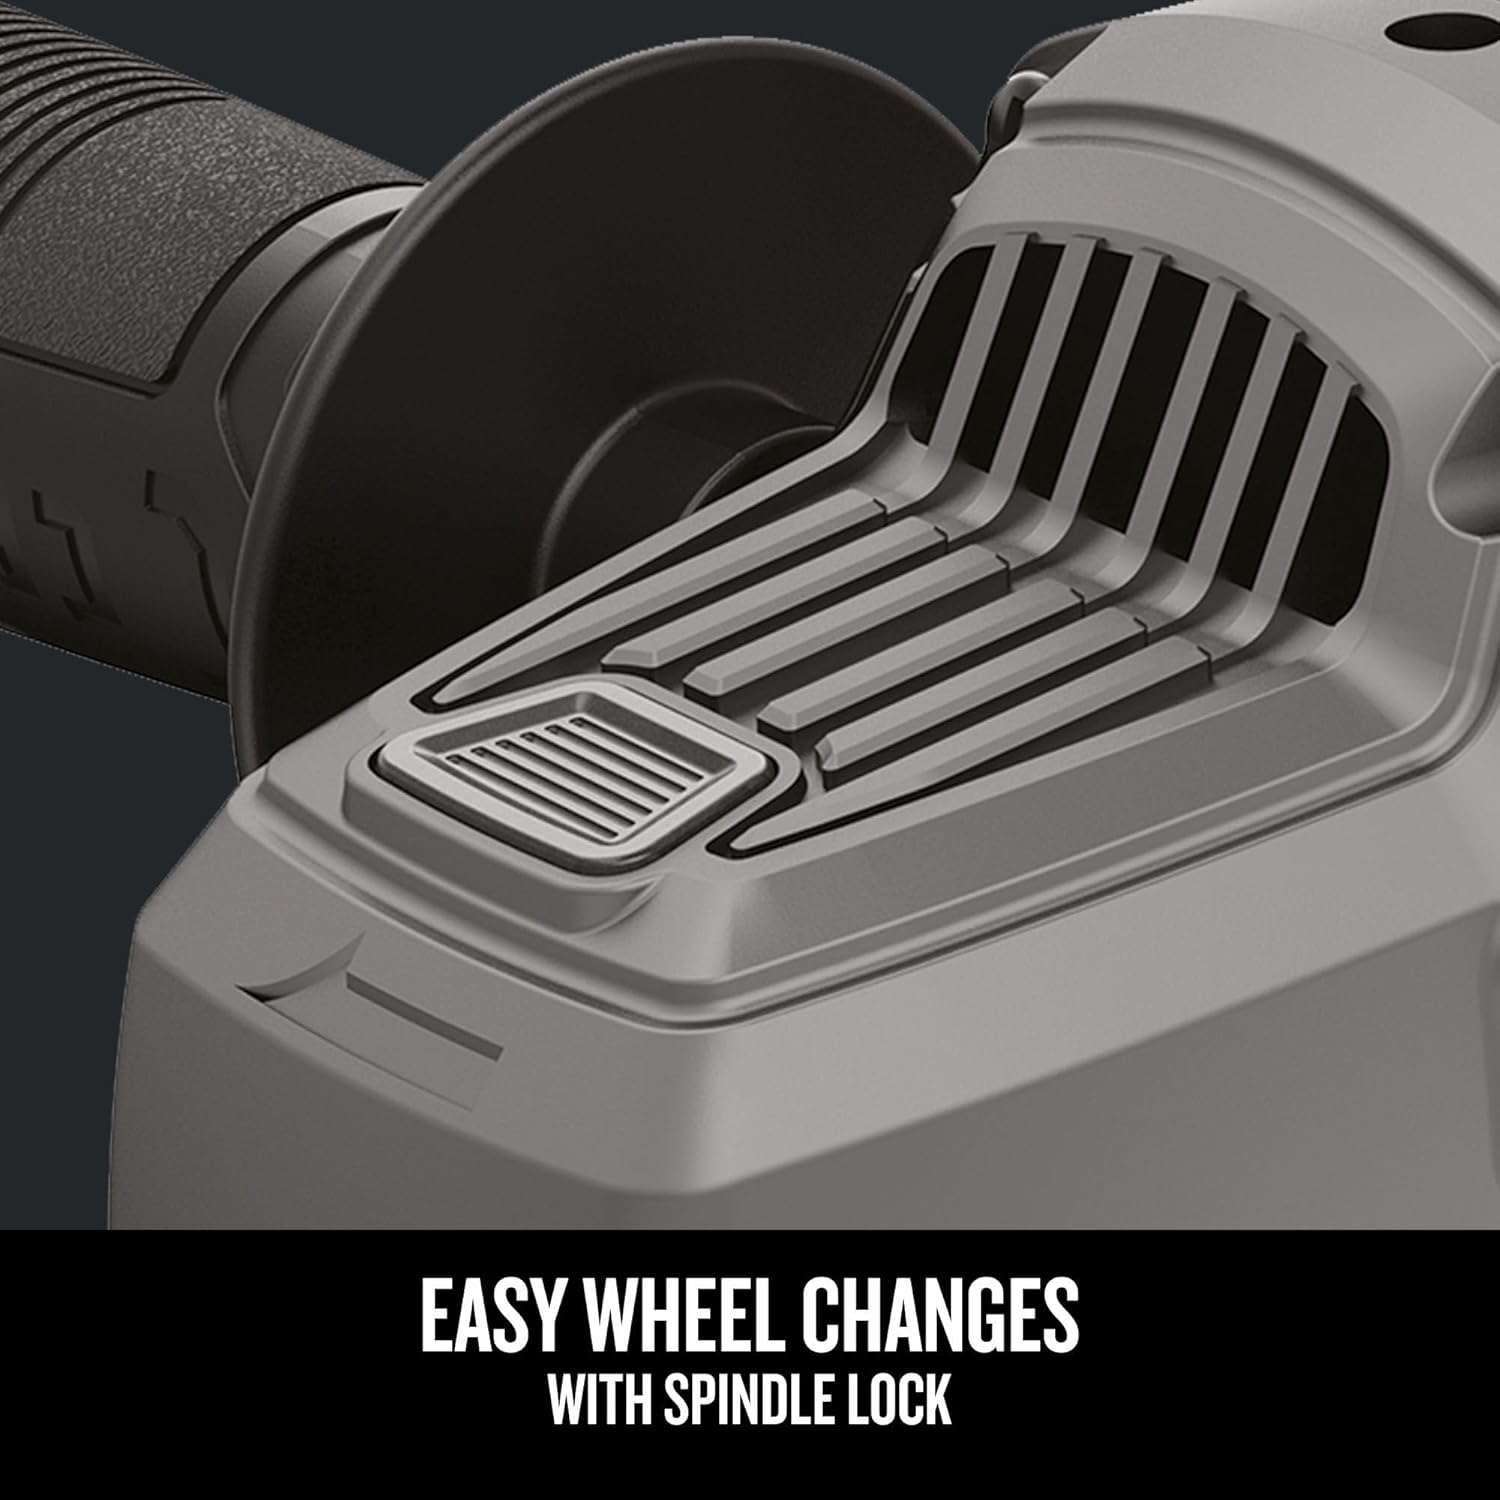
Figure 4.3: A detailed view of the spindle lock button, essential for securing and changing grinding wheels safely.
5. Operating Instructions
5.1 Powering On/Off
The CRAFTSMAN CMEG100 features a slide switch for power control. To turn the grinder ON, slide the switch forward until it locks into the ON position. To turn the grinder OFF, slide the switch backward. This model includes a lock-on feature for continuous operation, which requires careful handling.
5.2 General Usage Guidelines
- Always maintain a firm grip on the grinder with both hands.
- Allow the wheel to reach full speed before contacting the workpiece.
- Apply moderate pressure; excessive force can reduce efficiency and damage the tool or accessory.
- Keep the work area clear of obstructions and ensure good ventilation.
6. Maintenance
Regular maintenance ensures the longevity and safe operation of your grinder. Keep the tool clean and free of dust and debris. Inspect the power cord for damage before each use. Replace worn or damaged grinding wheels and accessories promptly. Refer to the full maintenance schedule in the comprehensive product manual.
7. Compatible Accessories
Your CRAFTSMAN CMEG100 is compatible with a variety of 4-1/2 inch accessories, including:
- Grinding Wheels: For material removal and shaping.
- Cut-Off Wheels: Thinner discs designed for cutting metal and other materials.
- Wire Brushes: For surface preparation, rust removal, and cleaning. Available in various shapes (cup, wheel, knotted).
- Sanding Discs: For smoothing and finishing surfaces.
Important: Always ensure that any accessory used has a maximum RPM rating equal to or greater than the grinder's 12,000 RPM. When using wire brushes, always wear a full face shield in addition to eye protection, as wires can detach and cause injury.
8. Troubleshooting
| Problem | Possible Cause | Solution |
|---|---|---|
| Grinder does not start | No power supply; damaged cord; faulty switch | Check power connection; inspect cord; contact service center |
| Excessive vibration | Worn or damaged wheel; improperly mounted wheel | Replace wheel; re-mount wheel correctly |
| Reduced performance | Worn carbon brushes; clogged air vents | Have brushes replaced by qualified personnel; clean air vents |
9. Specifications
| Feature | Detail |
|---|---|
| Brand | CRAFTSMAN |
| Model Number | CMEG100 |
| Power Source | Corded Electric |
| Motor | 6 Amp |
| Maximum Rotational Speed | 12,000 RPM |
| Disc Diameter | 4-1/2 inches |
| Arbor Size | 5/8 inch |
| Voltage | 120 volts |
| Item Weight | 4.6 pounds |
| Product Dimensions (L x W x H) | 12.27" x 4.43" x 3.45" |
| Material | Metal, Plastic |

Figure 9.1: The CRAFTSMAN CMEG100 Small Angle Grinder with its key dimensions labeled for reference.
10. Warranty and Support
This CRAFTSMAN product is covered by a 3-Year Limited Warranty. For full details regarding warranty coverage, claims, or technical support, please refer to the official CRAFTSMAN website or contact their customer service department. Keep your proof of purchase for warranty validation.
Related documentsCMEG100

Ask a question about this manual
Ask about setup, troubleshooting, compatibility, parts, safety, or missing instructions. Manuals+ will review the question and use this page’s manual context to help answer it.