1. Introduction
Thank you for choosing the CLP Heavy-Duty Storage Shelf. This manual provides essential information for the safe and efficient assembly, operation, and maintenance of your new storage unit. Please read these instructions carefully before beginning assembly and retain them for future reference.

Image 1.1: The CLP Heavy-Duty Storage Shelf, showcasing its robust design and storage capacity in a typical garage environment.
2. Safety Information
Your safety is paramount. Please observe the following safety guidelines:
- Wall Mounting: While the shelf is designed for stability, it is strongly recommended to fix the shelf to a wall using appropriate tools and fasteners to ensure optimal stability and prevent tipping, especially in areas with heavy traffic or uneven floors.
- Humidity Warning: This heavy-duty shelf is not suitable for use in highly humid environments. High humidity can damage the shelf boards and compromise the structural integrity of the unit over time.
- Weight Capacity: Each shelf has a maximum weight capacity of 350 kg. Do not exceed this limit per shelf or the overall capacity of the unit. Distribute weight evenly across each shelf.
- Assembly: Assemble the unit on a flat, stable surface. Ensure all components are correctly aligned and securely connected before loading any items onto the shelves.
- Children and Pets: Keep children and pets away from the assembly area. Do not allow children to climb on or play with the assembled shelf.

Image 2.1: Visual representation of the shelf's dimensions and individual shelf weight capacity.
3. Package Contents
Before assembly, verify that all parts are present and undamaged. If any parts are missing or damaged, please contact customer support.
- Vertical support beams (4 sections per side, total 8)
- Horizontal support beams (for top, bottom, and intermediate shelves)
- Shelf boards (4 pieces)
- Plastic feet/caps (4 pieces)
- Crossbars for shelf support (8 pieces)
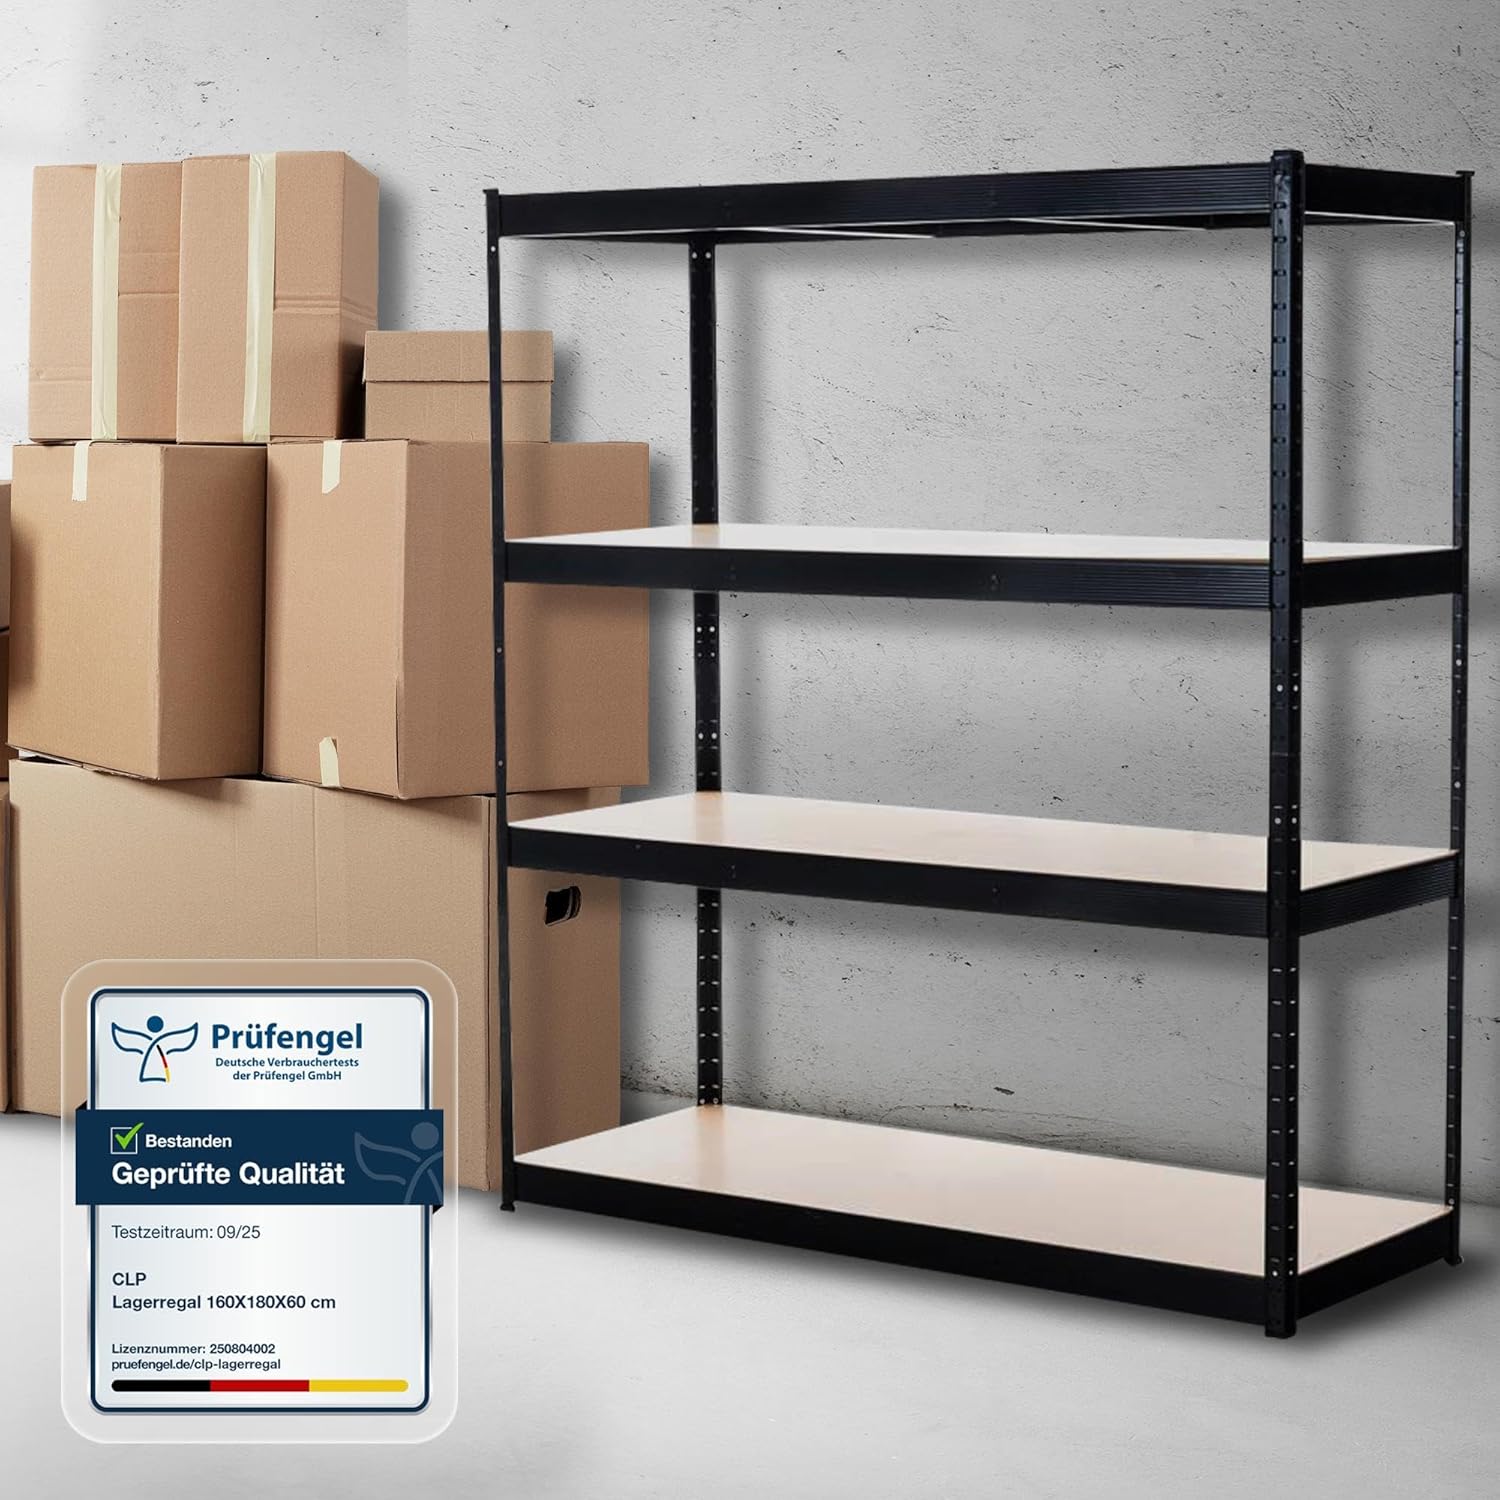
Image 3.1: The shelf components are securely packaged for transport. Ensure all parts are accounted for before assembly.
4. Setup and Assembly
The CLP Heavy-Duty Storage Shelf features a tool-free assembly system, utilizing a simple connection mechanism. Follow these steps for quick and easy setup:
- Prepare the Area: Choose a flat, stable, and dry location for assembly. Ensure sufficient space around the shelf for safe installation.
- Assemble Vertical Supports: Connect the vertical support beam sections by sliding them into each other. Ensure they are fully engaged. Attach the plastic feet to the bottom ends of the assembled vertical supports.
- Install Bottom Shelf Frame: Attach the horizontal support beams for the bottom shelf to the vertical supports. The connection points are designed for a secure, interlocking fit.
- Install Remaining Shelf Frames: Determine your desired shelf heights. The flexible design allows for adjustable shelf placement. Attach the horizontal support beams for the remaining three shelves at your chosen heights.
- Insert Shelf Boards: Place the shelf boards onto the installed horizontal frames. Ensure they sit flush and are stable.
- Add Crossbars: For each shelf, place the two crossbars into the designated slots on the horizontal support beams to provide additional stability and weight distribution.
- Final Check: Gently shake the assembled shelf to ensure all connections are secure and the unit is stable.
- Wall Mounting (Recommended): For enhanced safety, especially in active environments or if the shelf will hold very heavy items, secure the unit to a wall using appropriate wall anchors and screws (not included).

Image 4.1: The tool-free assembly process, highlighting the interlocking design and adjustable shelf positions.

Image 4.2: Detail of the protective foot cap, designed to prevent floor scratching and enhance stability.
5. Operating Instructions
Once assembled and securely placed, your CLP Heavy-Duty Storage Shelf is ready for use:
- Loading Items: Place items onto the shelves, ensuring that the weight is distributed as evenly as possible. Avoid concentrating heavy loads in one small area.
- Weight Limits: Do not exceed the maximum weight capacity of 350 kg per shelf. Overloading can lead to structural failure and potential injury.
- Stability: For optimal stability, place heavier items on lower shelves.
- Movement: If you need to move the shelf, unload all items first. Attempting to move a loaded shelf can cause damage to the unit or injury.

Image 5.1: Each shelf is designed to hold up to 350 kg, provided the weight is distributed evenly.
6. Maintenance
Regular maintenance will ensure the longevity and safe operation of your storage shelf:
- Cleaning: Wipe down the metal frame with a damp cloth and mild detergent. Dry thoroughly. For the shelf boards, use a dry or slightly damp cloth. Avoid abrasive cleaners.
- Inspection: Periodically check all connections to ensure they remain tight and secure. Re-tighten if necessary. Inspect shelf boards for any signs of damage or warping.
- Environment: Ensure the shelf remains in a dry environment. As noted in the safety section, high humidity can damage the shelf boards.
7. Troubleshooting
If you encounter any issues with your storage shelf, refer to the following common solutions:
- Shelf is Unstable:
- Ensure all vertical and horizontal connections are fully engaged and secure.
- Verify the shelf is on a level surface. Adjust if necessary.
- Confirm the wall mounting is properly installed (if applicable).
- Shelf Boards Don't Fit:
- Check that the horizontal support beams are correctly installed and form a rectangular frame.
- Ensure the shelf boards are oriented correctly.
- Damaged Components:
- If any components arrived damaged or become damaged during assembly/use, do not attempt to force them. Contact customer support for replacement parts.
8. Specifications
| Brand | CLP |
| Model Number | 306544 |
| Color | Black |
| Material | Metal |
| Overall Dimensions (L x W x H) | 160 cm x 60 cm x 180 cm |
| Item Weight | 45 kg |
| Number of Shelves | 4 |
| Weight Capacity per Shelf | 350 kg |
| Sheet Thickness | 1 mm |
| Mounting Type | Freestanding (Wall mount recommended for optimal stability) |
9. Warranty and Support
For warranty information, spare parts, or technical support, please contact the retailer or manufacturer directly. Keep your proof of purchase for any warranty claims.
Spare parts availability information is currently unavailable. Please inquire with the manufacturer or retailer for specific part requests.


