1. Introduction
Thank you for choosing the WAP ROBOT W300 Robot Vacuum Cleaner. This manual provides essential information for the safe operation, maintenance, and troubleshooting of your device. Please read it thoroughly before use to ensure optimal performance and longevity of the product.
2. Safety Instructions
- Ensure the power voltage in your region matches the product's specifications (Bivolt: 110V/220V) before connecting the charger.
- This appliance is for indoor use only. Do not use it outdoors or in wet environments.
- Do not allow children to operate the robot vacuum cleaner. Supervise children and pets when the device is in operation.
- Keep hair, loose clothing, fingers, and all body parts away from openings and moving parts.
- Do not pick up large or sharp objects, liquids, burning or smoking materials, or anything that could damage the device.
- Do not use the appliance in areas where there are lit candles or fragile objects on the floor.
- Always turn off the robot vacuum and disconnect it from the power source before cleaning or performing maintenance.
- Do not modify or attempt to repair the appliance yourself. Contact qualified service personnel for repairs.
3. Package Contents
Carefully unpack the box and ensure all items are present and in good condition:
- 1 x WAP ROBOT W300 Robot Vacuum Cleaner
- 1 x Charging Dock
- 1 x Bivolt Charger
- 2 x AAA 1.5V Batteries (for remote control)
- 1 x Cleaning Brush
- 1 x Right Swivel Brush
- 1 x Left Swivel Brush
- 1 x Right Replacement Brush
- 1 x Left Replacement Brush
- 1 x HEPA Filter
- 1 x Washable Fabric Filter
- 1 x Instruction Manual
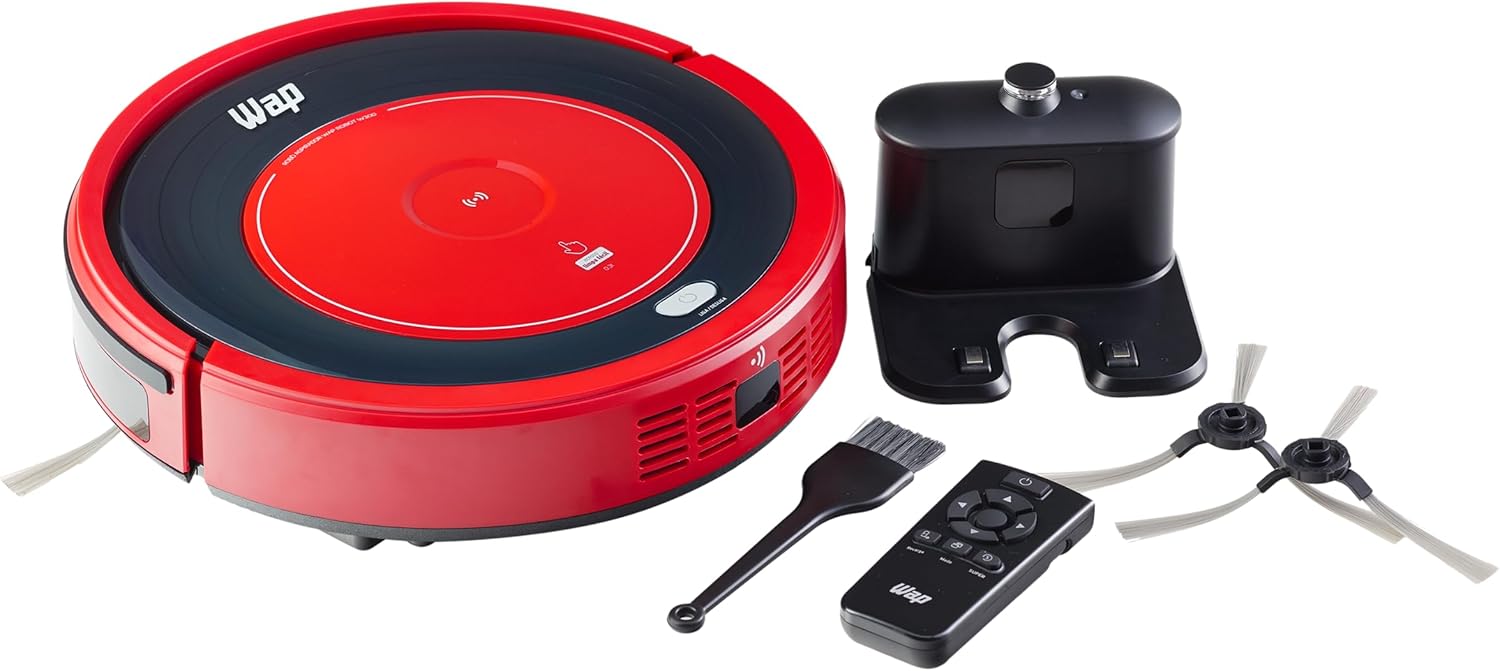
Image: The WAP ROBOT W300 robot vacuum cleaner shown with its charging dock, remote control, cleaning brush, and various replacement brushes and filters.
4. Product Overview
4.1 Robot Vacuum Cleaner
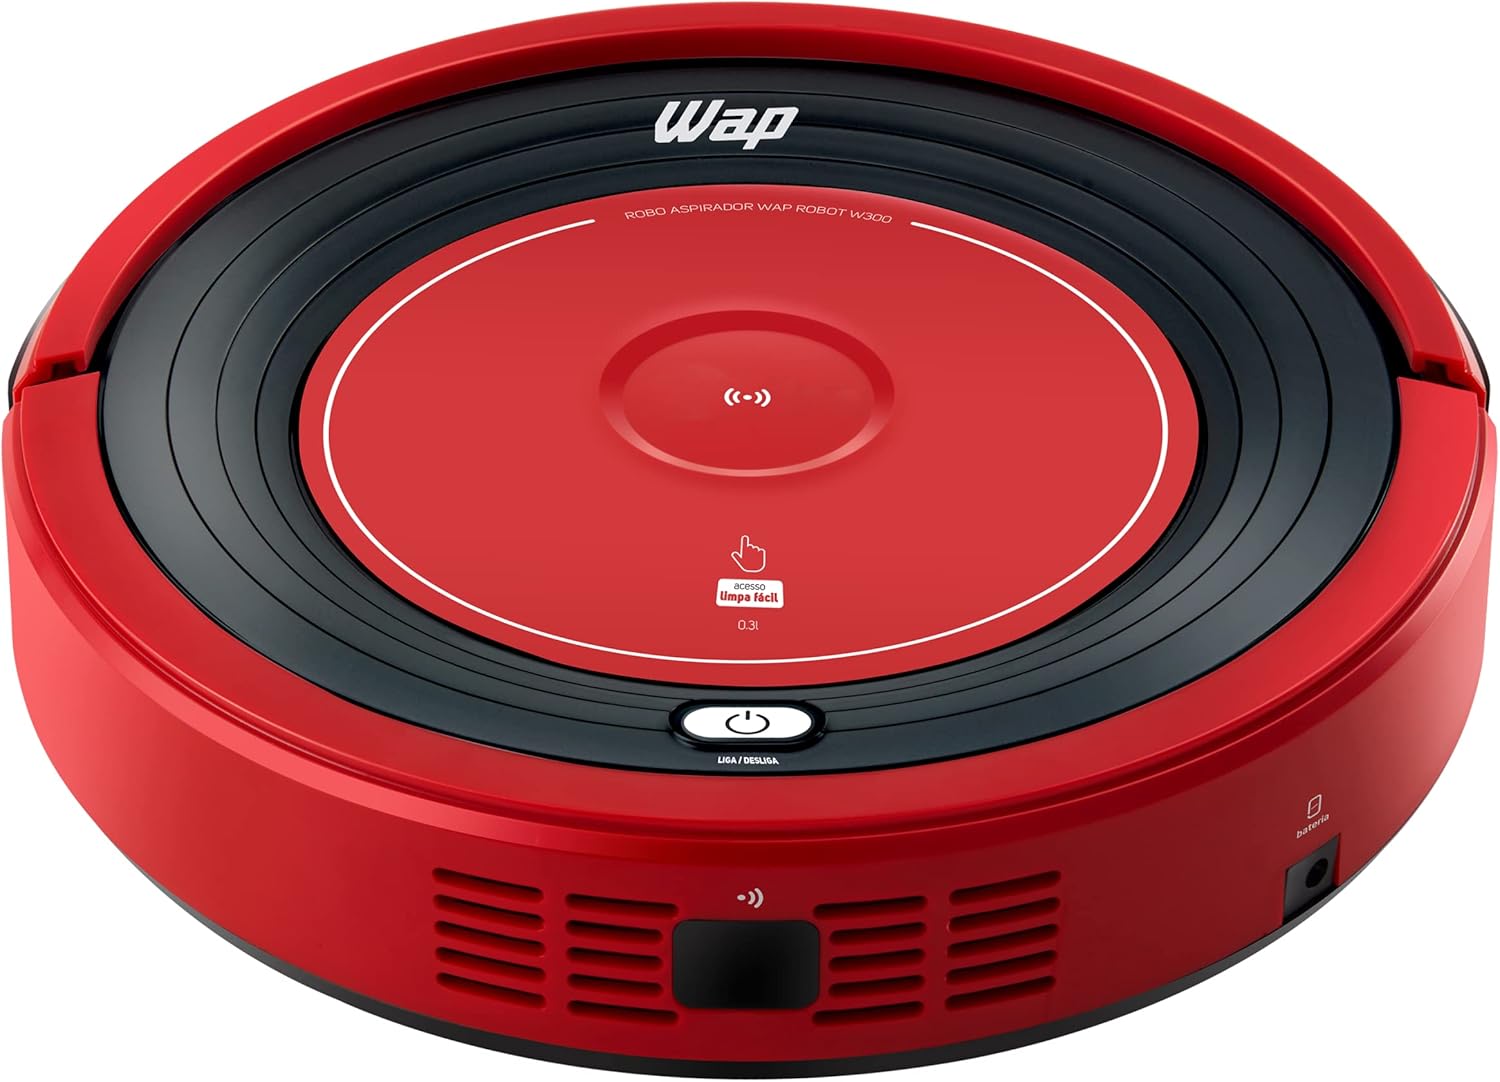
Image: Top view of the WAP ROBOT W300, showing the power button and dustbin access.
The WAP ROBOT W300 features a compact design, allowing it to clean under furniture. It is equipped with anti-fall and anti-collision sensors to navigate your home safely.
4.2 Charging Dock

Image: The black charging dock for the WAP ROBOT W300, where the robot automatically returns to recharge.
The charging dock serves as the home base for your robot vacuum. The robot will automatically return to this base when its battery is low.
4.3 Remote Control

Image: The remote control for the WAP ROBOT W300, featuring navigation, mode selection, and power buttons.
The multifunction remote control allows you to select various cleaning programs and manually direct the robot.
4.4 Bottom View and Brushes

Image: Underside of the WAP ROBOT W300, displaying the rotating side brushes, main brush, and wheels.
The robot is equipped with rotating side brushes to effectively clean corners and edges, and rubber wheels for easy navigation over obstacles like rugs.
5. Setup
5.1 Installing Side Brushes
- Turn the robot vacuum upside down.
- Align the left (L) and right (R) side brushes with their corresponding posts on the robot's underside.
- Press firmly until they click into place.
5.2 Placing the Charging Dock
- Place the charging dock against a wall in an open, uncluttered area.
- Ensure there is at least 1 meter (3 feet) of clear space on both sides of the dock and 2 meters (6 feet) in front of it.
- Plug the charger into the charging dock and then into a wall outlet.
5.3 Initial Charge
- Place the robot vacuum onto the charging dock, ensuring the charging contacts align.
- Allow the robot to charge completely before its first use. A full charge typically takes 3 to 5 hours.
6. Operating Instructions
6.1 Powering On/Off
- To power on, press the power button on the robot or the remote control.
- To power off, press and hold the power button on the robot or the remote control until the indicator light turns off.
6.2 Cleaning Modes (via Remote Control)
The remote control offers five distinct cleaning modes:
- Self-Cleaning: The robot cleans automatically, adapting to the environment.
- Special Cleaning: Focuses on a specific area with a spiral pattern.
- Random Cleaning: The robot moves randomly to cover the area.
- Corner Cleaning: Directs the robot to clean along walls and corners.
- Zigzag Cleaning: The robot cleans in a systematic zigzag pattern.
6.3 SUPER Function
Activate the SUPER function on the remote control to increase the suction power for deeper cleaning. Note that this mode may reduce battery autonomy.
6.4 Navigation and Sensors
The WAP ROBOT W300 is equipped with anti-fall and anti-collision sensors. These sensors help the robot avoid stairs, ledges, and obstacles, redirecting its path as needed.
6.5 Automatic Recharge
When the battery level is low, the robot will automatically return to its charging dock to recharge. Ensure the charging dock is accessible and powered on.
7. Maintenance
Regular maintenance ensures the optimal performance and extends the lifespan of your robot vacuum cleaner.
7.1 Emptying and Cleaning the Dustbin

Image: The WAP ROBOT W300 with its top cover lifted, revealing the dustbin compartment for easy access and cleaning.
- Press the dustbin release button and remove the dustbin (capacity: 300ml).
- Open the dustbin cover and empty its contents into a trash bin.
- The dust collector is washable. Rinse it with water and allow it to air dry completely before reinserting.
7.2 Cleaning the Filters
The WAP ROBOT W300 features triple filtration, including a HEPA filter, which retains up to 99.9% of dust mites and bacteria.
- Remove the filters from the dustbin.
- Tap the HEPA filter gently to remove loose debris. Do not wash the HEPA filter with water.
- The washable fabric filter can be rinsed with water. Ensure it is completely dry before reinstallation.
- Replace filters regularly for optimal performance (check manufacturer recommendations).
7.3 Cleaning Side Brushes
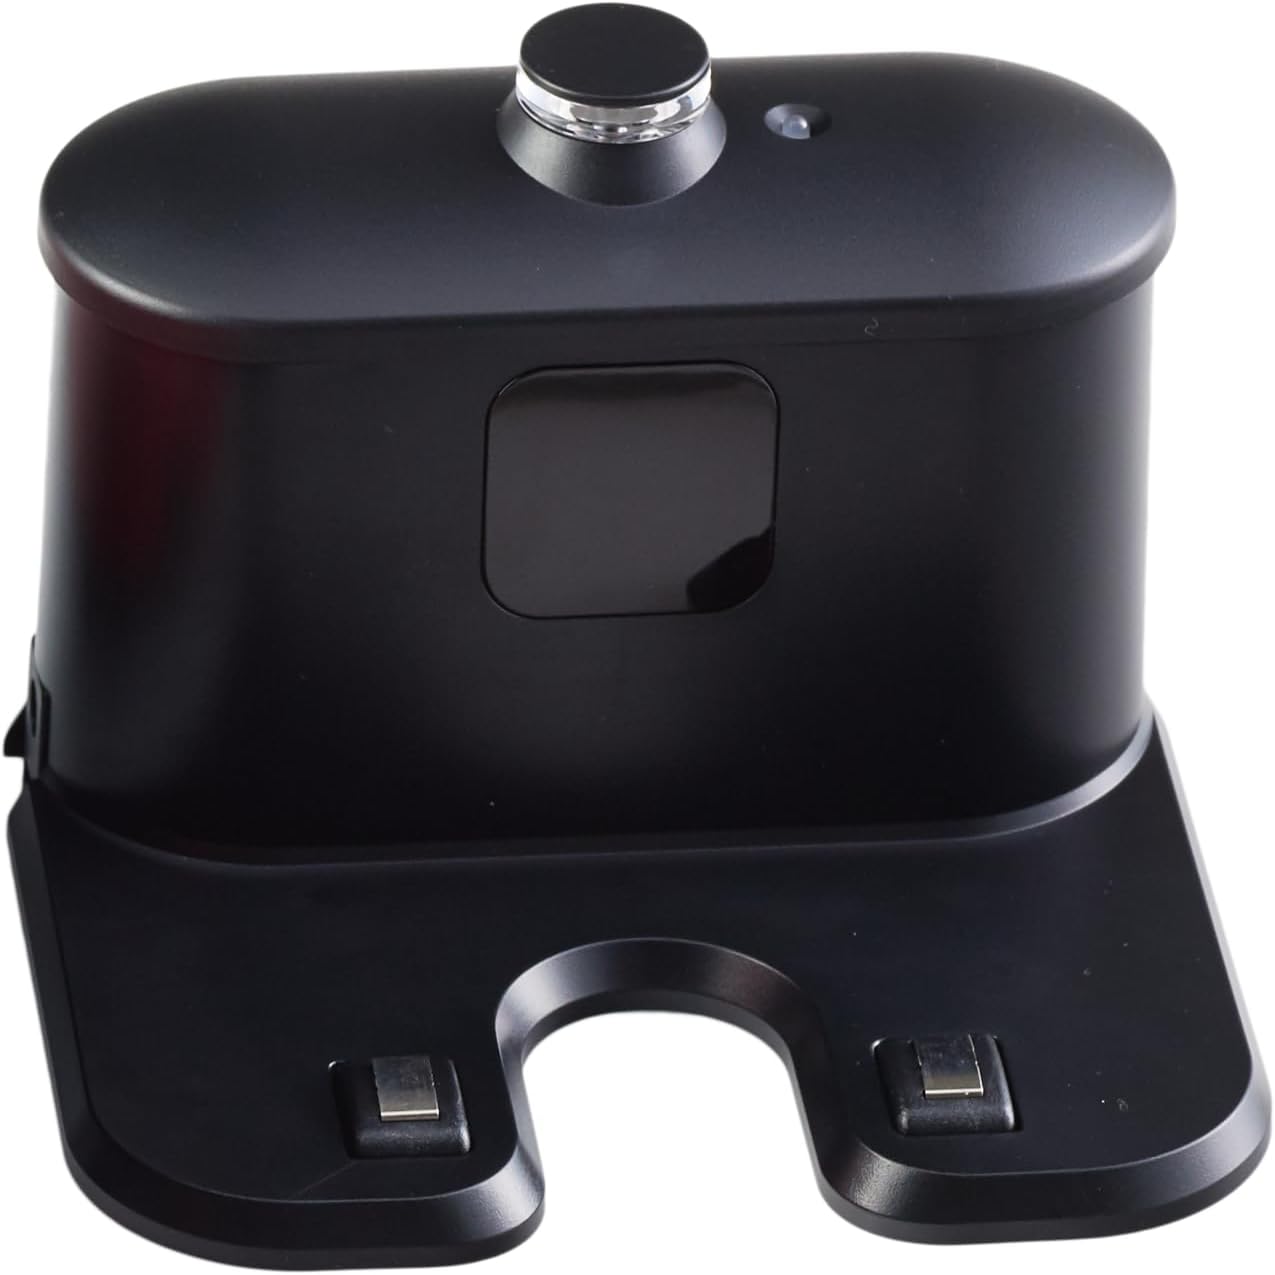
Image: A single rotating side brush, which helps the robot clean edges and corners.
- Remove the side brushes by gently pulling them upwards.
- Remove any hair or debris wrapped around the brushes or their posts.
- Reinstall the brushes, ensuring they are securely attached.
7.4 Cleaning Sensors
- Wipe the anti-fall and anti-collision sensors with a clean, dry cloth to remove dust and debris.
- Clean the charging contacts on both the robot and the charging dock.
8. Troubleshooting
| Problem | Possible Cause | Solution |
|---|---|---|
| Robot does not turn on. | Low battery; power switch off. | Charge the robot; ensure power switch is on. |
| Robot does not charge. | Charging contacts dirty; dock not powered. | Clean charging contacts; ensure dock is plugged in. |
| Reduced suction power. | Dustbin full; filters clogged; brushes tangled. | Empty dustbin; clean/replace filters; clean brushes. |
| Robot gets stuck frequently. | Obstacles on floor; sensors dirty. | Clear floor of cables/small items; clean sensors. |
| Robot does not return to charging dock. | Dock obstructed; dock not powered; robot too far. | Ensure clear path to dock; check dock power; manually place robot near dock. |
9. Specifications
| Feature | Detail |
|---|---|
| Brand | WAP |
| Model Number | FW006247 |
| Color | Red/Black |
| Product Dimensions (L x W x H) | 30 x 30 x 7.8 cm |
| Item Weight | 2.7 Kilograms |
| Dustbin Capacity | 300 ml |
| Power | 18 W |
| Voltage | 110V, 220V (Bivolt) |
| Automatic Shut-off | Yes |
| Noise Level | 74 dB(A) |
| Vacuum | 5 mbar |
| Special Features | Anti-Collision, Anti-Drop Sensors |
| Filter Type | Triple filtration with HEPA filter |
| Battery Life | 45 minutes to 1 hour 15 minutes (Autonomy may vary) |
| Charging Time | 3 to 5 hours |
| Battery Cell Composition | Lithium Ion |
| Control Type | Remote Control |
10. Warranty and Support
10.1 Warranty Information
- Product Warranty: 1 YEAR (3 months legal warranty and an additional 9 months special warranty granted by the manufacturer).
- Battery Warranty: 6 MONTHS.
Please retain your proof of purchase for warranty claims. The warranty covers manufacturing defects under normal use conditions.
10.2 Customer Support
For technical assistance, troubleshooting beyond this manual, or warranty inquiries, please contact WAP customer support through their official website or the retailer where the product was purchased.


