
Browning 8A
Browning Spec Ops Advantage Trail Camera User Manual
Model: 8A
Introduction
The Browning Spec Ops Advantage Trail Camera is designed for capturing high-quality images and videos of wildlife or for security surveillance. It features advanced night vision capabilities and a robust design suitable for outdoor use.
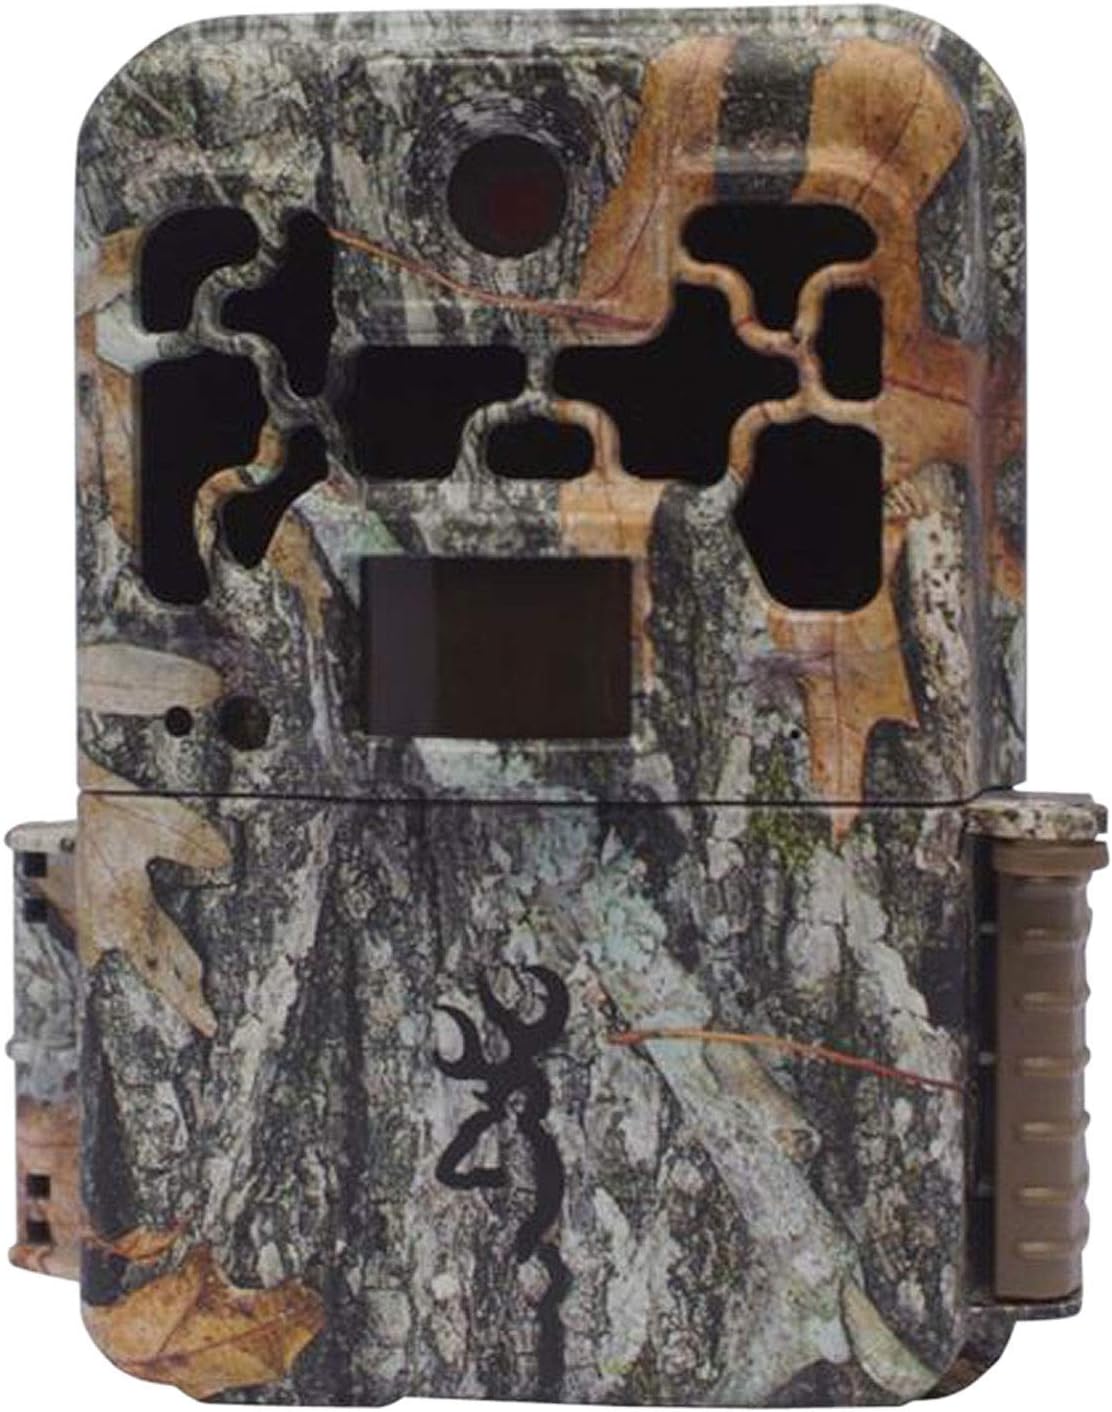
Image: Front view of the Browning Spec Ops Advantage Trail Camera, showcasing its camouflage pattern designed for blending into natural environments.
Setup
1. Battery Installation
The camera requires 8 AA batteries (not included). For optimal performance and battery life, it is recommended to use high-quality alkaline or lithium batteries.
- Open the battery compartment located on the side or bottom of the camera.
- Insert 8 AA batteries, ensuring correct polarity (+/-) as indicated inside the compartment.
- Close the battery compartment securely to maintain weather resistance.
2. SD Card Installation
A memory card is required to store images and videos. The camera supports SDXC memory cards up to 512GB (not included).
- Locate the SD card slot, typically near the battery compartment or behind the front panel.
- Insert the SD card into the slot until it clicks into place. Ensure the card is inserted in the correct orientation.
- To remove, gently push the card in until it springs out.
3. Mounting the Camera
The camera can be mounted using a wall mount or a 1/4"-20 tripod thread.
- Strap Mounting: Thread the provided mounting strap through the slots on the back of the camera and secure it around a tree or post.
- Tripod Mounting: Use the 1/4"-20 threaded insert on the bottom of the camera to attach it to a tripod or other compatible mounting accessory.
- Wall Mounting: Utilize the integrated mounting points for secure attachment to a wall or flat surface.
Operating Instructions
Powering On and Initial Settings
After installing batteries and an SD card, power on the camera using the ON/OFF switch. The 2-inch color viewing screen will activate, allowing you to navigate the menu.
Camera Modes
- Photo Mode: Captures still images. Features include 20 MP resolution, up to 8 multi-shot images, and up to 8 rapid-fire images.
- Video Mode: Records high-definition video. Supports 1920 x 1080 Full HD video resolution. The Smart IR Video feature allows continuous recording while motion is detected.
- Timelapse Plus Camera Mode: Captures images at set intervals, with infrared triggered pictures also taken when motion is detected.
Key Features and Settings
- Night Vision: Invisible "Night Vision" Infrared LED Illumination with an 80 ft flash range. Adjustable IR Flash settings (Power Save, Long Range) are available.
- Detection Range: Adjustable detection range up to 80 ft.
- Recovery Time: Features a 0.6-second recovery time between triggers.
- Picture Info Bar: Images and videos include an info bar displaying Time, Date, Temperature, Moon Phase, and Camera ID.
- Programmable Picture Delay: Set the delay between triggers from 1 second to 60 minutes.
- External Power: A 12-volt external power jack is available for continuous power supply.
- Connectivity: Includes TV Out and USB Port for viewing media on external devices or transferring files.
Maintenance
Cleaning
- Regularly clean the camera lens and IR filter with a soft, lint-free cloth to ensure clear image quality.
- Wipe down the camera housing with a damp cloth to remove dirt and debris. Avoid using harsh chemicals.
Battery Management
- Check battery levels periodically via the camera's display.
- Replace all 8 AA batteries simultaneously when they are low to maintain consistent performance.
- If storing the camera for an extended period, remove batteries to prevent leakage.
SD Card Management
- Utilize the SD card management options to overwrite older images if the memory card becomes full. This prevents the camera from stopping recording due to lack of space.
- Format the SD card periodically within the camera's settings to ensure optimal performance and prevent data corruption.
Troubleshooting
| Problem | Possible Cause | Solution |
|---|---|---|
| Camera does not power on. |
|
|
| Poor image/video quality at night. |
|
|
| Motion detection is inconsistent or misses events. |
|
|
| Video recording stops prematurely. |
|
|
Specifications
| Feature | Detail |
|---|---|
| Effective Still Resolution | 20 MP |
| Video Capture Resolution | 1080p (Full HD) |
| Flash Memory Type | SD, SDXC (up to 512GB) |
| Low Light Technology | Night Color, Invisible Infrared LED Illumination |
| Flash Range | 80 ft |
| Detection Range | Adjustable up to 80 ft |
| Recovery Time | 0.6 seconds |
| Power Source | 8 AA Batteries (not included), 12V External Power Jack |
| Display | 2" Color Viewing Screen |
| Connectivity | USB Port, TV Out |
| Dimensions (L x W x H) | 9.8 x 4.8 x 3.2 inches |
| International Protection Rating | IP54 |
Warranty and Support
For warranty information, technical support, or service inquiries, please contact Browning customer support. Refer to the product packaging or the official Browning website for the most current contact details and warranty terms.
Important: This product contains chemicals known to the State of California to cause cancer and birth defects or other reproductive harm. Please handle with care and refer to safety guidelines.
Related documents8A


Ask a question about this manual
Ask about setup, troubleshooting, compatibility, parts, safety, or missing instructions. Manuals+ will review the question and use this page’s manual context to help answer it.