
1. Introduction
This manual provides comprehensive instructions for assembling, operating, and maintaining your Spilay Florence DIY Miniature Dollhouse Kit. This 1:24 scale model is a creative craft project designed for adults and individuals aged 14 and above. The kit includes all necessary wooden, fabric, and paper components, along with LED lights and a music box, to construct a detailed miniature house.
Please read all instructions carefully before beginning assembly to ensure a smooth and enjoyable building experience. Familiarize yourself with all parts and tools required.

Image 1.1: The fully assembled Spilay Florence DIY Miniature Dollhouse Kit.
2. Safety Information
Warning: Choking Hazard - Small Parts. This kit contains small components that may pose a choking hazard. Not suitable for children under 3 years of age. Adult supervision is recommended for users under 14 years.
- Keep all small parts and tools out of reach of young children and pets.
- Use glues and paints in a well-ventilated area. Refer to the safety instructions of any adhesives or paints used.
- Exercise caution when using sharp tools such as scissors, craft knives, or tweezers.
- Dispose of waste materials responsibly.
3. Package Contents
Your Spilay Florence DIY Miniature Dollhouse Kit includes the following:
- Pre-cut wooden pieces for structural components and furniture.
- Fabric and paper materials for decorations, wallpaper, and upholstery.
- LED lighting components with wiring.
- Music box mechanism.
- Various small accessories and decorative items.
- Detailed English instruction manual with illustrations.
Note: The package does not include liquid silicone glue or 2 AAA batteries. These items must be purchased separately as they cannot be shipped by air.
4. Setup and Assembly
Assembly of the Spilay Florence dollhouse requires patience and attention to detail. Follow the provided English manual step-by-step for the best results.
4.1. Required Tools and Materials (Not Included)
- Liquid silicone glue (or similar craft adhesive suitable for wood, paper, and fabric).
- 2 x AAA batteries for LED lights.
- Small scissors or craft knife.
- Tweezers (highly recommended for small parts).
- Ruler and pencil.
- Small screwdriver (for battery compartment).
4.2. General Assembly Steps
- Unpack and Organize: Carefully unpack all components. It is highly recommended to sort parts by type or according to the numbering in the instruction manual. This will prevent confusion and missing pieces during assembly.
- Review Instructions: Read through the entire instruction manual once before starting. Pay close attention to diagrams and specific warnings.
- Prepare Components: Some wooden pieces may require gentle sanding to remove burrs or ensure a perfect fit. Fabric and paper pieces may need to be cut according to templates or measurements provided.
- Structural Assembly: Begin by assembling the main structure of the dollhouse as indicated in the manual. Use glue sparingly but effectively to ensure strong bonds. Allow sufficient drying time for each section before proceeding.
- Furniture and Decorations: Assemble the miniature furniture and decorative elements. These often involve intricate steps and require precision.
- Electrical Wiring (LEDs): Install the LED lighting system according to the diagrams. Ensure all connections are secure. The battery compartment will need 2 AAA batteries installed (see Section 5.1).
- Music Box Installation: Integrate the music box mechanism into the designated area as per the instructions.
- Final Touches: Add all remaining decorative items and ensure all parts are securely attached.
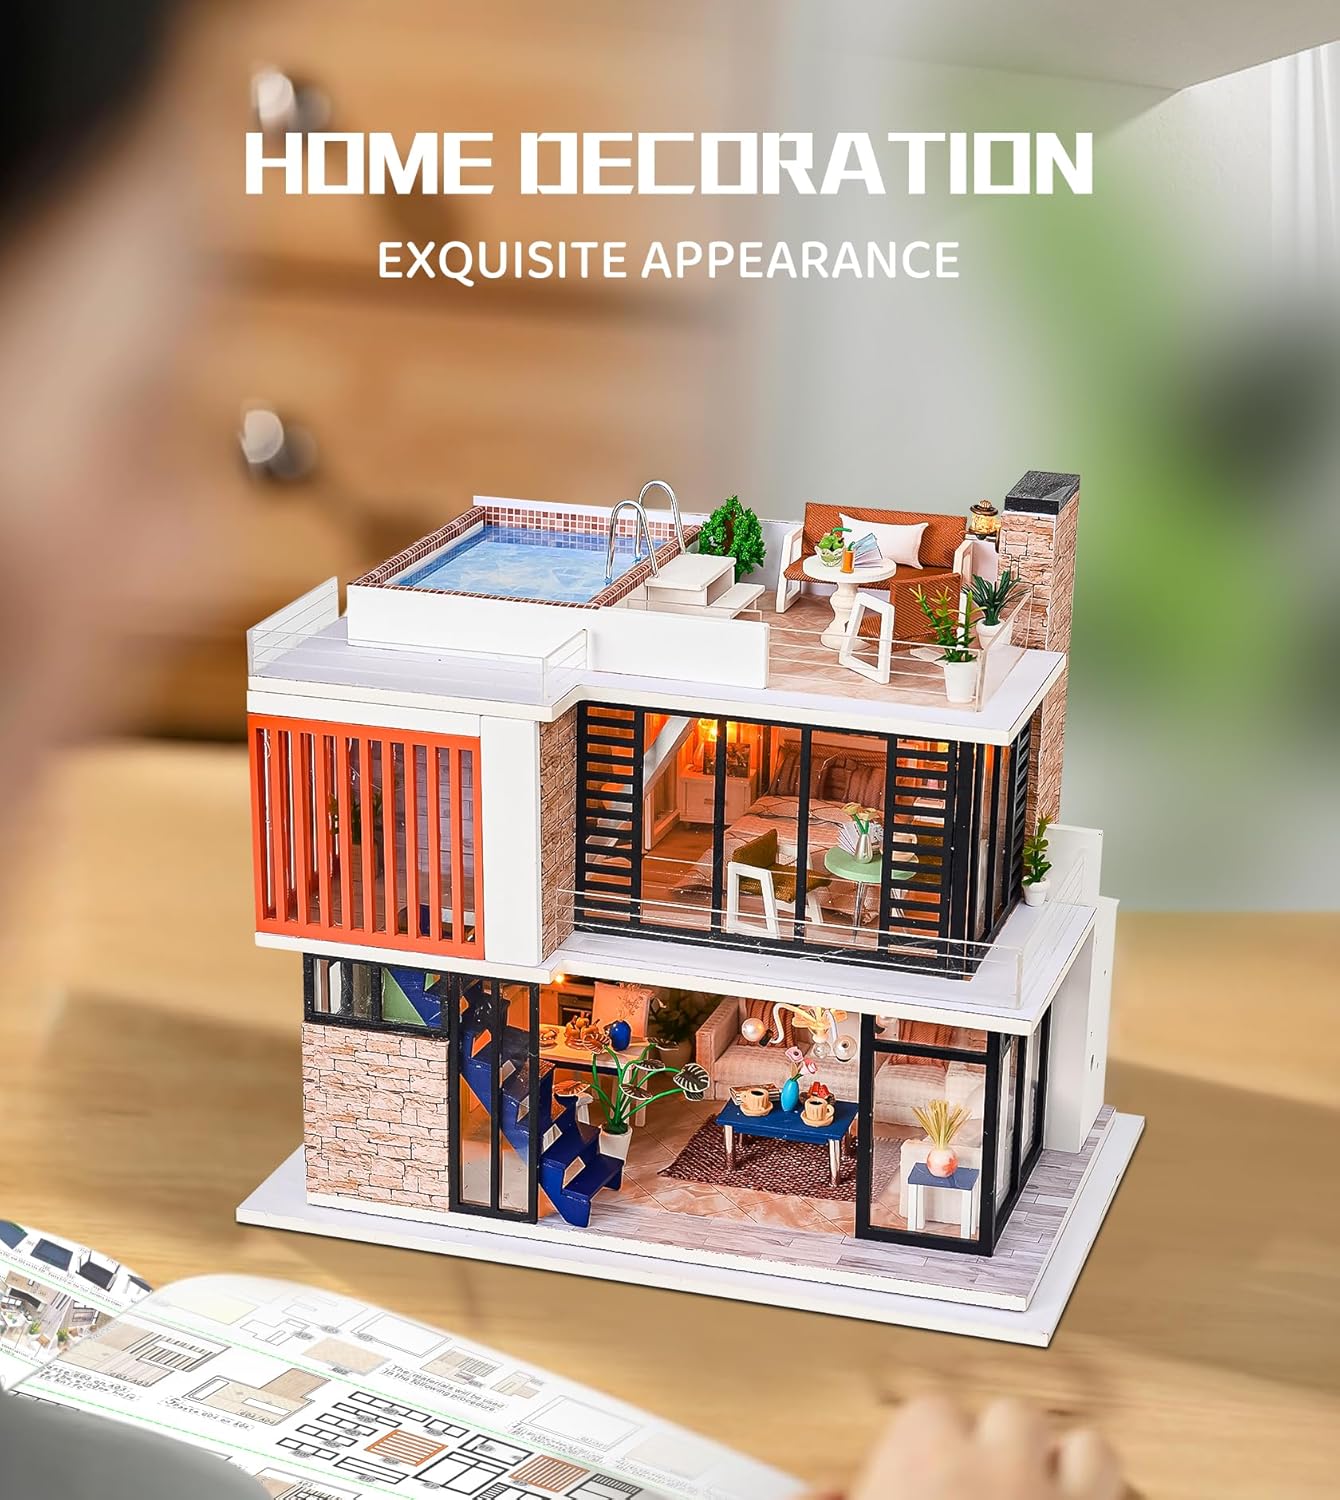
Image 4.1: An exterior view of the Florence dollhouse, showcasing its modern design.
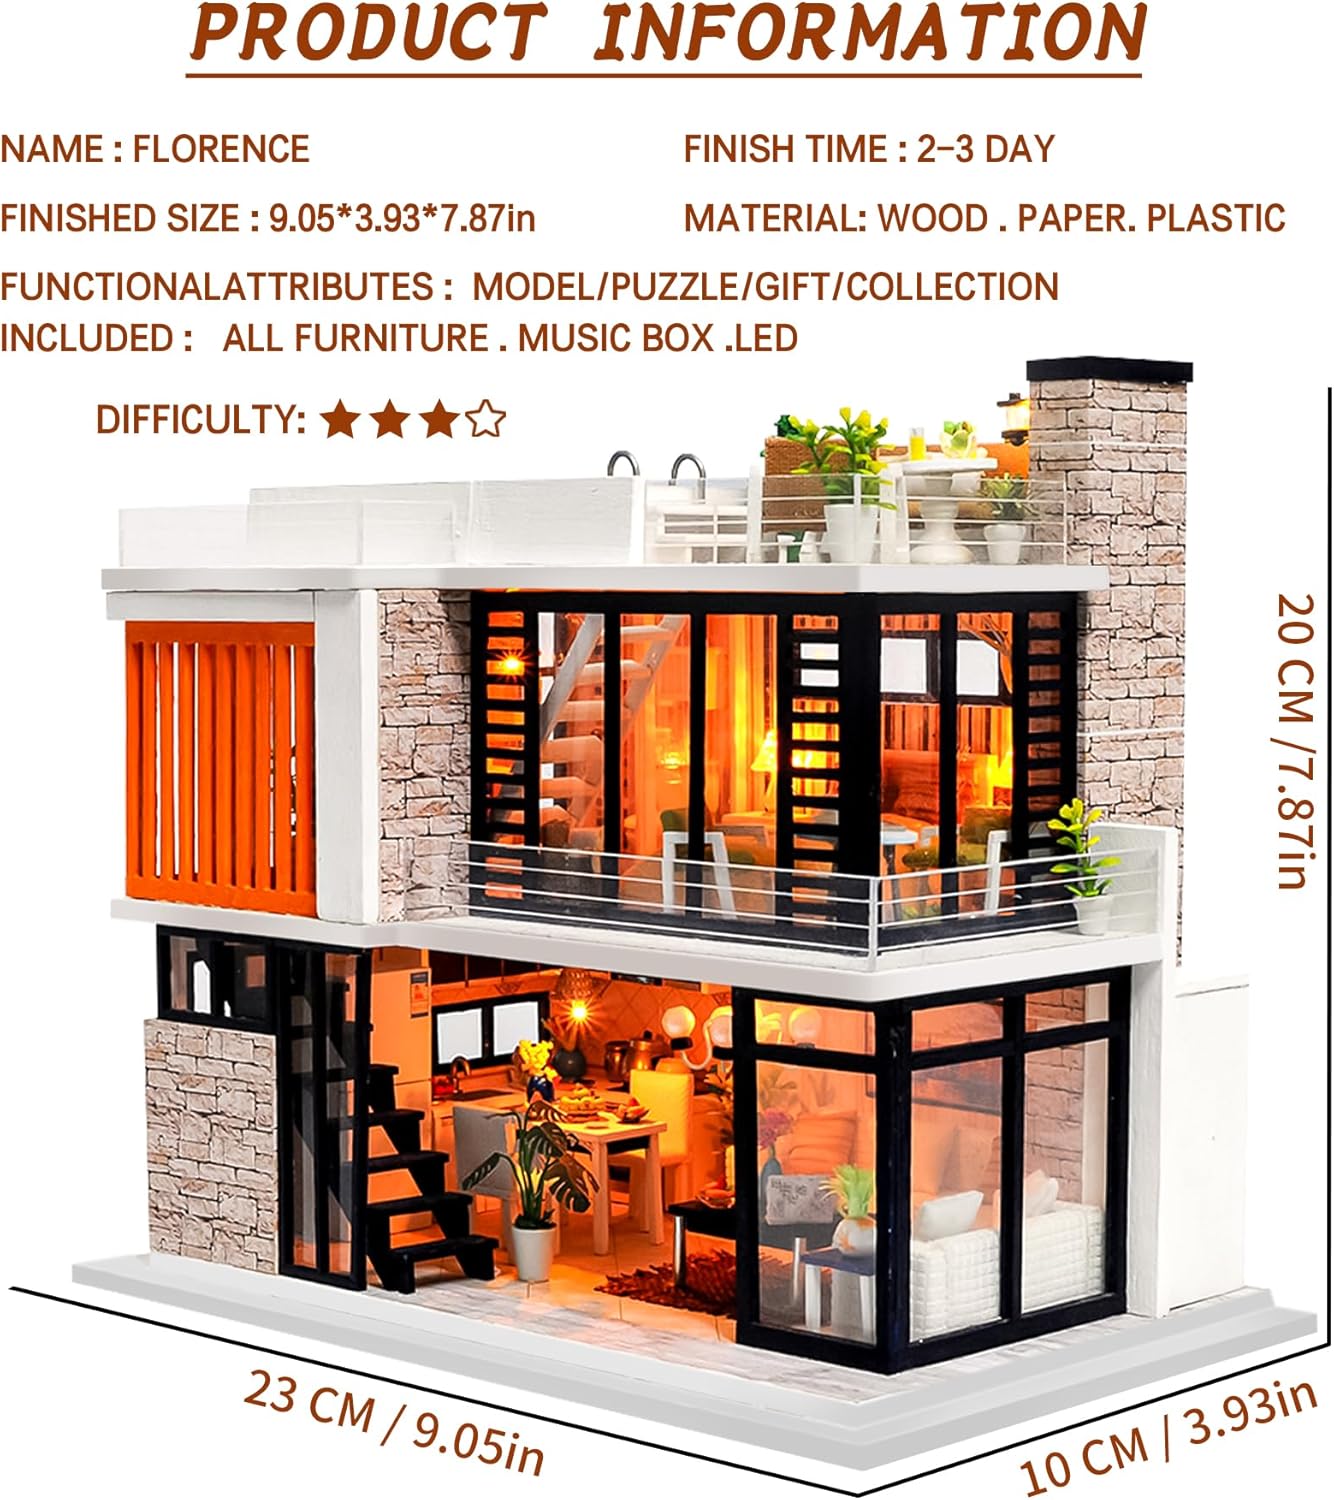
Image 4.2: Detailed view of the dollhouse interior, including furniture and lighting.
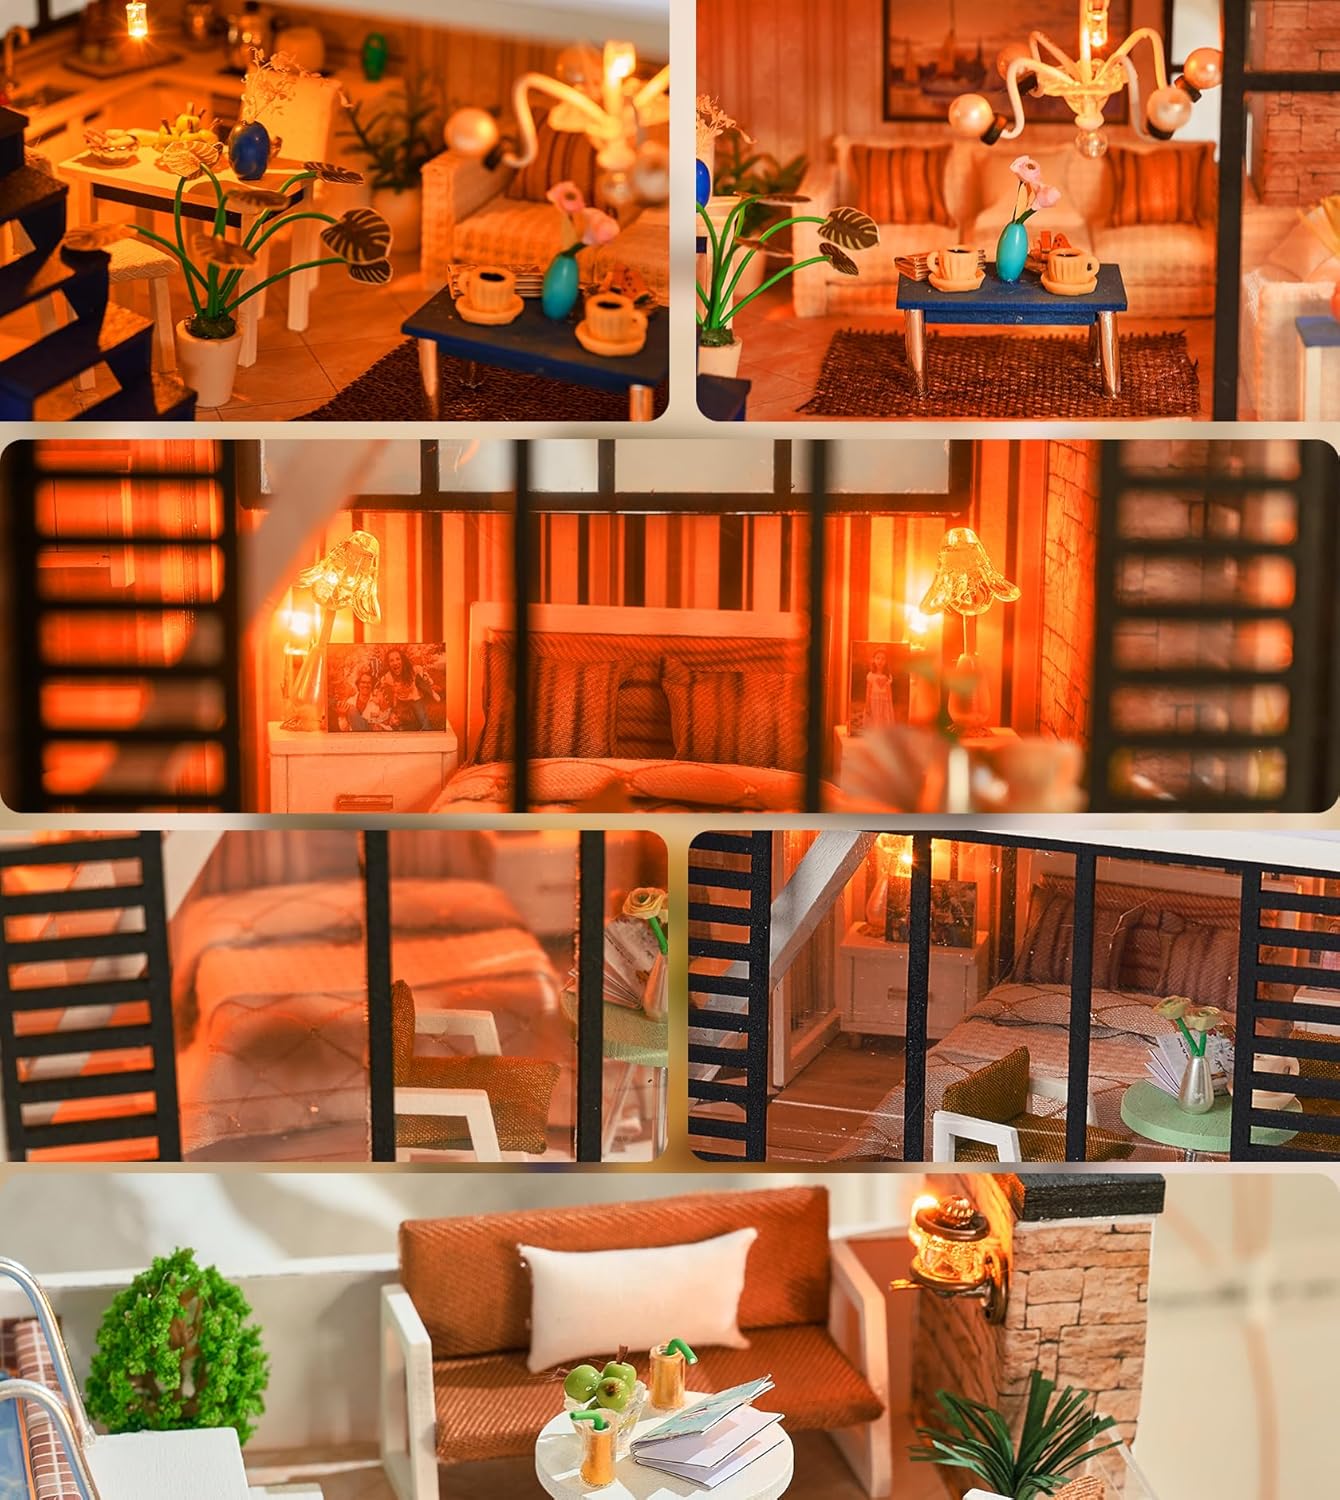
Image 4.3: Close-up of a room inside the Florence dollhouse, highlighting intricate details.
5. Operating Instructions
5.1. LED Lighting
The LED lights in your dollhouse are powered by 2 AAA batteries (not included). Ensure these are installed correctly in the designated battery compartment, observing polarity (+/-).
- Locate the battery compartment, typically found at the base or rear of the dollhouse.
- Open the compartment cover using a small screwdriver if necessary.
- Insert 2 fresh AAA batteries, matching the polarity markings.
- Close the compartment cover securely.
- Activate the lights using the switch provided, usually located near the battery compartment or integrated into the wiring.
5.2. Music Box
The integrated music box plays the tune "Castle in the Sky".
- Locate the winding key or mechanism for the music box, as indicated in your assembly manual.
- Gently turn the key clockwise to wind the mechanism. Do not overwind.
- Release the key to hear the melody.
6. Maintenance
6.1. Cleaning
- Dust the dollhouse regularly with a soft, dry cloth or a soft brush to prevent dust buildup in intricate areas.
- Avoid using liquid cleaners or abrasive materials, as these can damage the delicate components and finishes.
6.2. Storage
- Store the dollhouse in a dry environment, away from direct sunlight and extreme temperatures, to prevent warping or fading of materials.
- If storing for an extended period, remove the AAA batteries to prevent leakage and damage to the electrical components.
7. Troubleshooting
| Problem | Possible Cause | Solution |
|---|---|---|
| LED lights do not turn on. |
|
|
| Music box does not play. |
|
|
| Parts do not fit together properly. |
|
|
| Missing components. |
|
|
8. Specifications

Image 8.1: Product dimensions and features overview.
| Model Name: | Florence |
| Brand: | Spilay |
| Scale: | 1:24 |
| Finished Dimensions (L x W x H): | 23 cm x 10 cm x 20 cm (9.05 in x 3.93 in x 7.87 in) |
| Weight: | 1.2 kg (2.6 lbs) |
| Materials: | Wood, Paper, Fabric |
| Power Source (LEDs): | 2 x AAA Batteries (not included) |
| Music Box Tune: | Castle in the Sky |
| Recommended Age: | 14 years and up |
| UPC: | 192242498797 |
| ASIN: | B07K8T35QW |
9. Warranty and Customer Support
Spilay is committed to providing high-quality products and customer satisfaction. If you encounter any issues during assembly, find missing parts, or have questions regarding your kit, please do not hesitate to contact Spilay customer support.
For the best support and to ensure complete product accessories and after-sales service, it is recommended to purchase Spilay products directly from authorized retailers or the official Spilay store.
We aim to resolve any problems as quickly as possible to ensure you have a positive experience with your Spilay dollhouse kit.