1. Product Overview
The Midland T71VP3 X-TALKER Two-Way Radio provides reliable point-to-point communication. This license-free FRS/GMRS radio features 36 channels, 121 privacy codes, and a communication range of up to 38 miles in optimal conditions. It includes NOAA Weather Scan and Alert for severe weather updates and eVOX hands-free operation for convenience.
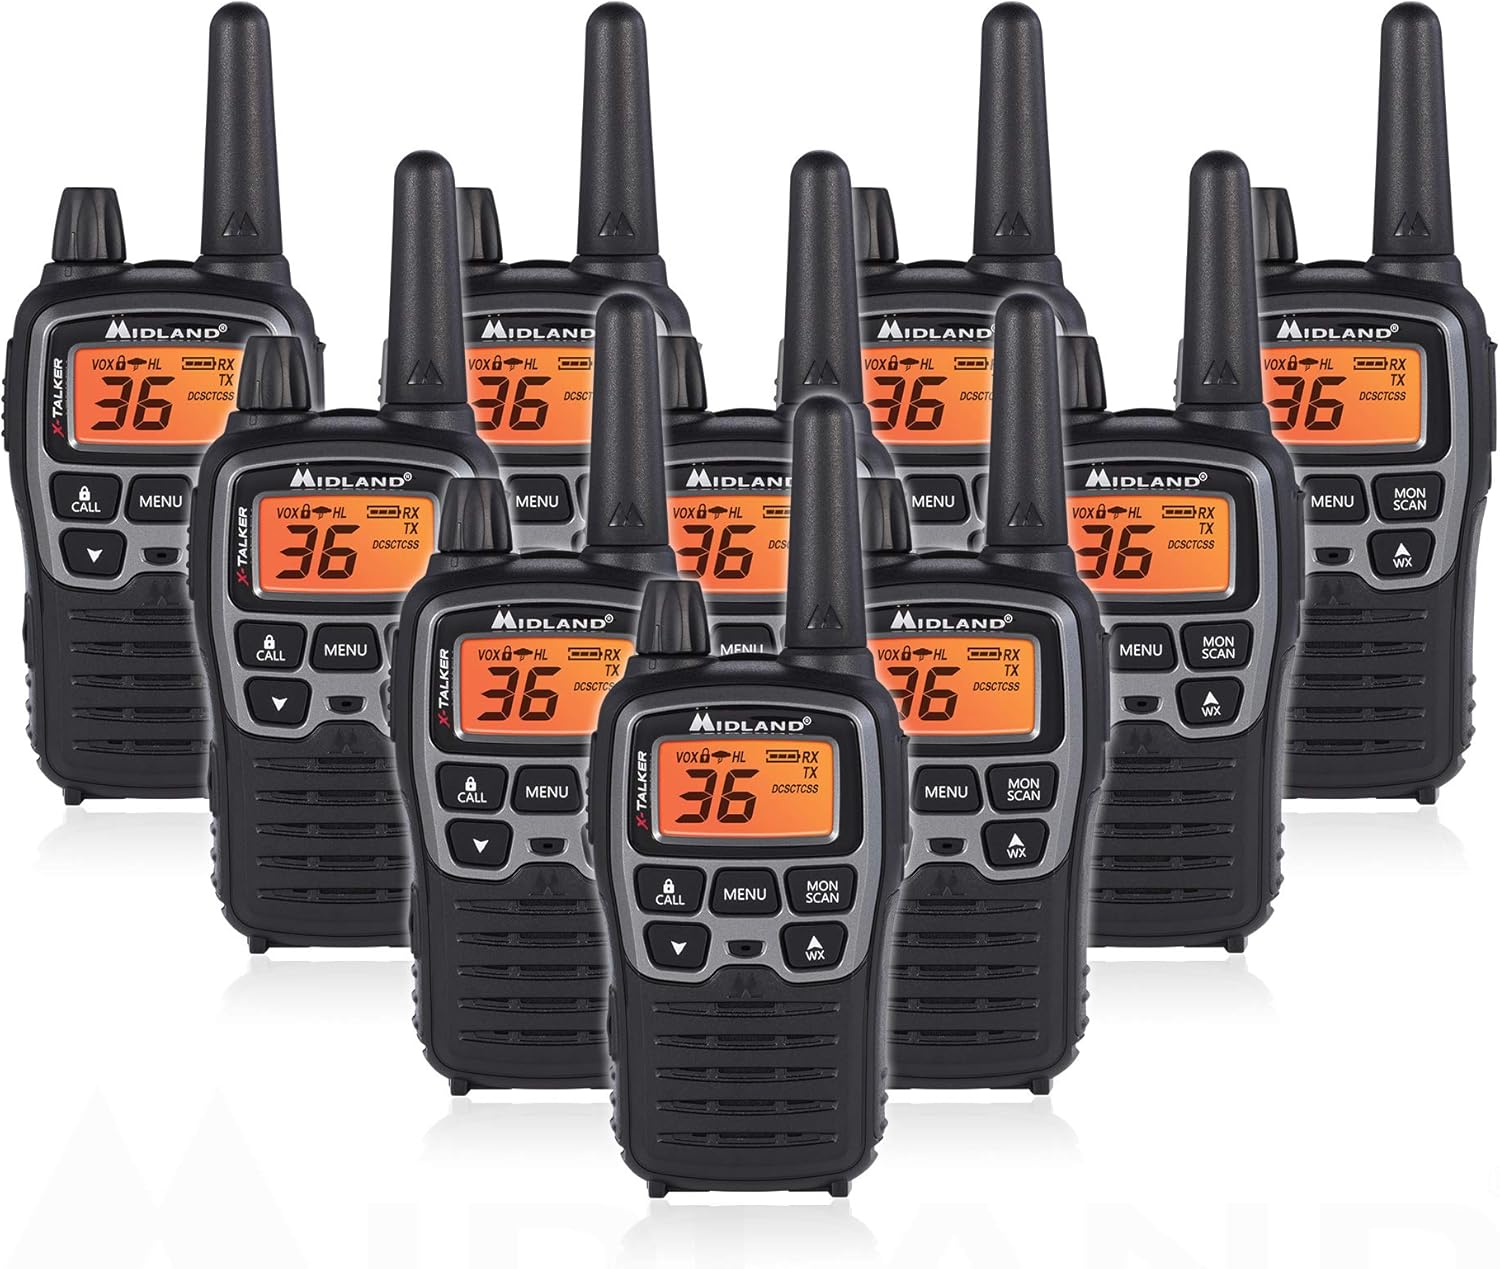
Figure 1: Midland T71VP3 Two-Way Radios (10-Pack)
2. What's in the Box
- 10 x T71VP3 Radios
- 10 x Belt Clips
- 10 x 700mAh Rechargeable Battery Packs
- 1 x Desktop Charger (for two radios)
- 1 x Micro USB Charging Cable
- 1 x Owner's Manual
3. Product Features
- 36 FRS/GMRS Channels: Provides a wide selection of communication channels.
- 121 CTCSS Privacy Codes: Offers up to 2,662 channel options to minimize interference.
- Up to 38-Mile Range: Achieves long-range communication in open areas with minimal obstructions.
- NOAA Weather Scan + Alert: Automatically scans 10 weather band channels and alerts to severe weather.
- eVOX Hands-Free Operation: Voice and sound activated transmission with 9 sensitivity levels.
- Dual Power Options: Operates with included 1000mAh rechargeable battery packs or 3 'AA' alkaline batteries (not included).
- Silent Operation: Turns off all tones for discreet use.
- Water Resistant: Designed to withstand light exposure to water.

Figure 2: Key Features of the T71VP3
4. Setup
4.1 Battery Installation
The T71VP3 radio can be powered by either the included rechargeable battery pack or three AAA alkaline batteries (not included).
- Ensure the radio is powered off.
- Locate the battery compartment cover on the back of the radio.
- Press down on the tab and slide the cover downwards to remove it.
- Insert the rechargeable battery pack, ensuring the contacts align correctly, or insert three AAA alkaline batteries according to the polarity markings.
- Replace the battery compartment cover by sliding it upwards until it clicks into place.

Figure 3: Battery Compartment with AAA Batteries
4.2 Charging the Batteries
The rechargeable battery packs can be charged using the included desktop charger or directly via the micro USB port on the radio.
- Using the Desktop Charger: Connect the micro USB charging cable to the desktop charger and a power source (AC wall adapter or USB car charger). Place up to two radios into the charging bays. The charging indicator light will illuminate to show charging status. Full charge typically takes 4-5 hours.
- Direct USB Charging: Connect the micro USB charging cable directly to the micro USB charging jack on the side of the radio and a power source.
Note: Alkaline batteries are not rechargeable and should not be placed in the charger or charged via the USB port.

Figure 4: Radio Display with Battery Indicator
5. Operating Instructions
5.1 Radio Controls and Display

Figure 5: Front Panel Controls

Figure 6: Top and Side Components
5.2 Power On/Off
To power on the radio, rotate the Power/Volume Knob clockwise until you hear a click and the display illuminates. To power off, rotate the knob counter-clockwise until you hear a click.
5.3 Adjusting Volume
Rotate the Power/Volume Knob clockwise to increase the volume and counter-clockwise to decrease it.
5.4 Channel Selection
The T71VP3 has 36 FRS/GMRS channels. To change channels:
- Press the MENU button once. The current channel number will flash.
- Use the UP or DOWN arrow buttons to select the desired channel.
- Press the MENU button again or wait 5 seconds for the selection to be saved.
5.5 Privacy Codes (CTCSS)
Privacy codes help reduce interference from other users on the same channel. The T71VP3 offers 121 CTCSS codes.
- Press the MENU button twice. The current privacy code will flash.
- Use the UP or DOWN arrow buttons to select the desired privacy code.
- Press the MENU button again or wait 5 seconds for the selection to be saved.
5.6 Transmitting and Receiving
To transmit, press and hold the PTT (Push-To-Talk) button on the side of the radio and speak clearly into the microphone. Release the PTT button to receive.
5.7 NOAA Weather Scan + Alert
This feature allows the radio to scan 10 available NOAA weather band channels and alert you to severe weather conditions.
- To activate Weather Scan, press the WX button (located below the DOWN arrow).
- The radio will scan for active weather alerts.
- To enable Weather Alert, refer to the owner's manual for specific menu navigation.
5.8 Hands-Free Operation (eVOX)
The eVOX feature enables voice-activated transmission without pressing the PTT button. It has 9 sensitivity levels.
- Press the MENU button until the eVOX icon flashes.
- Use the UP or DOWN arrow buttons to select the desired sensitivity level (1-9, with 9 being most sensitive).
- Press the MENU button again or wait 5 seconds to save.
6. Range Considerations
The advertised range of up to 38 miles is achieved under optimal conditions (e.g., open areas with clear line of sight). Actual range can vary significantly based on terrain, weather, electromagnetic interference, and obstructions.
- Maximum Range: Achieved with no obstructions (e.g., over water or in open fields).
- Medium Range: Achieved with partial obstructions (e.g., light foliage, rolling hills).
- Short Range: Experienced with major obstructions (e.g., dense urban areas, heavy forests, mountainous terrain).

Figure 7: Communication Range Scenarios
7. Maintenance
- Cleaning: Use a soft, damp cloth to clean the radio's exterior. Do not use abrasive cleaners or solvents.
- Battery Care: For optimal battery life, fully charge rechargeable batteries before first use. If storing the radio for extended periods, remove alkaline batteries to prevent leakage.
- Storage: Store the radio in a cool, dry place away from extreme temperatures.
8. Troubleshooting
| Problem | Possible Cause | Solution |
|---|---|---|
| No Power | Dead batteries; Incorrect battery installation. | Replace/recharge batteries; Check battery polarity. |
| Cannot Transmit or Receive | Incorrect channel/privacy code; Out of range; Low battery. | Verify channel/privacy code settings; Move closer to other radios; Recharge batteries. |
| Static or Poor Audio Quality | Weak signal; Interference; Out of range. | Move to a clearer area; Change channel/privacy code; Move closer to other radios. |
| Weather Alert Not Functioning | Weather Alert not enabled; No NOAA signal in area. | Enable Weather Alert in menu; Check NOAA coverage for your location. |
9. Specifications
- Model Number: T71X10VP3
- Number of Channels: 36 FRS/GMRS Channels
- Privacy Codes: 121 CTCSS Codes
- Frequency Range: 400-470 MHz
- Maximum Talking Range: Up to 38 Miles (optimal conditions)
- Power Source: 1000mAh Rechargeable Battery Pack (included) or 3 AAA Batteries (not included)
- Water Resistance Level: Not Water Resistant (designed to be water resistant, but not fully waterproof)
- Item Weight: 7.5 pounds (for the 10-pack)
- Product Dimensions: 3.3 x 9.3 x 10.8 inches
10. Warranty and Support
The Midland T71VP3 Two-Way Radio comes with a 3-Year Warranty from the manufacturer, Midland Radio Corporation. For technical support, service, or warranty claims, please refer to the contact information provided in your owner's manual or visit the official Midland website.


